Three Homes Later
While the wife is away thebigsweed will play.
When it comes to having a finished home, and by finished I mean every punch list item ✔✔✔, My beautiful wife has shown an extraordinary amount of patience.
We purchased our very first home 43 years ago.
Beautiful 1/2 acre corner lot,
but we would be moving into a 2 bedroom home with a family of four.
We also new that, God willing, more pattering little feet, could be in the cards.
Loved the property, and knew I would be adding a level to the one story structure.
10 years later, with our family having grown to 6, I needed a bigger home, and a better educational system for our children.
It was time to put the last nail in this project.
We had never put heat on the 2nd floor, budgetary issues due to a lot of this going on,

didn't allow us the LUXURY OF HEAT in the upstairs rooms.
But it was time to move, coughed up the fiat, finished the project, and it was on to our next home.

Moved back to the beautiful town I had grown up in.
Back to the old stomping ground where I knew most people, and my children would be enrolled in the same school system I had spent my formative years, attending.
We purchased the most wonderful, older, enormous, Field Stone/masonary home, that was built in the early 1900.
Not only that, it was the home of the parents of my wife's Maid of Honor.
It was a home she had spent so much time at while growing up.
No problem, I can fix it up.
We got $12,000 off of their asking price, and a month later I was stripping a double roof off of the home we just purchased, and installing 35 Square of shingle.
18 years later, with empty bedrooms abound, it was time to put the last nail in this job.
It was time to downsize, sell, and rent for 5 years, as retirement was right around the corner.
Coughing up some more fiat, and a lot of sweat equity we were at it again, finishing our home to move on.
BOY DOES TIME FLY!
In the mean time, I had built the farm house with all my FREE TIME..
Started building the Farm House 30 some years ago, adding an addition and several decks since the main house was completed.
When we finally retired two and half years ago, I spent the good part of the first two years finishing everything except the floors in the original structure.
It would only require a good two or three days to FINALLY have a home that was 100% completed, and one we would be able to enjoy the fruits of our labor, for years to come.
Knowing that my better half was going back to Jersey for several days to visit with the kids and grand-kids, I thought I would finish the last project and surprise her when she returned home.

I would put the last nails in a project started years ago.
The floor system I installed in called a free floating floor.
It is a rather simple system to physically install, if it is laid out correctly.
Follow along, and if you are in need of a new floor, this may be a system to consider.


These are the floors we will be covering.


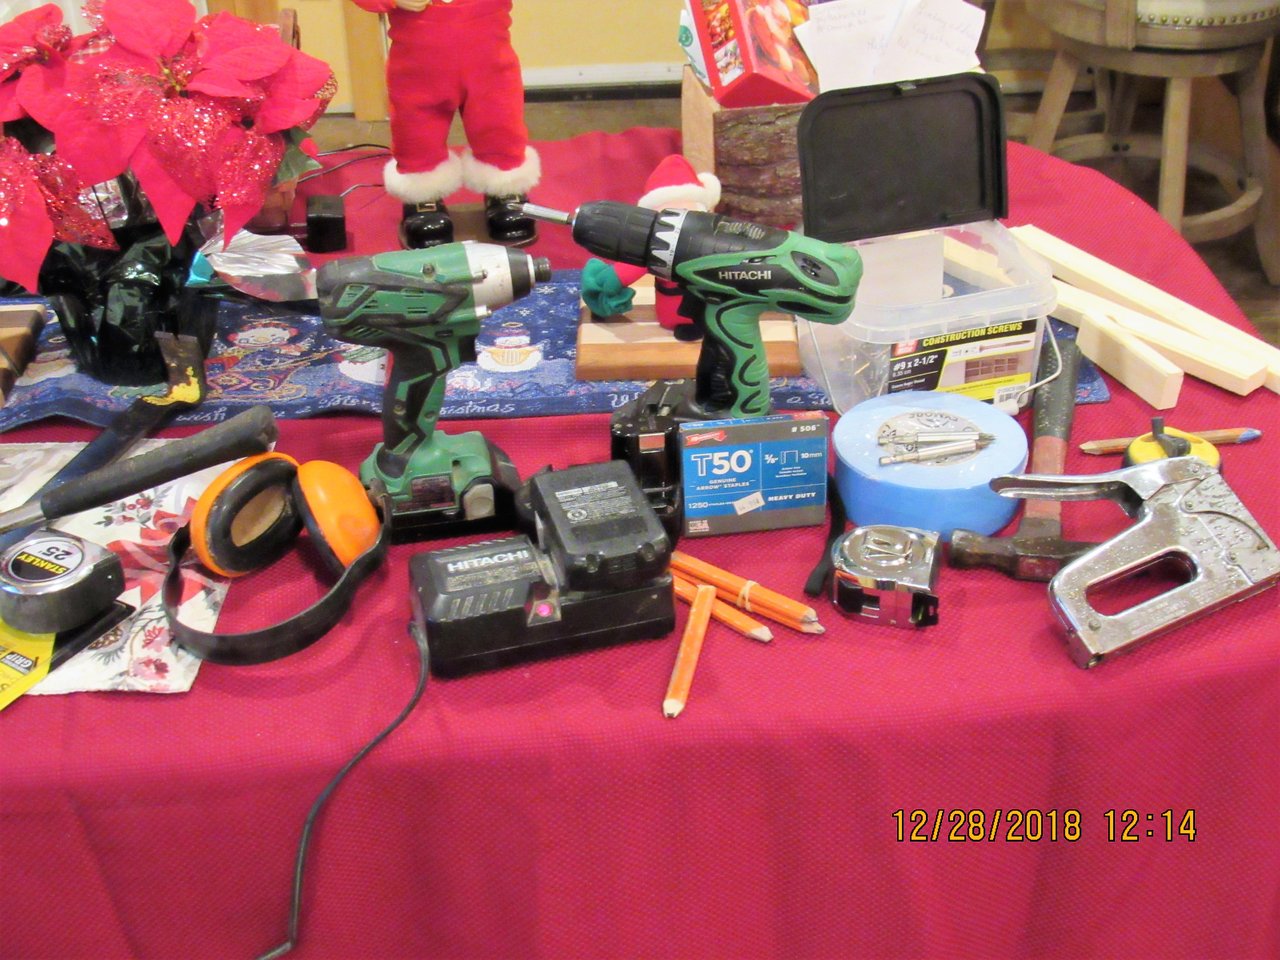
Tools to complete the job are pretty basic, if you do any handy work at all, except one which I will highlight later.
Utility knife
Hammer
Tape Measure
Snap Line
Staple Gun
Screw Guns, preferable several, but one will do
Pencils
The floor can be installed by one person, but some free labor is always welcomed.

The layout is critical, you need to be sure that as the installed floor advances, it does so in a way that keeps it parallel to the point where the flooring system finishes.
Lines are snapped as reference points to measure back to.
Simply butt your tape to the last row of installed flooring and measure to your line.
Do this at both ends of the run.
If the measurements are exactly the same you are good to go.

Lay down the acoustical underlayment
Make sure not to cover the line you have snapped.

This is the one tool that I mentioned earlier that is not a necessity, but will make your job much easier.
We refer to it as a buck saw and it makes it very easy to trim down any previously installed moldings that finish at the floor.
Great for cutting down the legs of the casing moldings that go around doors.
After trimming down the necessary moldings, the flooring can slide under the existing molding.


Once you get on a roll, this system goes down quickly. As you are installing the flooring you need to advance each snapped line before it is covered by the flooring.
Just measure off the existing line at both ends and snap a new line that can now be used as the reference point.

We have now reached the point where we will see if our layout was correct.
As we went around the cabinet and staircase that divided the installed flooring into two sections, we are about to meet up again.

Everything has worked out perfectly. It has been a very long and productive day.
Should be able to finish tomorrow.

After hours of organizing everything and cleaning up the mess from the day before, we are ready to go.

Some coffee to charge the batteries.


At $65.00 a roll for the underlayment, I scurried around to find every remnant to complete the job.
The last roll I would be able to return, along with two boxes of flooring. Total return $176.00. 😁😁😁

With my son installing the last piece, the moldings were next.

As you can see in the next couple of pictures, a gap needs to be left between the flooring and any thing it will butt. A 3/8 inch gap is perfect. We use strips of wood as spacers and bring the flooring to them. Once the floor system has paced the spacers, they are removed.
A free floating floor system needs to be able to move. It will grow and shrink depending on the temp and humidity of the interior conditions of the home.


I made my own moldings out of 1 x 8 flat stock pine.
The cost of a wood molding these days is off of the charts.
The moldings can be made for 1/4 of the price, and are of better quality.
Flat stock pine

Table saw is used to rip the pieces needed to trim out the floor.

Oak saddles have been fabricated from wood we have milled and dried. What a savings, as this one piece that will be used at the transition of the two rooms would go for upwards of $65.00.
In all the oak saddles needed to complete the job would have cost around $300.00.

Fashion the edges with a 5/8 round-over router bit.

Sand, I started with an 80 grit paper and finished with a 150 grit paper, smooth as a baby's butt.

Angles on moldings were cut with a chop saw, with an 80 tooth blade used for fine cuts, no chipping.


With the moldings installed, I can't wait for my bride to return home. She had no idea I was going to tackle this project, and I would suspect she will be elated.


While still in the midst of putting the house back together, she opened the front door, and her reaction was priceless.
I had given her the 100% completed home she has so patiently waited for.
By installing this 550 square foot floor, with the help of my son, I saved a minimum of $2,000.
Hope you enjoyed, and hopefully you found this post informative, and now feel that a job like this is possible for you to tackle.
Nicely done again, Sweed! Good job. Is it cool if I told you my favorite shot is the one of the framed particle board (I think it’s particle board) wall covered in photographs?
Where you at @gogreenbuddy?
That mural og pictures has been around for years. It has to have at least 150 different people on it. The photos are of them when they were here. Inorder to fit on that wall I had to cut it down to 6 feet and reframe it. The other piece, I will frame shortly and find a place to hang. Many of the pictures are before I built the house. For the first ten years or so we all slept in tents. We would only come up once a year for Memorial Day. What a Shindig we would have. Live band, pig roast, horse shoes, one of your favorite games there champ, hay rides for the swimming in the stream.
Were has the time gone?
Hope everyone is well and you guys continue to get settled in.
It must be that keen eye you’ve mentioned in the past. Happy Saturday @thebigsweed.
source
Rewarding Your Original Work
With an Upvote
And
Resteem
If you find posts worthy of a nasty Splatin’ feel free and mention @splatz in a Your reply to their post. Call me out!!
sorry but I UPVOTED YOU on your own blog, thought I was on @farm-mom...Great job hubby, you are the best...love my farmhouse xo
Great job guys! The floor looks fantastic and you were so detailed about how you did it that I think I could install a floor now- no sweat. Such a beautiful surprise for your wife. I’m sure she was thrilled :).
Well, if you ever install a floor of any kind, that would be post material. Thanks for the compliments.
God bless
You got it :)
haha! howdy sir bigsweed! man, you guys do it right, great quality work there, beautiful job!