Designing a 3D Abstract Shape Using Blender
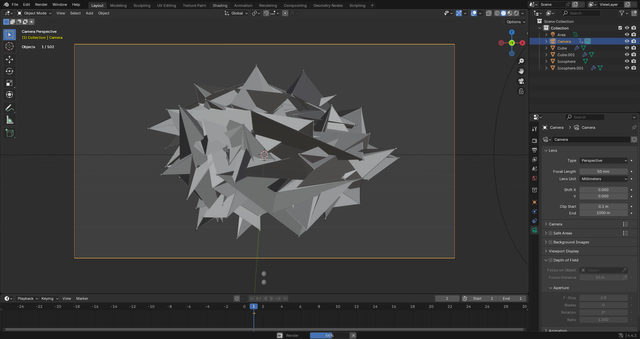
Started simple. Just a cube. Nothing fancy — Shift+A, Mesh → Cube. Default gray block in the middle of the scene. Same thing I’ve done a hundreds times before. But somehow, this one felt like it was gonna be different. Went into Edit Mode, hit Subdivide a few times. Not too many — just enough to get some extra vertices to work with. Gotta have some geometry, otherwise it all looks a little... boring.
Then slapped on a Wireframe modifier. Honestly, I love this thing. Gives your mesh that sharp, almost skeletal look. First thing I always do is uncheck “Replace Original” — because I do want the original. Just not instead of the wire. Then set the Material Offset to 1, so I can give the wires their own shader later without messing up the rest.
Next — particles. Hair system, even though I’m not making hair. I just like how it handles instancing. Ticked “Advanced” right away — you kind of have to if you want full control. Switched emission to come from Vertices, and set the count to match the vertex count of the mesh. It’s chaotic, but in the right way. Then instead of the usual hair strands, I picked an Icosphere as the particle object. Because, let’s be honest, icospheres just look better in these kinds of abstract builds.
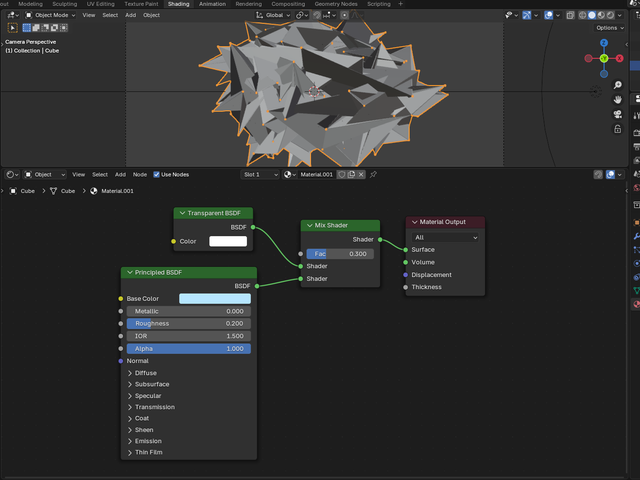
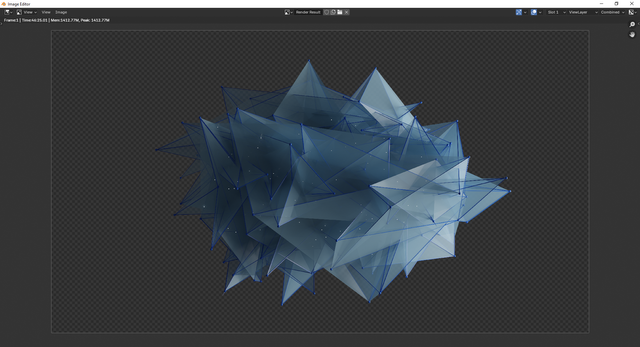
Color and shader time. This took some messing around. Ended up mixing a Principled BSDF with a Transparent BSDF using a Mix Shader. Set the factor to 0.3 — figured that’s a good middle ground. Not too ghost-like, but still lets the background show through a bit. Principled got a cold blue tone, low roughness (but not zero — I like a bit of texture), metallic stayed at 0. Alpha stayed at 1, because the transparency's already handled in the Mix Shader. If I dropped alpha too, it just started to vanish.
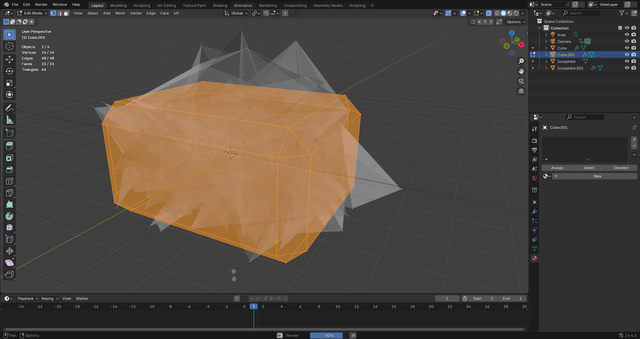
Then I threw in a second cube. Same deal at first, but in Edit Mode I beveled the edges — Ctrl+B. Gives the whole thing a more complex silhouette, which really helps when you start throwing lights around.
Added another particle system to this second cube. Hair again — yeah, I’m predictable. This time I told it to emit from Volume, not Vertices, and set the count based on the view. Wanted the inside to feel denser, more alive. Picked a different Icosphere as the object, smaller this time. Tucked it deep inside the mesh. Like a core. A heart.
For the shader on that second icosphere just an Emission.
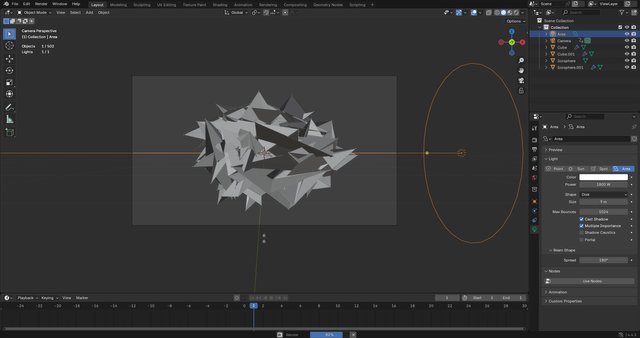
Now the lighting... yeah, lighting took some tuning. Went with an Area Light — set the shape to Disk and cranked the size up to 9 meters. Big, soft light. Power? 1800W. Yeah, a lot. Checked “Cast Shadow”, of course, and turned on “Multiple Importance” — without that, the emission shaders just don’t show up right. Blender starts acting like they don’t exist.
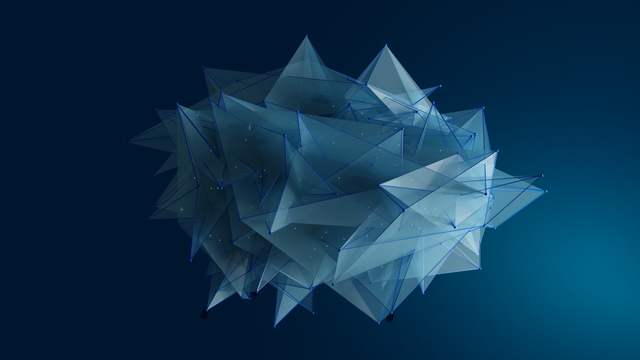
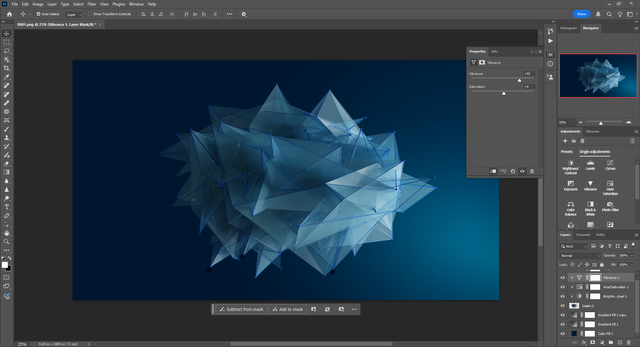
After rendering the 3D figure, there's still work to do final touches in Photoshop. That part always inevitable. I mean, even if the render came out okay, there’s something about the raw image that just doesn’t sit right. It looks… too bare. So I added a background. Just something simple, mostly to get rid of the transparent emptiness. That transparency, honestly, makes everything look unfinished. Then I adjusted a few colors — made them pop a little more where they felt dull. And yeah, there were some minor flaws. Weird shadows, some edges that didn’t look smooth enough. I cleaned those up too. Bottom line is, you just can’t skip Photoshop. It’s not about fixing mistakes, really. More like finishing the thought.
