DIY Sprouting Ingot Project
I'm sharing a project I just started:
The Need:
I've been looking for germination ingots for some time to germinate seeds indoors and then plant them in the ground.
The only ones I've found are bricks made from coconut fiber or peat, and they're quite expensive, especially since there are shipping costs. And they don't come in the size I'm looking for, even though they can be cut to size.
The Idea:
Seeing some honeycomb cardboard boxes that I hadn't yet put in the recycling bin, I thought they could make a base for my ingots. They're made of plant fibers, minimally processed if you use the brown ones, and they don't have any ink on them.
There's, of course, the problem with the glue used in its composition, but I thought that several rinses could eliminate it.
Recycling and low-cost manufacturing are key factors for me.
Project development:
With the basic idea in mind, I had to do some research to verify its feasibility. For this, I enlisted the help of Copilot.
It welcomed the idea and found it very relevant. An exchange of advice ensued, which I refined based on my needs and abilities.
This allowed me to establish a method, a program, and evaluation tests.
Project Benefits:
- Useful Recycling: I'm giving packaging cardboard a second life.
- Good Water Retention: The cardboard pulp retains moisture, making it perfect for germination.
- Aerated Structure: The fibers create porosity that promotes root oxygenation.
- Biodegradable: The ingots can then be planted directly in the ground.
Necessary optimizations:
Glue: Brown cardboard is often untreated, but it may contain glue; repeated soaking and rinsing are required to remove as much of it as possible.
Nutrients and pH: Cardboard contains no nutrients and is slightly basic. A little acidity should be added to achieve a neutral pH. Adding coffee grounds in a proportion of about 10% provides both nutrients and acidity.
Storage: After drying, the ingots may become brittle. One solution would be to dry them in an oven at 50–60°C to harden them if they are not used immediately.
Adding plant fibers from dead leaves can strengthen the structure and also provide nutrients as they decompose.Safety: Since we can't guarantee that all the glue will be removed, do not use these ingots for food crops.
Mold: To limit the risk of mold, kiln drying will help. You should also use very dry coffee grounds, and adding powdered charcoal would be advisable. Since I don't have any, I'll test without it.
The manufacturing process:
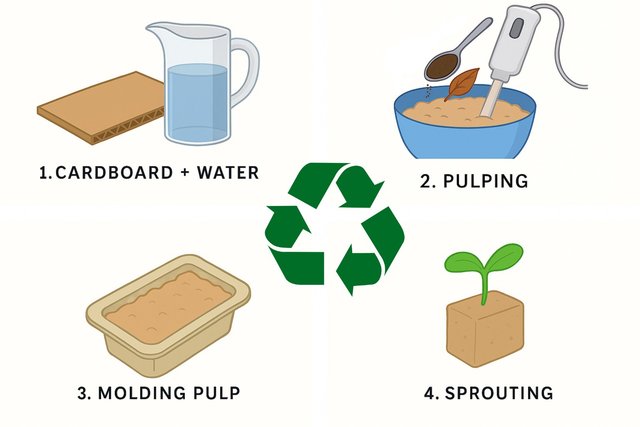
Step 1
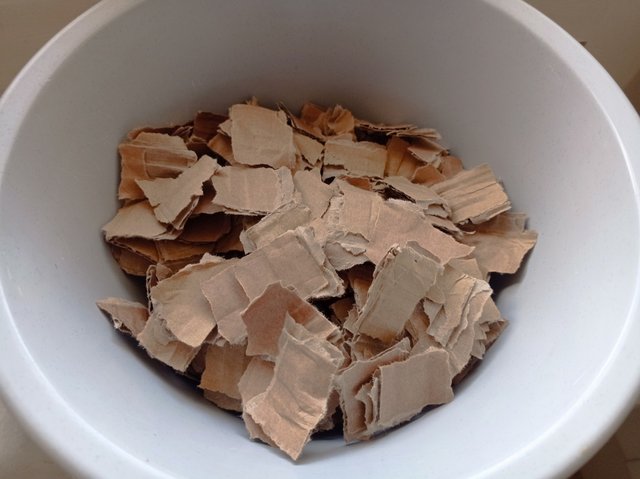
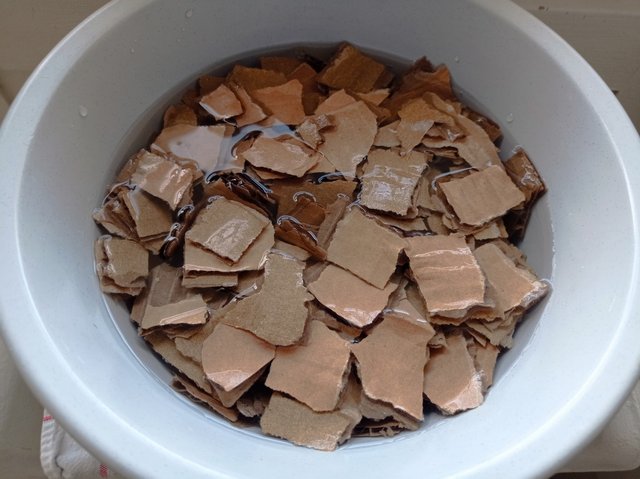
Cut the cardboard into small pieces, being careful to use only the uninked parts, and soak it in water, preferably hot, but I chose cold water to save money.
When the heating is on at home, I'll place the container on a radiator.
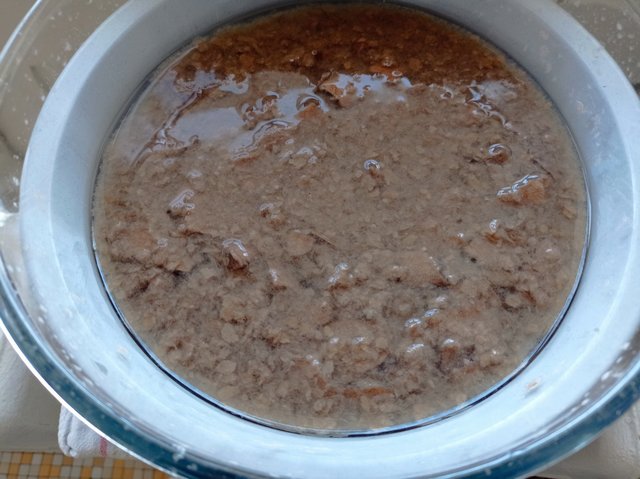
Squeeze and rinse several times to remove the glue.
This should take several days.
I'm at this stage as my photos show.Step 2
Mix the soaked cardboard, dead leaves, and coffee grounds to obtain a sufficiently fine and homogeneous pulp.
Then drain this mixture.Step 3
Now we can proceed with the molding, and here anything goes: you choose the size and shape—that's the advantage of DIY!Step 4
This is the final step of the success test. We plant seeds and wait to see if they germinate. I haven't reached this stage yet, but I'll keep you updated on progress in other posts.
Happy gardening, everyone!
Cross posted on hive blog with a french version:
https://ecency.com/hive-140084/@servelle/diy-sprouting-ingot-project-en
(Published through Steemit Dapp https://boylikegirl.club)


Upvoted! Thank you for supporting witness @jswit.