DIY Post:-Creating a beautiful design with colored paper.

in CCSyesterday

Good afternoon,

How are you all, friends? I hope everyone is doing well. I am back today to share a die project with you. Today, I will share with you the process of making a design with colored paper. It is very nice to see everyone cutting beautiful designs with colored paper. Although I have never cut a design, this is my first time. I like to see the designs shared by everyone.

‌ ‌ ‌ ‌

IMG_20250720_171018.jpg

Today, when I sat down to make a design, I had a lot of difficulty. First, I folded it with colored paper. Then I drew the design with a pencil. Then I carefully cut it with scissors. However, it was very difficult while cutting. You have to be very careful while making designs with colored paper; if it gets a little messy, the whole design is completely ruined. So the whole design depends on cutting. If you do any work carefully, you can cut it very beautifully. I don't think I can say that I can't because if you try any work, you can do it.

‌ ‌ ‌ ‌

IMG_20250720_171126.jpg

The more we keep doing it, the more we practice, the easier that difficult task will become for us. Since this is my first design cutting. If you cut it like this, it will be cut very beautifully. First, I took a green colored paper. I cut that paper to size. Then I folded the paper. After folding, I drew the designs with a pencil. Then, after drawing, I saw the design and cut the design according to that size.

‌ ‌ ‌ ‌
When it was cut, a very beautiful flower was created, and the design was done, which was very nice to look at. I have shared the process of how I drew the design with you, friends, step by step. So, without further delay, let's share it---

‌ ‌ ‌ ‌

Materials needed to DIY project:-

  • color paper

  • Scissors

  • pencil

IMG_20250720_164137.jpg


Steps to create DIY Projects:-


Step:-1

First, I cut a square piece of paper and folded it into a square.
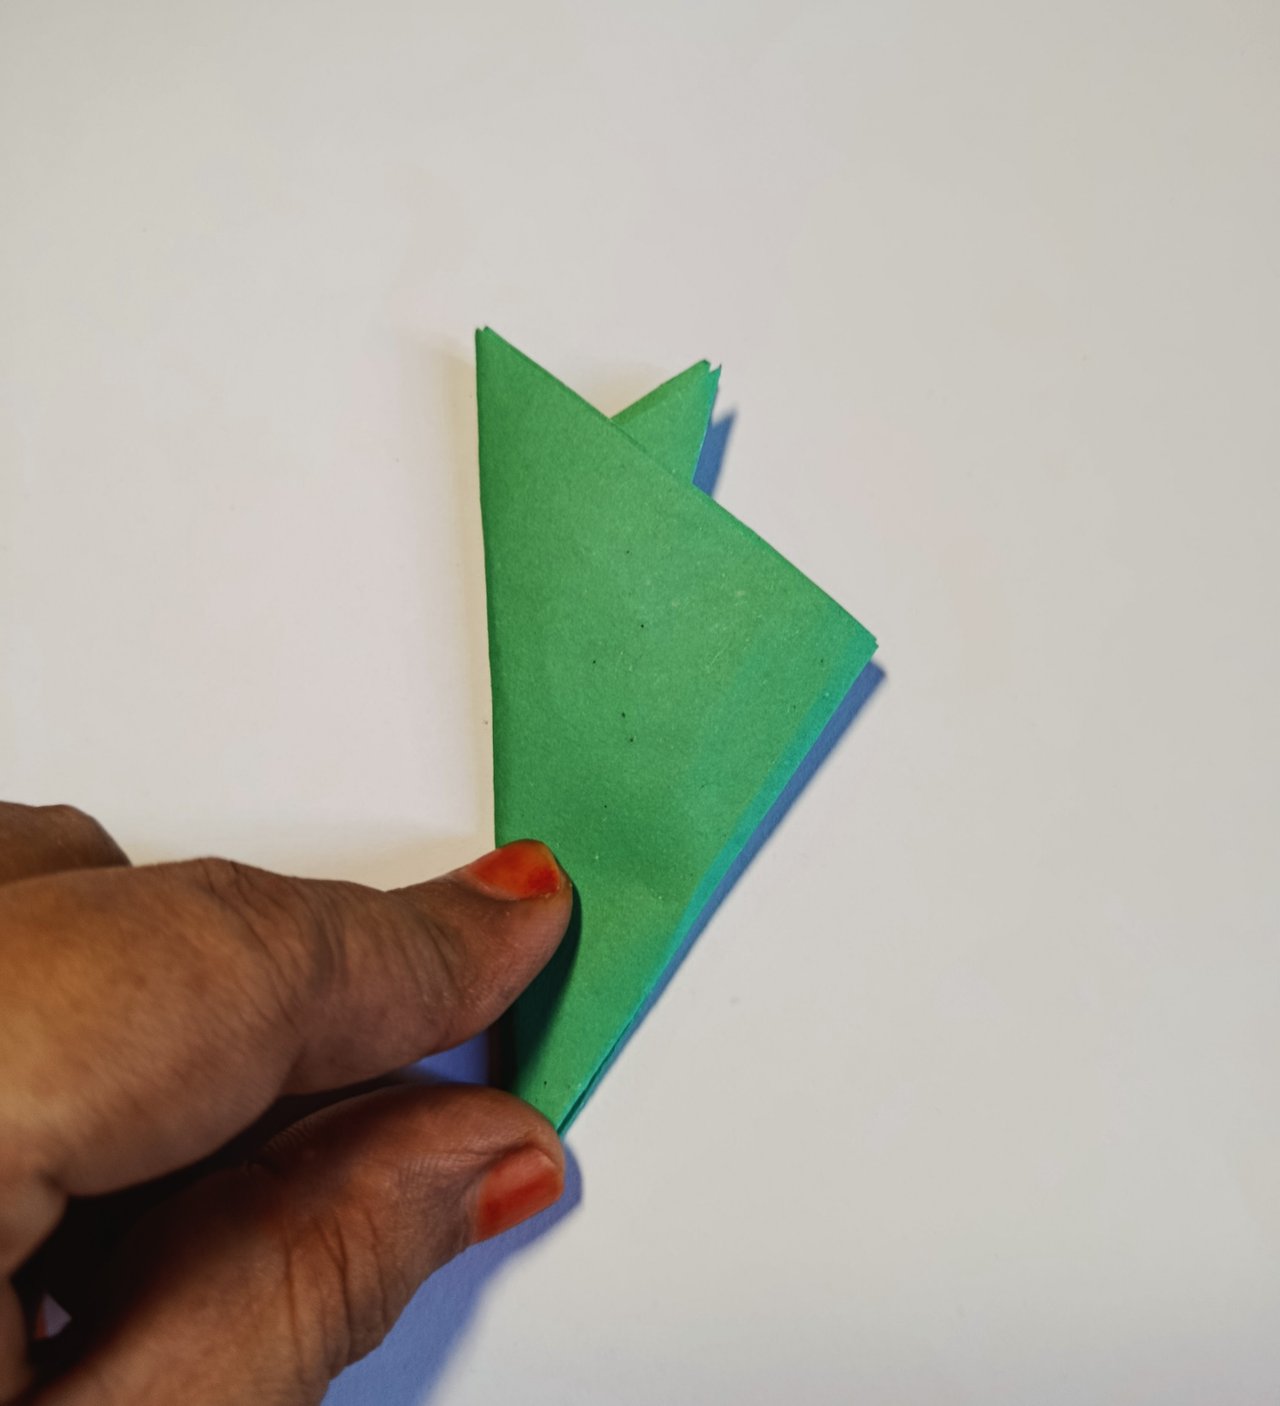
IMG_20250720_164137.jpg

IMG_20250720_164419.jpg


Step:-2

Now, friends, you can see the process of how to create a design by folding it two more times.
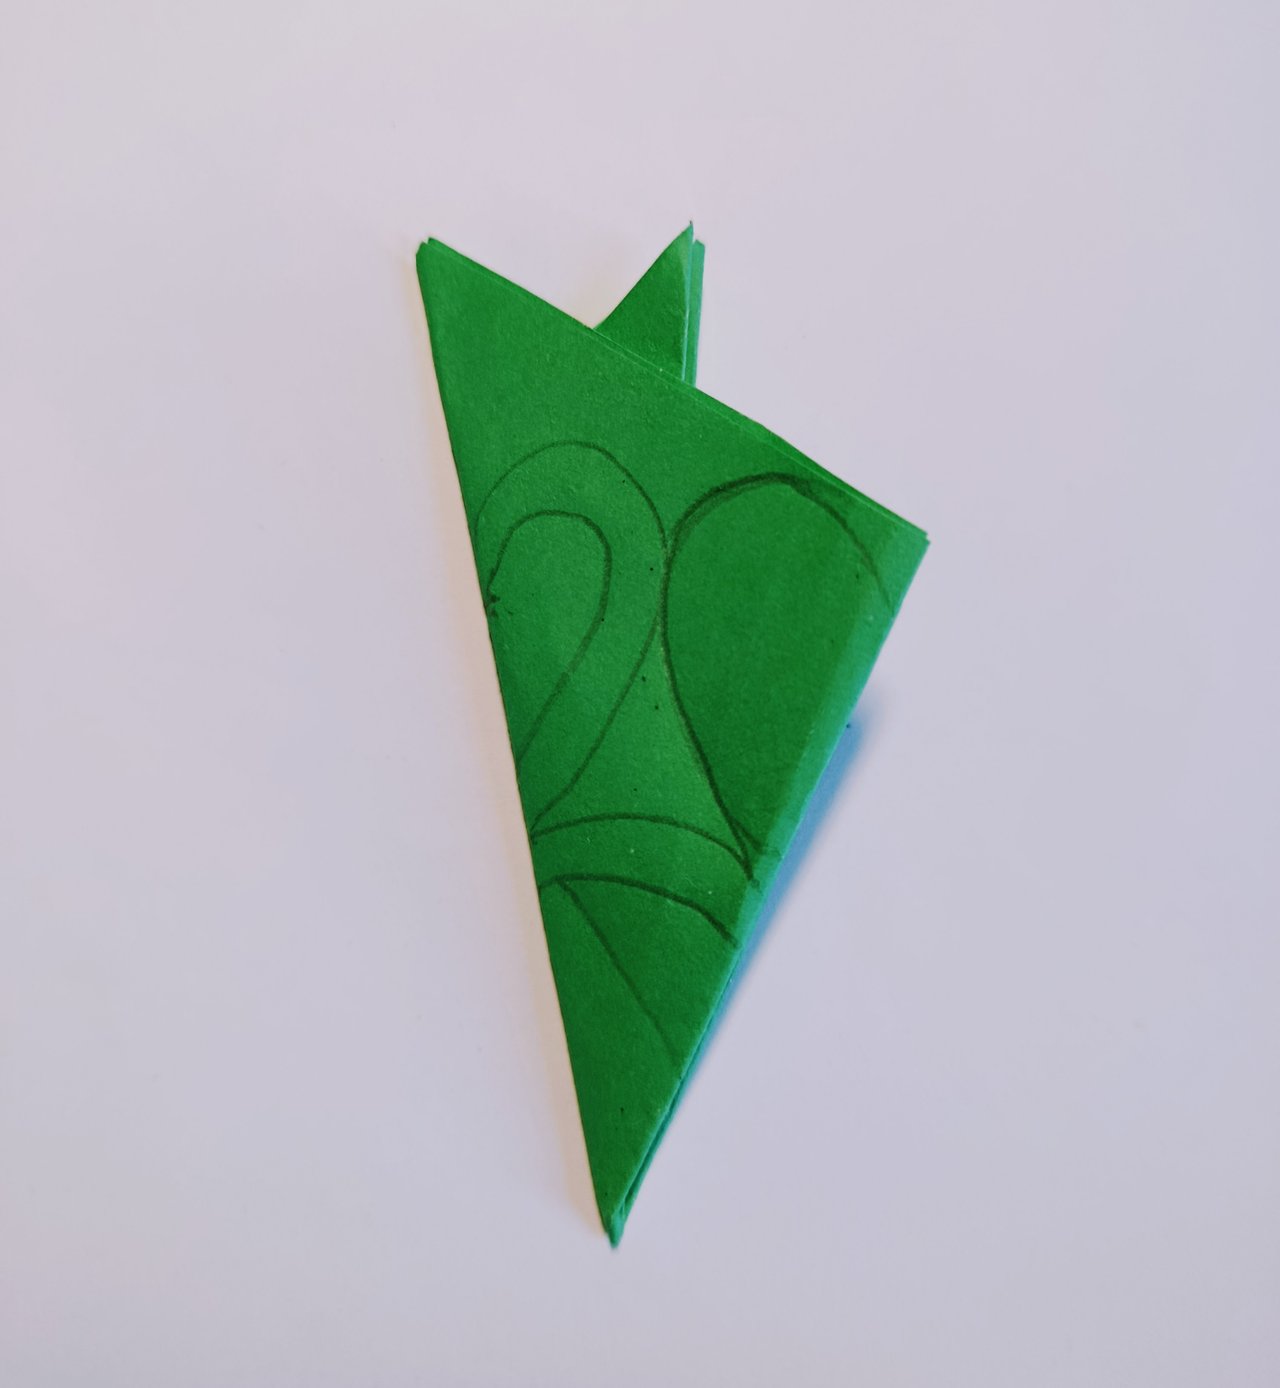
IMG_20250720_164555.jpg

IMG_20250720_164747.jpg


Step:-3

When I folded the paper several times, I then drew the design with a pencil.

IMG_20250720_165000.jpg

IMG_20250720_165221.jpg


Step:-4

Now you can see, friends, that I have cut out the design with scissors.

IMG_20250720_170838.jpg

Final Looking

Since it was my first time doing it, I liked it. I hope you all will like it too, friends. I shared the whole process of how I created the design with you. I would be very inspired if you could give me your feedback on how you liked it. Thank you very much to everyone.

IMG_20250720_171018.jpg

IMG_20250720_171018.jpg


268712224_305654151337735_1271309276897107472_n.png

Phone Details


Device NameXiaomi Redmi
ModelNote 14
Photographer@samhunnahar
LocationCox's Bazar, Bangladesh
CategoryDIY Project


💘Thank you, everyone💘

@samhunnahar

My Profile


hira.jpeg

I am Samshun Nahar Hira. My user ID is @samhunnahar. I am associated with the Steemit platform from Cox's Bazar city, Chittagong Division, Bangladesh. I have been associated with the Steemit platform for a long time. I like it because I can share my feelings with everyone. I like this platform very much. I try to do all kinds of creative things. I love writing and reading poetry. I love cooking. I love traveling. Traveling is my addiction. I love doing all kinds of photography. I love singing and reciting poetry. I am very happy to share my creative thoughts with everyone on this platform.

FrDSZio5ZCzUamf35asauSgs1tnNGCc8exBrDii52qi3JqcDDf53w45ciPX685fGLh8y8F1vtTemuc32SX3aQcbjC88rZqswtaaR8jaFuVDT934kYfgjXbG4CBswg3U3Fh5dhAeTKfdWhYFwd6YioWG1hSqogXJHtCicsjoc39ZhgP6jc5Htw5FrYjSRF4zuiwnCBr5nMwE67CCHtySdRs6CBU6kKLaQDvnvguxLVHNd3nNXvR4nD5tKGd.png

Posted using SteemMobile