SC-S24W4 || Human body

This session taught me a lot and I am now putting a lot of effort into creating even better sketches. I'll go over every step I took to create this sketch including all the little details and the technique I employed to make it look neat and realistic. I am attempting to get better at drawing in this way.
Step 1:
First I draw 6 straight vertical lines. I keep the space between them equal. These lines help me make the body in the right size and shape. They are like guides so I can draw the body parts in the correct place.

Step 2:
Next I draw one horizontal line across the middle of the 6 vertical lines. This line shows the center of the body and helps me place the head and body parts correctly.

Step 3:
I now begin to draw the boy’s head. I make a round shape for the head at the top of the lines. After that I draw the shoulders on both sides under the head following the guidelines.
 |  |
|---|
Step 4:
Now I start drawing the body. I carefully make the chest and stomach areas. Then I mark a small point for the navel (belly button) in the center of the body. This shows the middle of the stomach.

Step 5:
Below the navel point I draw a cave-like shape. This shape shows the lower body part and helps in creating the hips and start of the legs. It connects the upper body to the lower part.

Step 6:
Then I draw the legs of the boy. I make sure both legs are equal and shaped properly. I follow the guide lines to keep the legs straight and in the right place.

Step 7:
Now I draw the hands and feet of the boy. I make the arms starting from the shoulders and then I draw the hands and fingers. I also complete the feet at the end of the legs.
 |  |
|---|
Step 8:
After the full body is ready I remove all the vertical and horizontal lines. I gently erase them to make the sketch look neat and clean showing only the body outline clearly.

Step 9:
Once the lines are removed I take a black pen or marker and go over the body lines. I highlight the full sketch to make it bold and more visible. It looks neat and clear now.

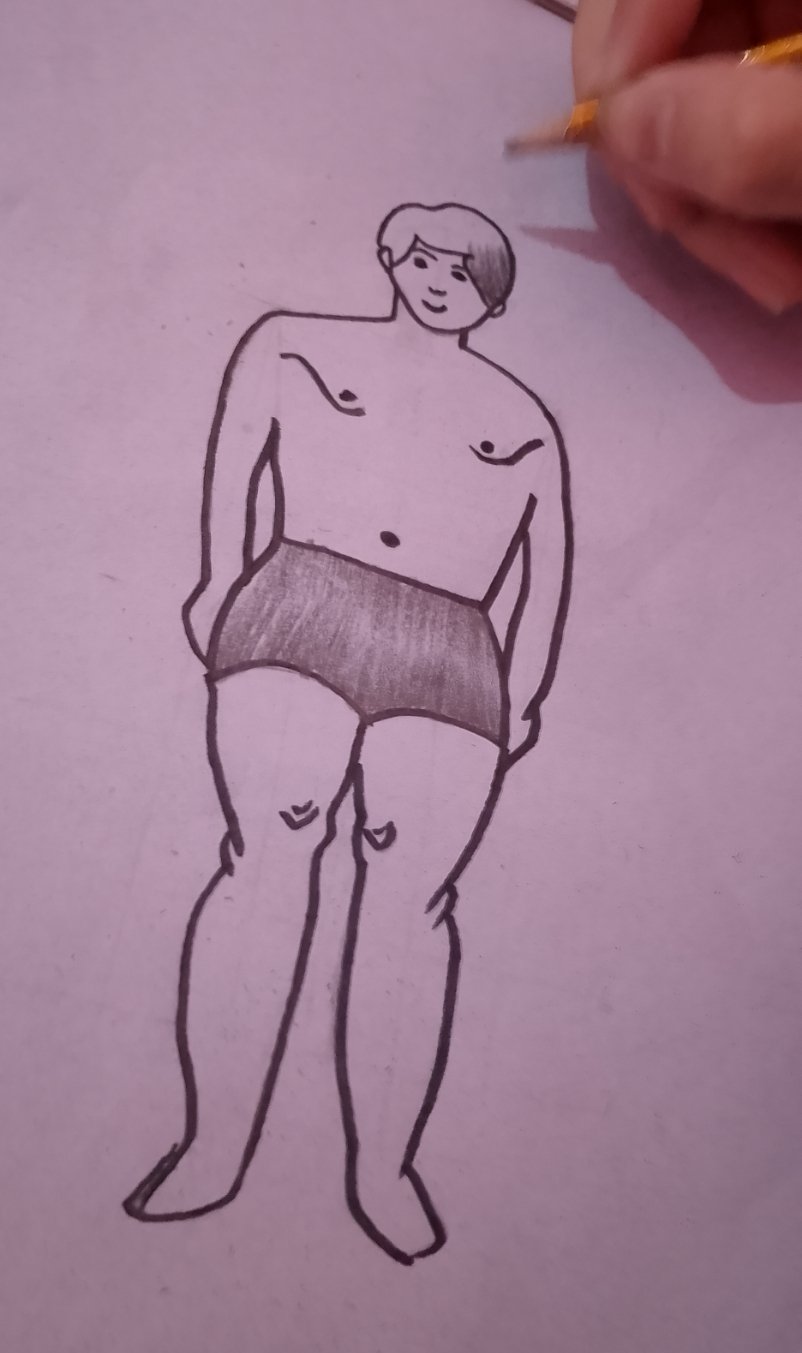
Step 10:
Finally I shade the sketch using a pencil. I add dark and light shades to show depth and give it a real look. The shading makes the body look 3D and beautiful.
 |  |  |
|---|
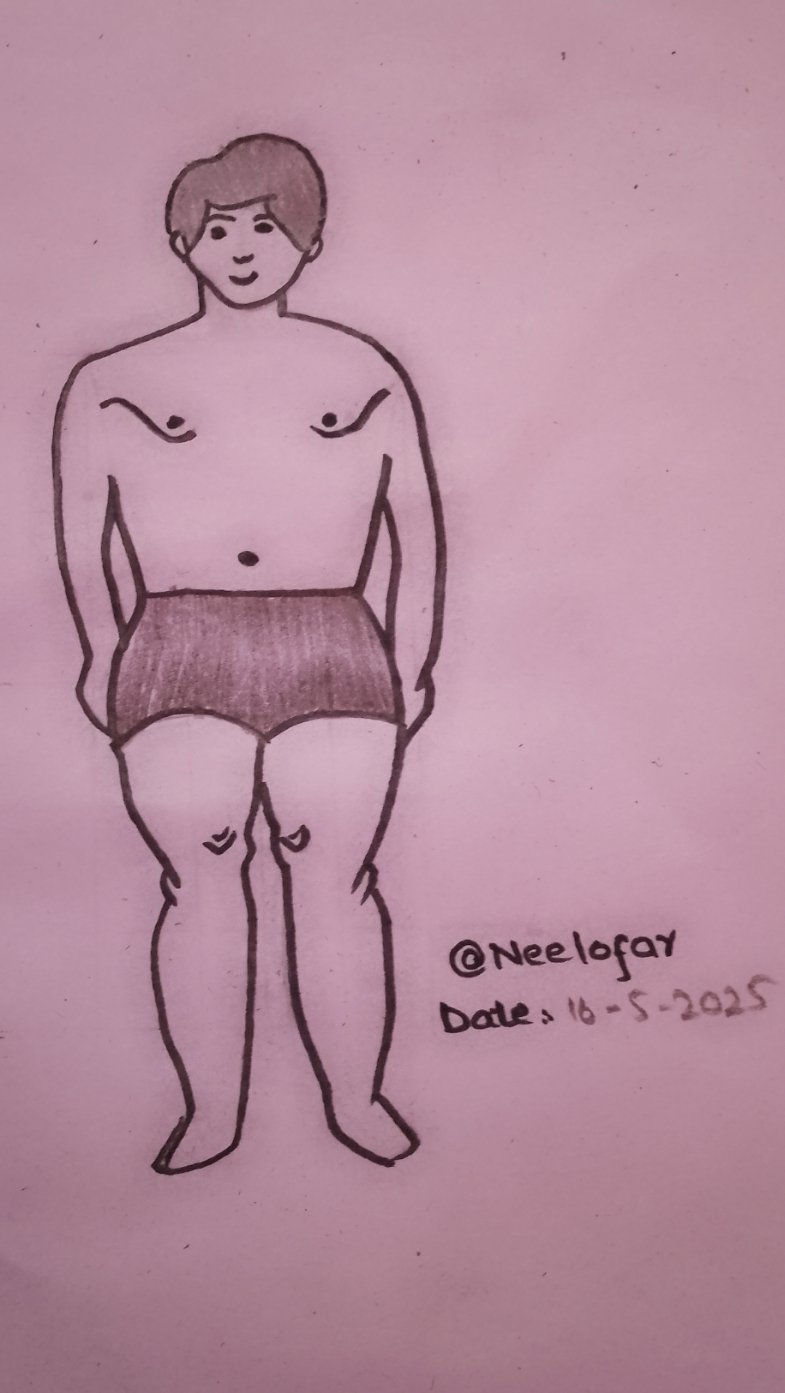
My good friend @hamzayousafzai is cordially invited to view my sketch. I have carefully and intently sketched a boy's body. I made every effort to make it appear tidy clean and authentic. I took my time going through each step focusing on the head body hands and legs among other details. I'm making an attempt to learn and get better at sketching. Your opinions mean a lot to me. I would appreciate it if you could let me know what you think is excellent and what I can improve. I'll perform much better the next time thanks to your helpful advice. I appreciate your support and time.
Note: I made this sketch on the 16th but I am posting it today because I couldn’t post it earlier due to some personal issues.

I invite @shano49 @malikusman1 and @saboohi to take participate in this contest
Thank you

https://steemit.com/hive-172186/@neelofar/achievement1-my-introduction-to-steemit
WRITER:
@neelofar from Pakistan

@neelofar from Pakistan
¡Hola! Que gusto que te hayas animado a participar en el Steemit Challenge: Explora tu creatividad con el dibujo artístico, en su semana 4.
Observaciones y recomendaciones:
Realizaste un boceto el cual te permitió obtener una forma y proporción correcta en tu dibujo de cuerpo humano.
Respecto al sombreado, te puedo recomendar que busques evitar marcar demasiado los contornos para que puedas obtener aún mejores resultados y en su lugar, crear zonas de oscuridad que vayas degradando progresivamente.
Libre de plagio ✅ | Libre de IA ✅