How are you all? I hope everyone is well and healthy by the grace of God. Today I am going to share with you another new repair job. A painter in our factory gave me three hand grinding machines to repair. Today I am repairing machine number 3 because it stopped working because he had to rub and clean a lot of old iron.
Step -01
First I took the hand grinding machine to my work table and observed it and then started working. Then I gave the line through a two-pin plug to check the machine. After giving the line, the machine was not working, and I was not ready to open it.
Step -02
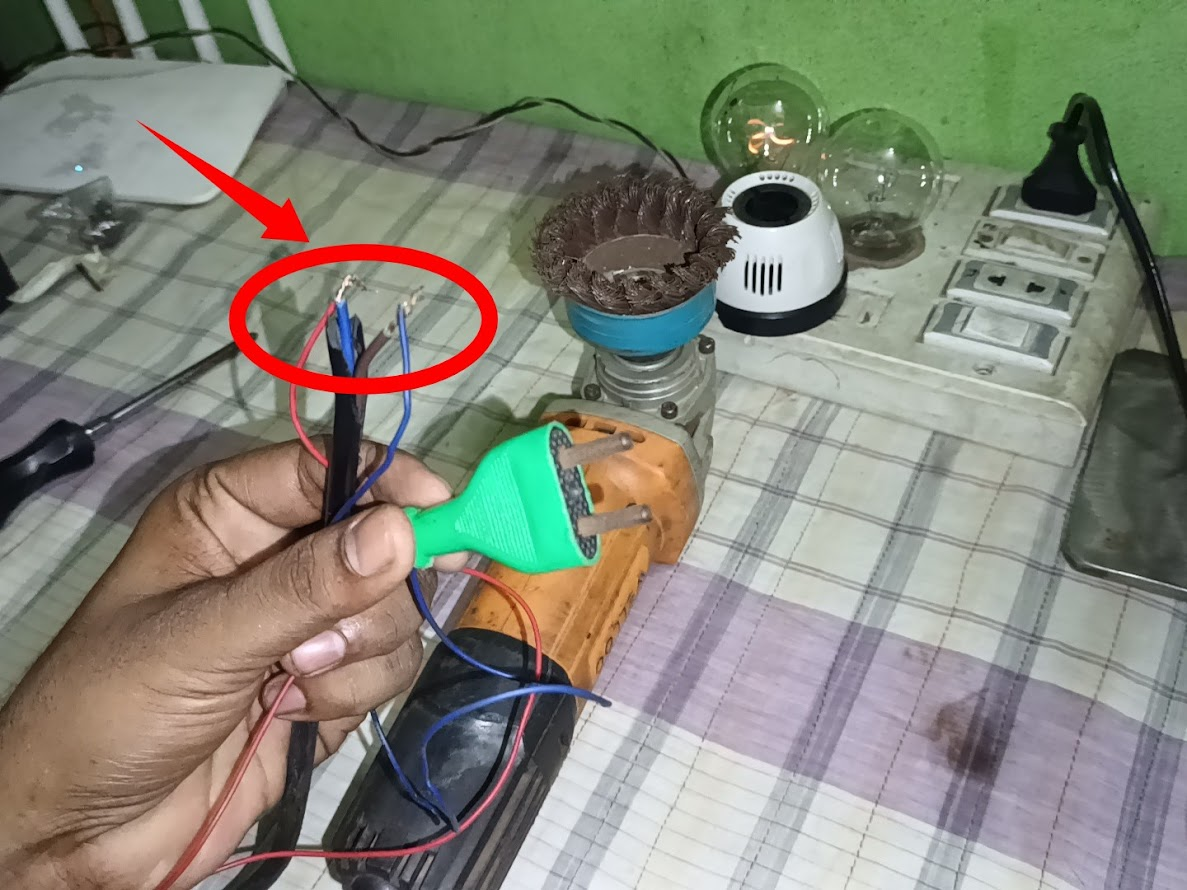
Then I had to remove the two screws at the bottom and take out its cover, so I removed the two screws. After opening the back cover, you can see that I have zoomed in here and made an arrow mark where the socket pin that comes from the armature is damaged. And the carbons of this machine were previously used by another machine because this machine was closed for a long time, so the carbons need to be installed new.
Step -03
Then I will change the damaged socket pin of the armature with an old pin collected from the carbon. Now you can see that I have collected the old pin from the carbon, and I have installed it with the pin of the machine, and it is fitting nicely.
Step -04
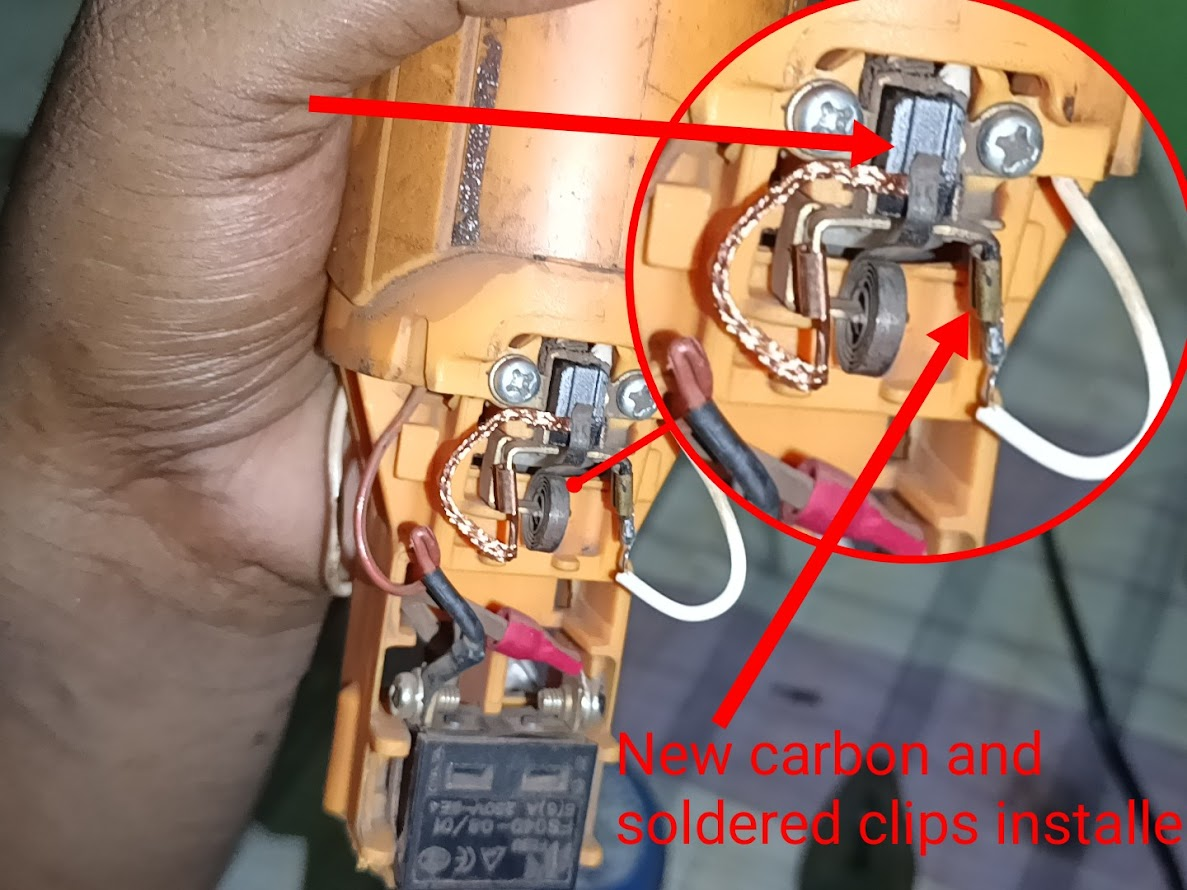
Then I soldered the armature wire of the motor and the socket pin of the old carbon together. Then you can see the new carbon in my hand; I bought these from the market for 100 taka.
Step -05
Then you can see that there are some stripes on the lower part of the carbon, which is the first part of the machine; they need to be smoothed with something light. Then the new carbon and the soldered wire are installed nicely, and you can see it through the two arrow marks.
Step -06
After installing the carbon, you can see here that I took a separate 220-volt socket board and tested it with a tester and saw your current. Then I switched on the machine, and you can see that the machine is in the rotating state, which I have marked there.
Step -07
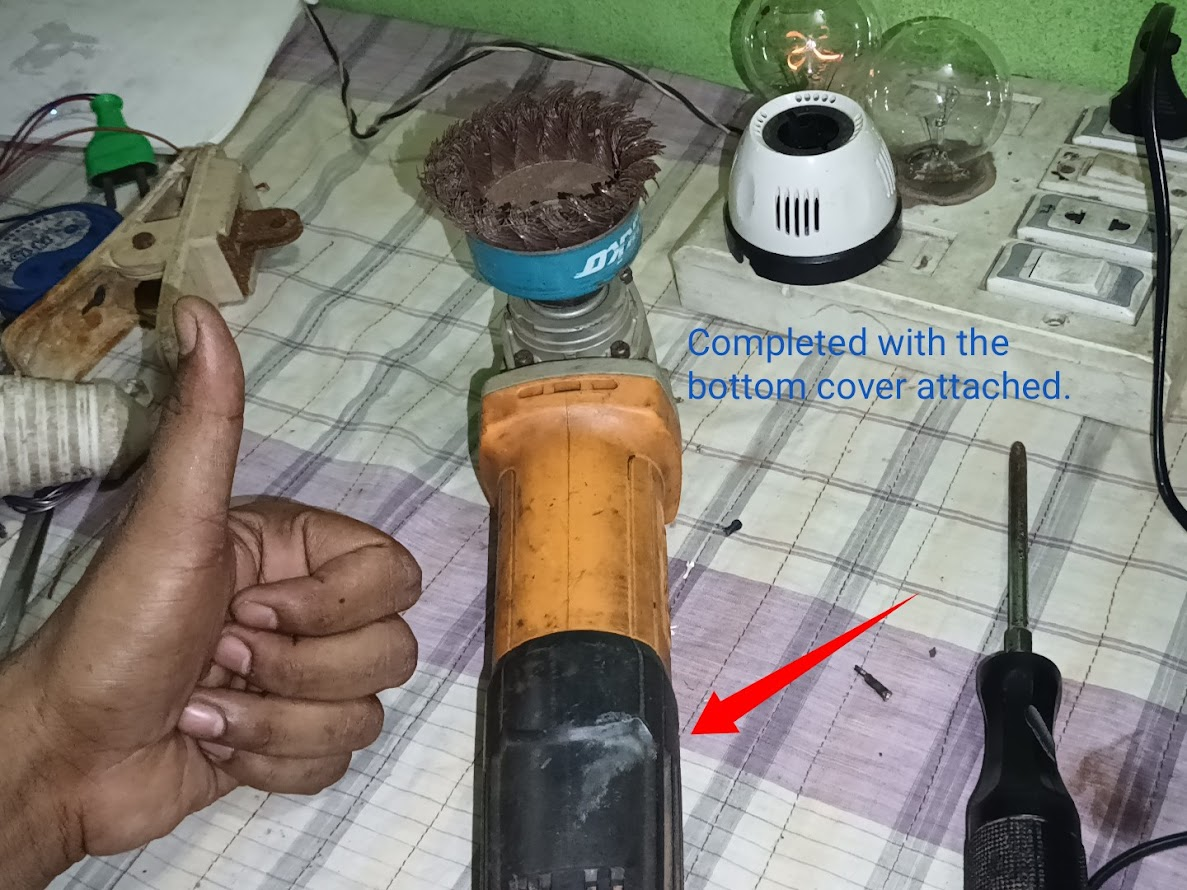
Then I put the black cover of the machine back and put in the two screws, and my machine work is complete, and I will deliver the machine tomorrow. And I will take 150 taka as the wage for this machine. Then I took a picture of my work as proof of my work.
Video Tutorial: To better understand the practical part of this tutorial, you can watch the video below.
.png)


.gif)
https://x.com/ImranHosen98536/status/1948423122090373194
Hello @imranhassan! 👋
Congratulations! This post has been upvoted through @steemcurator05. We support quality posts, good comments anywhere, and any tags.
Curated by: mohammadfaisal