SLC-S26/W3 | Musiac Pottery (Ceramic Pieces Art)
Greetings and blessings to all my lovely Steemit friends,
The idea of applying older smashed cups and tiles to produce a fresh work of craft authentically encouraged me. Instead of catapulting them down, swinging them into commodity beautiful proffered me a bottomless sensation of pleasure.

Materials I used
1 clay planter
1 cup wall putty/ white cement
4 tablespoons white glue
Water( as needed)
Metallic spatula
Broken ceramic tiles and old mug pieces
Mixing bowl
Orange-red paint for finishing

Step- by- Step Process
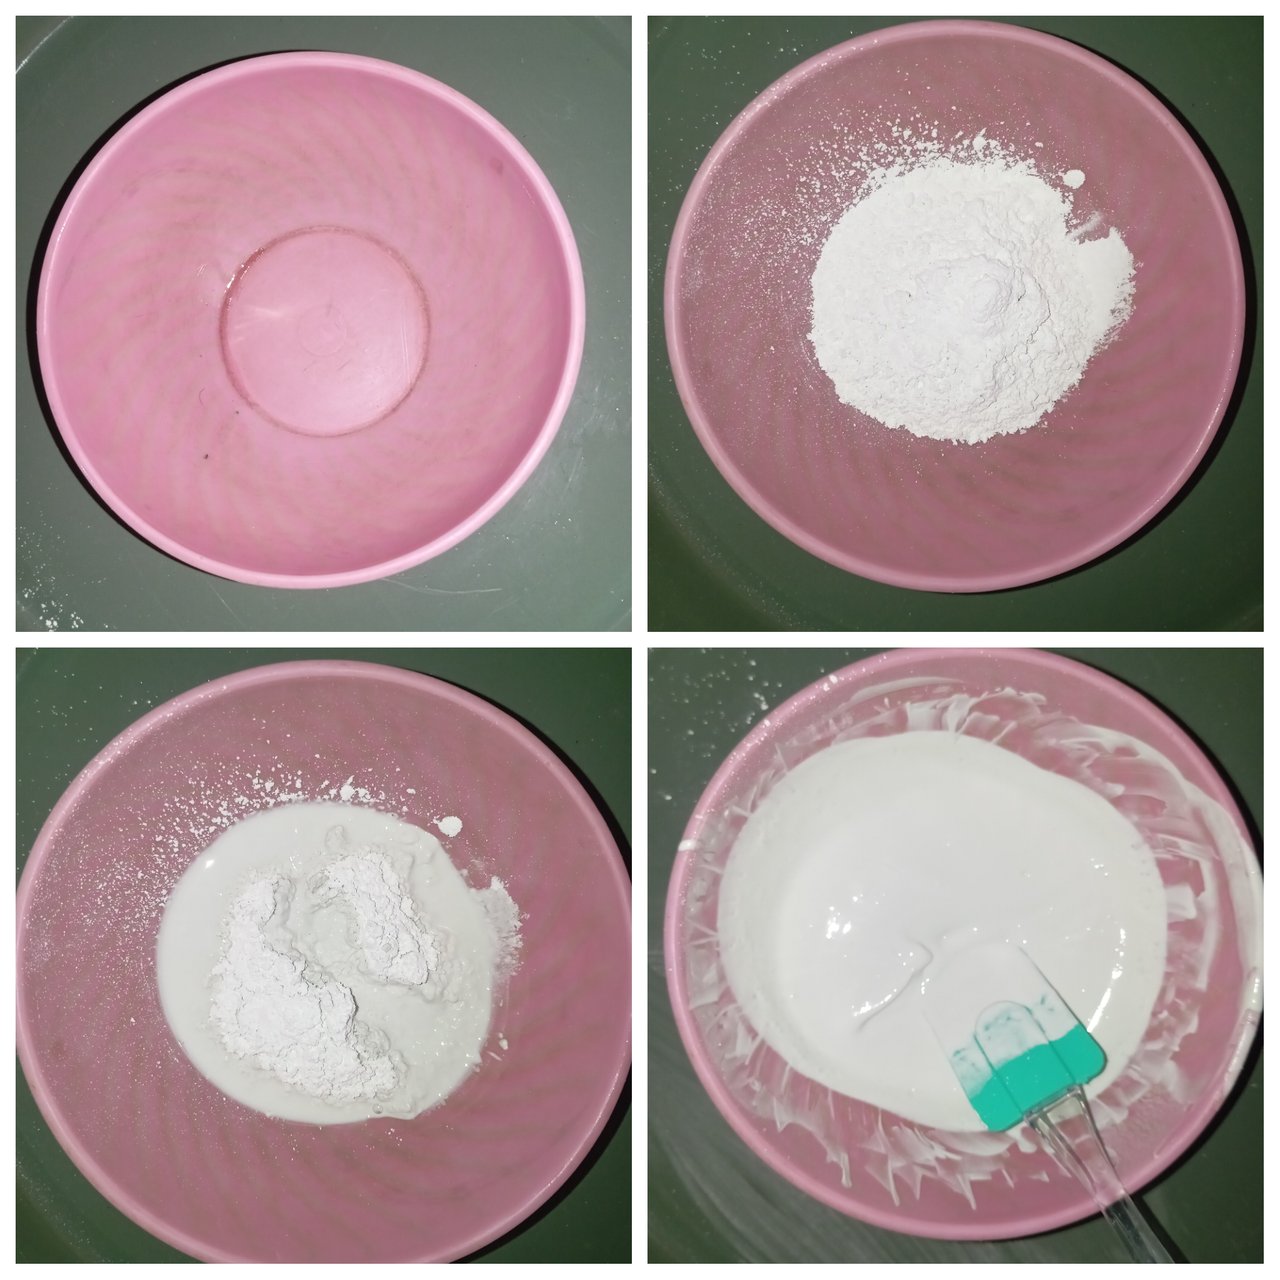
Step 1 Making the Paste
First, I prepped the musiac epoxy. I held 1 mug wall putty in a droughty bowl, added 4 tablespoons of glue, and a short water until the admixture came a chunky bond. The paste was sophisticated and simple to disseminate.
Step 2 Applying the Paste
With the help of a metallic spatula, I pertained the adhesive onto my complexion farmer. I carpeted it from underside to top, traversing the whole exterior unevenly. Since the epoxy dries snappily, I worked out presto to intact this step.

Step 3 Placing the Ceramic Pieces
After applying the paste, I precisely placed the broken ceramic tile pieces one by one onto the farmer. I used various pieces from my old mugs in red, unheroic, and blue tones. These bright colors stood out beautifully against the white paste.

Step 4 Drying
I kept the planter under sunshine for nearly 5 – 6 hours so that all the ceramic pieces stuck mightily to the surface.

Step 5 Finishing Touch
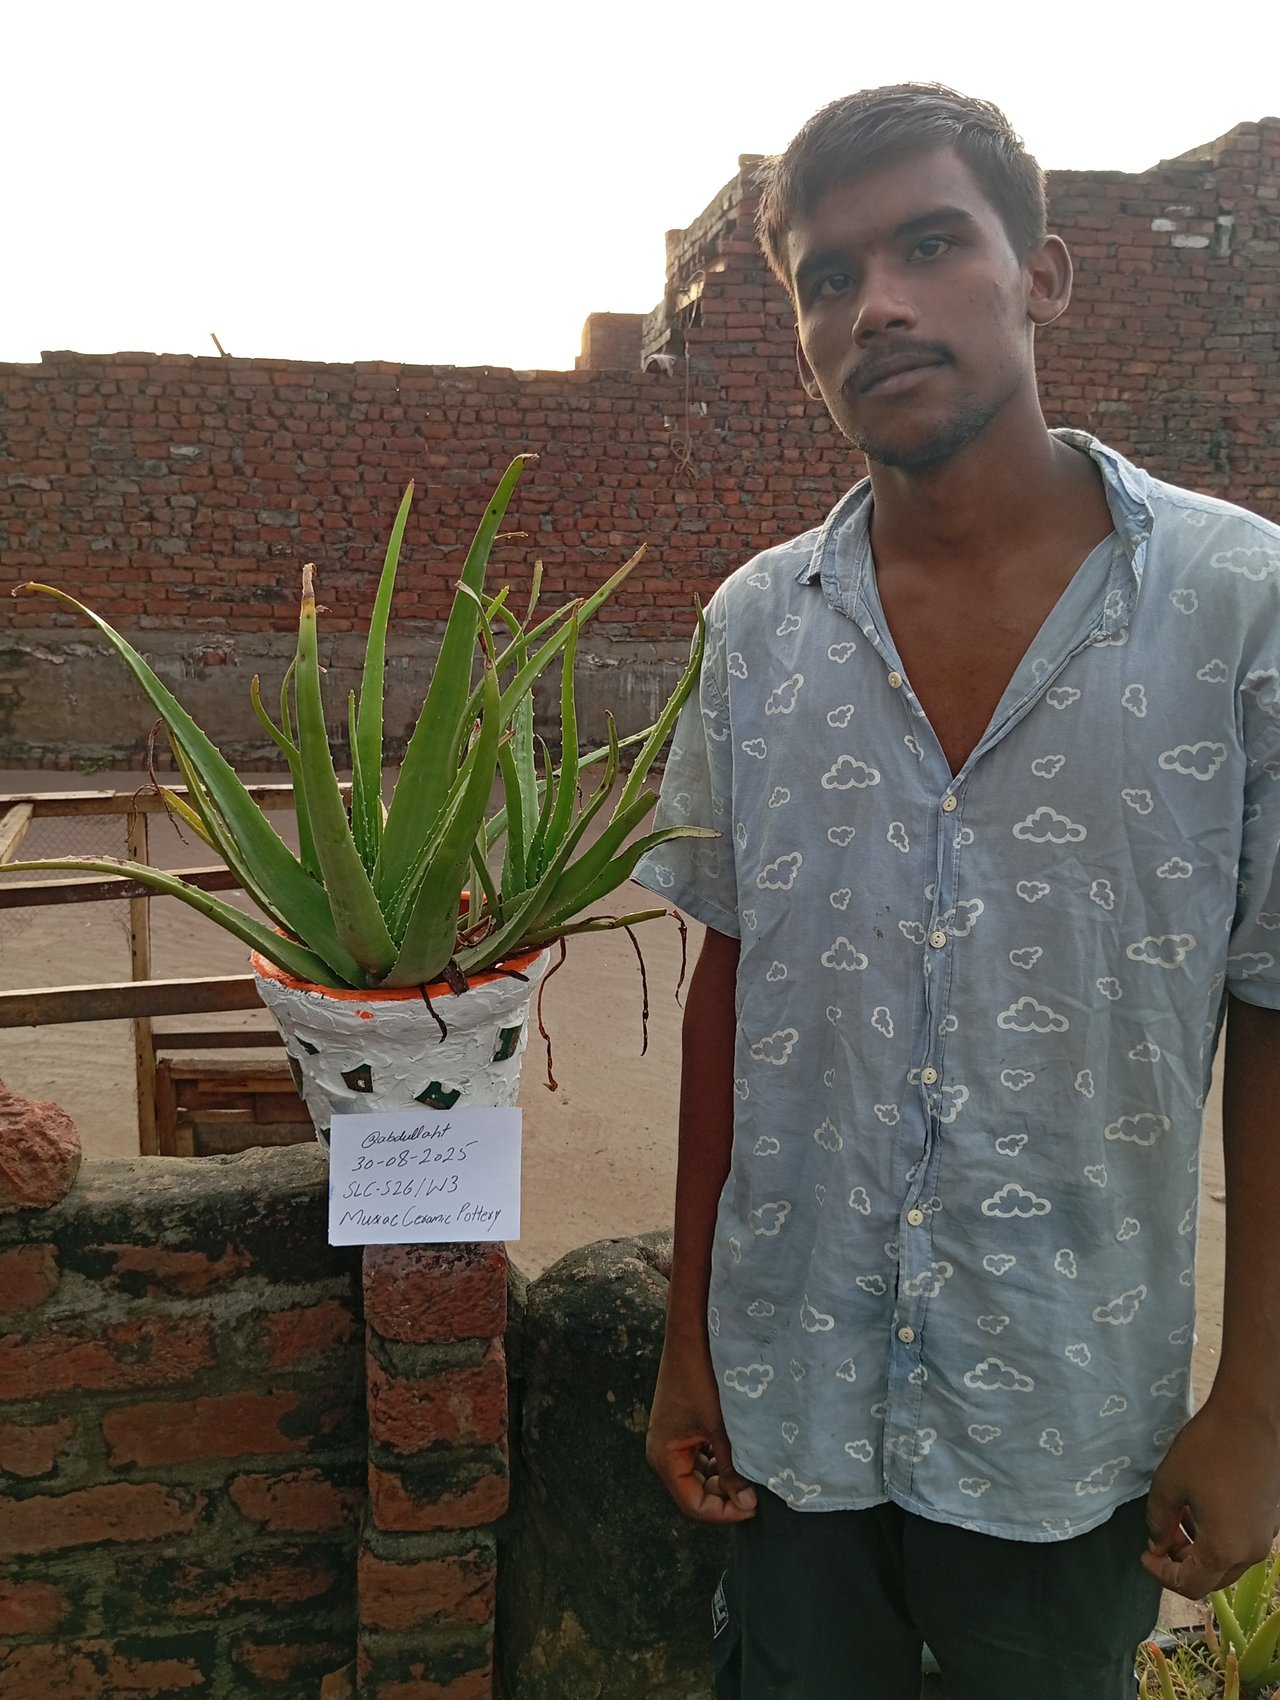
Once the pot dried fully, I painted the top hem with orange-red color using a encounter. It gave the tiller a sharp and vibrant look. Eventually, I filled the pot with soil and planted a small green plant outside. The final result looked truly stimulating and cultural.

I also write my username and date of the post for verification.

My Experience
- Which Musiac art I chose?
I chose Ceramic Musiac pottery for this week’s task.
- Did I like this art?
Yes, I enjoyed it veritably much. The various ceramic pieces created an extraordinary look, and I was surprised how broken mugs can turn into such a ornamental pot.
- Any difficulties faced?
The only difficulty was working snappily because the paste dried veritably presto. piecemeal from that, the process went easily.
- What if pottery does n’t turn out as anticipated?
still, I do n’t get worried, If my pottery does n’t come out the way I imagined. rather, I take it as part of the creative trip. Every mistake is a new idea for enhancement, and I believe art always teaches forbearance and continuity.
Conclusion
This week’s challenge was both creative and inspiring. I feel proud of my handwrought ceramic musiac pot, and it formerly has a special place in my garden. similar conditioning not only reclaim waste but also add beauty to our surroundings.
Invitation
I would love to invite @sadaf02, @suboohi, and @taaher1 to join this week’s pottery challenge and partake their creativity with us.
Best Regards,
@abdullaht
I really like your pottery wish you best luck.
Thank you brother.
Thank you brother.
Saludos
Quedó muy linda su maceta, como bien dices un arte con material de provecho, es genial utilizar material para darle nuevo uso.
Buen paso a paso y fotografías.
Su maceta resalta la cerámica con el fondo blanco y colocó para cerrar una hermosa planta de sábila/Áloe vera.
Que te encuentres muy bien!!
Thank you for your support and appreciation.
X link
https://x.com/steemlover/status/1961850091641417802?s=19