Let's do it...Do It Yourself👉Craft, Creativity, Drawing, origami, DIY, Recycling and more week66

Materials for drawing
- Strong board
- Pencil
- Brush
- Acrylic colour
- Paper cutter
- Eraser
- Sharpener
- Evostik gum

Step 1
I used the opening of a big bowl and a pencil to draw a big circle on a strong board.

Step 2
I carefully cut out the circle drawn in step 1 using a paper cutter.

Step 3
I used a white acrylic colour and a brush to colour the surface of the circle.

Step 4
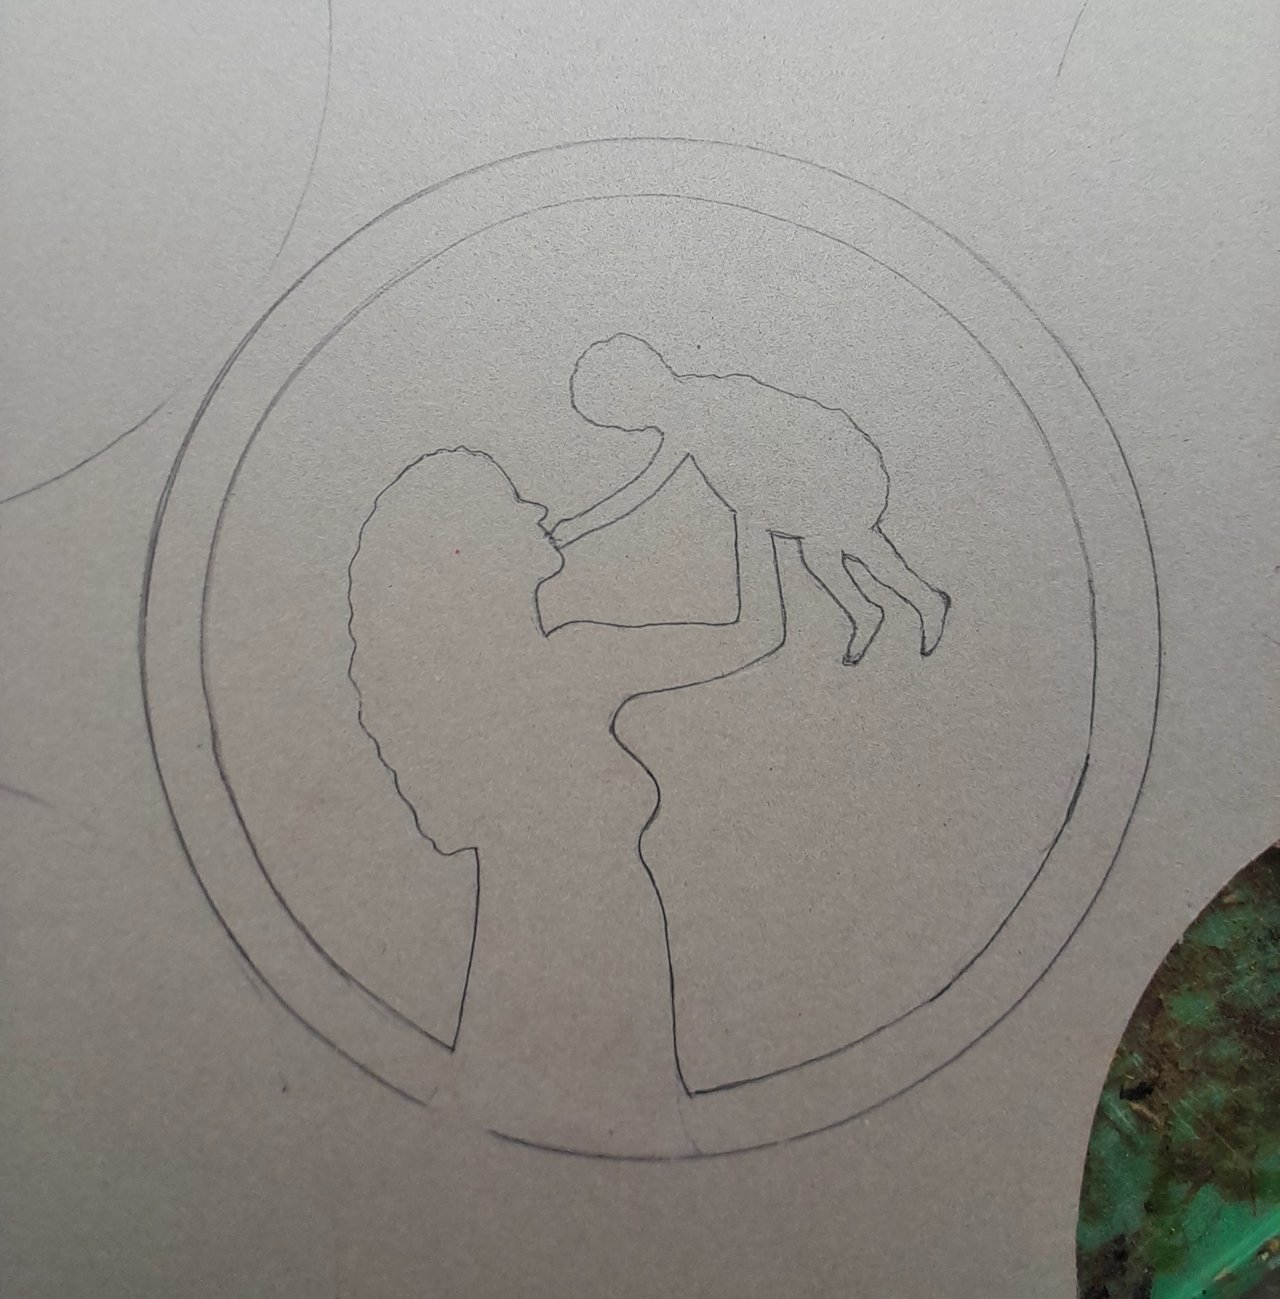
I draw another circle of the same size as the one above. In the circle, I drew a woman. I began with the hair on her head, her face, and her hands lifted up. I then drew her chest and part of her body.

Step 5
I drew the baby in the woman's hand whom she held above her height. I began the drawing from the head of the child, his hand, which the baby stretched to the mother's mouth, the baby's back and then the two legs. I also drew a circle on the strong board which is 1.5cm from the boundary.
Step 6
I used a paper cutter to cut out the drawing. I began with the mother, followed by the baby, and then the circle surrounding the mother and her baby.

Step 7
I used a black acrylic colour to colour the mother and her child. I also coloured the circle surrounding the mother and her baby.

Step 8
At this step, I used evostik gum to glue the mother and her baby on the white background circle. I robbed the Evostik gum on the mother and her baby and then glued it on the white background circle. I then trim the edges to ensure that the edges blend. Lastly, I coloured the edge of the circle with black acrylic colour, fixed a holder for hanging behind it and then wrote my name on the craft.

My Selfie

Conclusion
These are the steps I have taken to construct craft (wall decoration). Thank you all for visiting my block and for your support. I invite @safdarali, @wilmer1988 and @saikat01to also participate in the contest.
10% beneficiary to @steemkidss
Here Is My X Share (Twitter) Link
https://x.com/Manasseh3600/status/1930044158585999687?t=2XCYJuZCbNb2jDab-Meghg&s=19
Thank you for publishing an article in the Steem Kids & Parent community today. We have assessed your entry and we present the result of our assessment below.
MODs Comment/Recommendation:
Wow, What a beautiful and unique hand craft from you.... You also gave a well detailed description on how it was actually made... Thanks for sharing with us... It is highly Appreciated 👍
Remember to always share your post on Twitter. This POST LINK is a guide to that effect.
Thank you
It's truly very beautiful wish you all the best ❤️.
Congratulations to the winners from
"Landscape" competition 85
🥉 3rd Place
@caringmanasseh
3 Bingo Tickets
The post is Upvoted 60% from steem-bingo trail
And the bingo tickets were entered into the draw 59
https://bingo.worldofxpilar.com/
This is very beautiful 😍
Thank you
Our team is looking for quality posts and comments to reward across the steemit platform. Enhance your experience in creating engaging content
Curated by @mahadisalim
Thank you