SC-S26W1/Video Editing, Getting Started

Capcut has been an app that I have been using to edit most of my videos though not professionally. I have been doing trial and error in most cases without knowing the actual things they are used for it even their names. All I do is to click on any if the tools on the menus and watch the effects it gives. Thankfully, this particular course is here to help me truly understand this app and know what each of the tools stand for and how they are used. Att thanks to the Steemit team for choosing @anailuj1992 to give us this course on a platter. I have truly benefitted from the lessons learned.
Here below, I will show what I have practiced after learning. I am going to follow the process she taught to open my capcut app, click on new project, go to my gallery, select 2 clips, 2 photos and 1 overlay. I will also use the settings to crop the clip where necessary. Then I will add them to the workspace in capcut, on the menu bar 1, and menu bar 2, I will use show the icons that appear there and the icons I used including the new project icon on the menu bar 1 and the play/stop icon, the overlay icon, the delete icon, the edit ratio icon and others. Then the zoom in and out as well as the export icon. Playing around capcut icons was fun for me because even though I have been seeing these icons. Their uses eluded me until now. Just come along with me and see for yourself
Steps I took to import the 2 clips, 2 images
✓ I already downloaded the capcut app a long time ago on my device. What I did was to click on the app to open it. Then it took me to menu 1 that shows the icon where I can click to import the clips and images
 | the area I have indicated on the screenshot is the new project. Clicking it took me to my gallery |
|---|
✓ next, on my gallery, I was able to navigate between pictures and videos. I first selected the 2 clips and then the 2 images of the same purpose. They all relate to the pure worship Regional convention that I just attended at the beginning of this month of August.
| On the screenshot, I have indicated the video and photos at the top as well as the photos I selected. the clips and the photos I selected are there too |  |
|---|---|
 | I was also able to use the settings and the crop button to adjust the clips to the length I wanted |
 |  |
|---|---|
| Play button | stop button |
 |  |
|---|---|
| Add button | screenshot shows the ones I already selected |
The screenshots above show the play button and the stop button. I was able to use them. I also tried using the add button even though I had nothing to add but it's just to be sure that what I have learned is true. I have been seeing it there and the time I tried using it, it didn't give me what I needed. I am glad to learn how to use it.
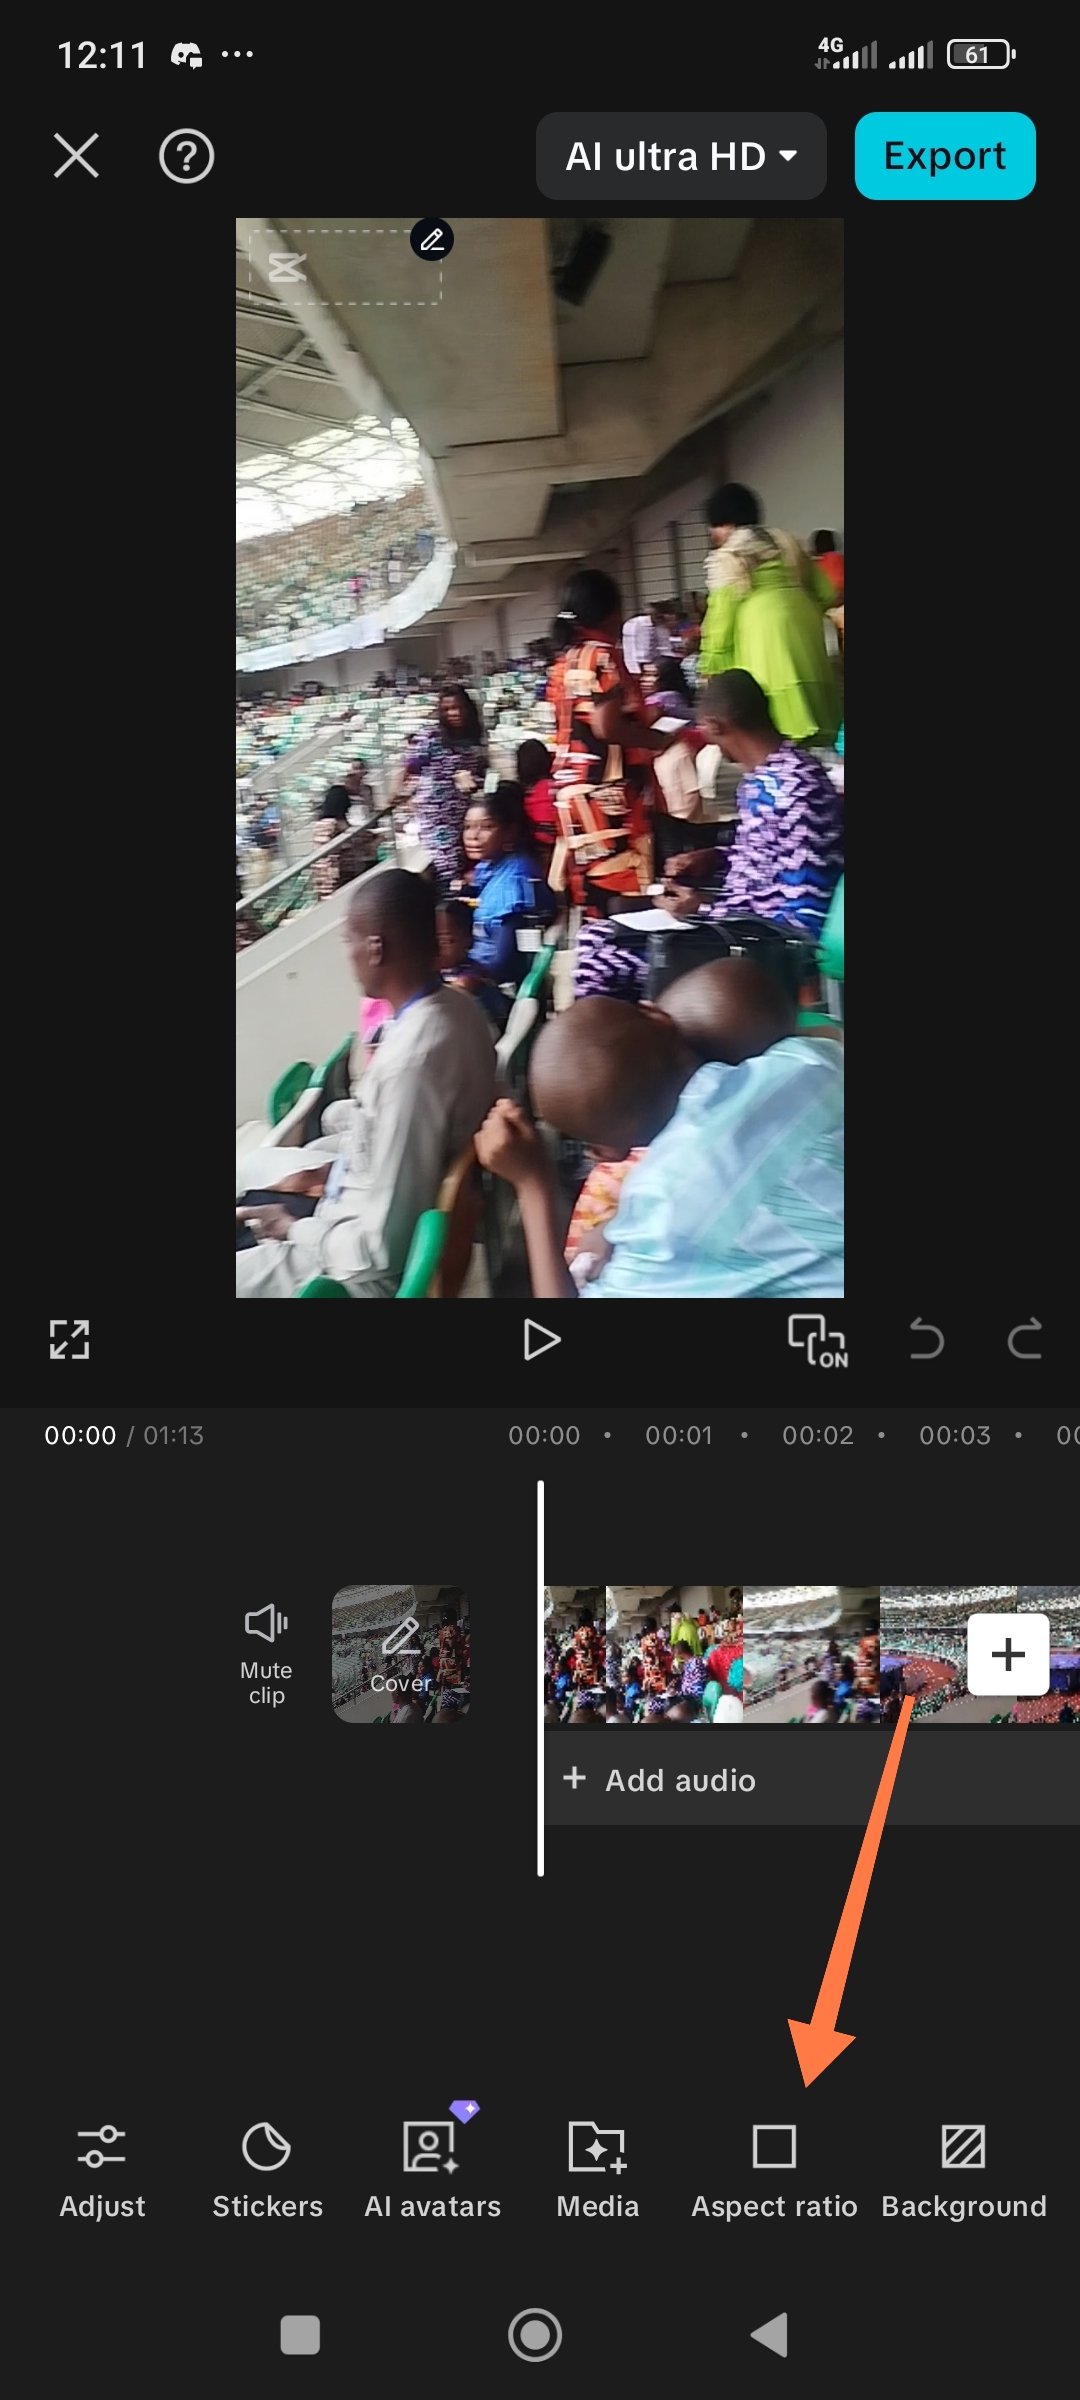
✓ the next step was the menu bar below the work space. After the clip, the photos are added to the work space, the menu bar will look like the one I indicated in the screenshot by the left hand side below. You can see edit, audio, text, effects, overlay and caption. Whereas as soon as an item is selected as indicated by the arrow in the screenshot by the right hand side, the icons on the menu bar changes to what you see there. You can see split, volume, animation, effects, delete etc.
 |  |
|---|
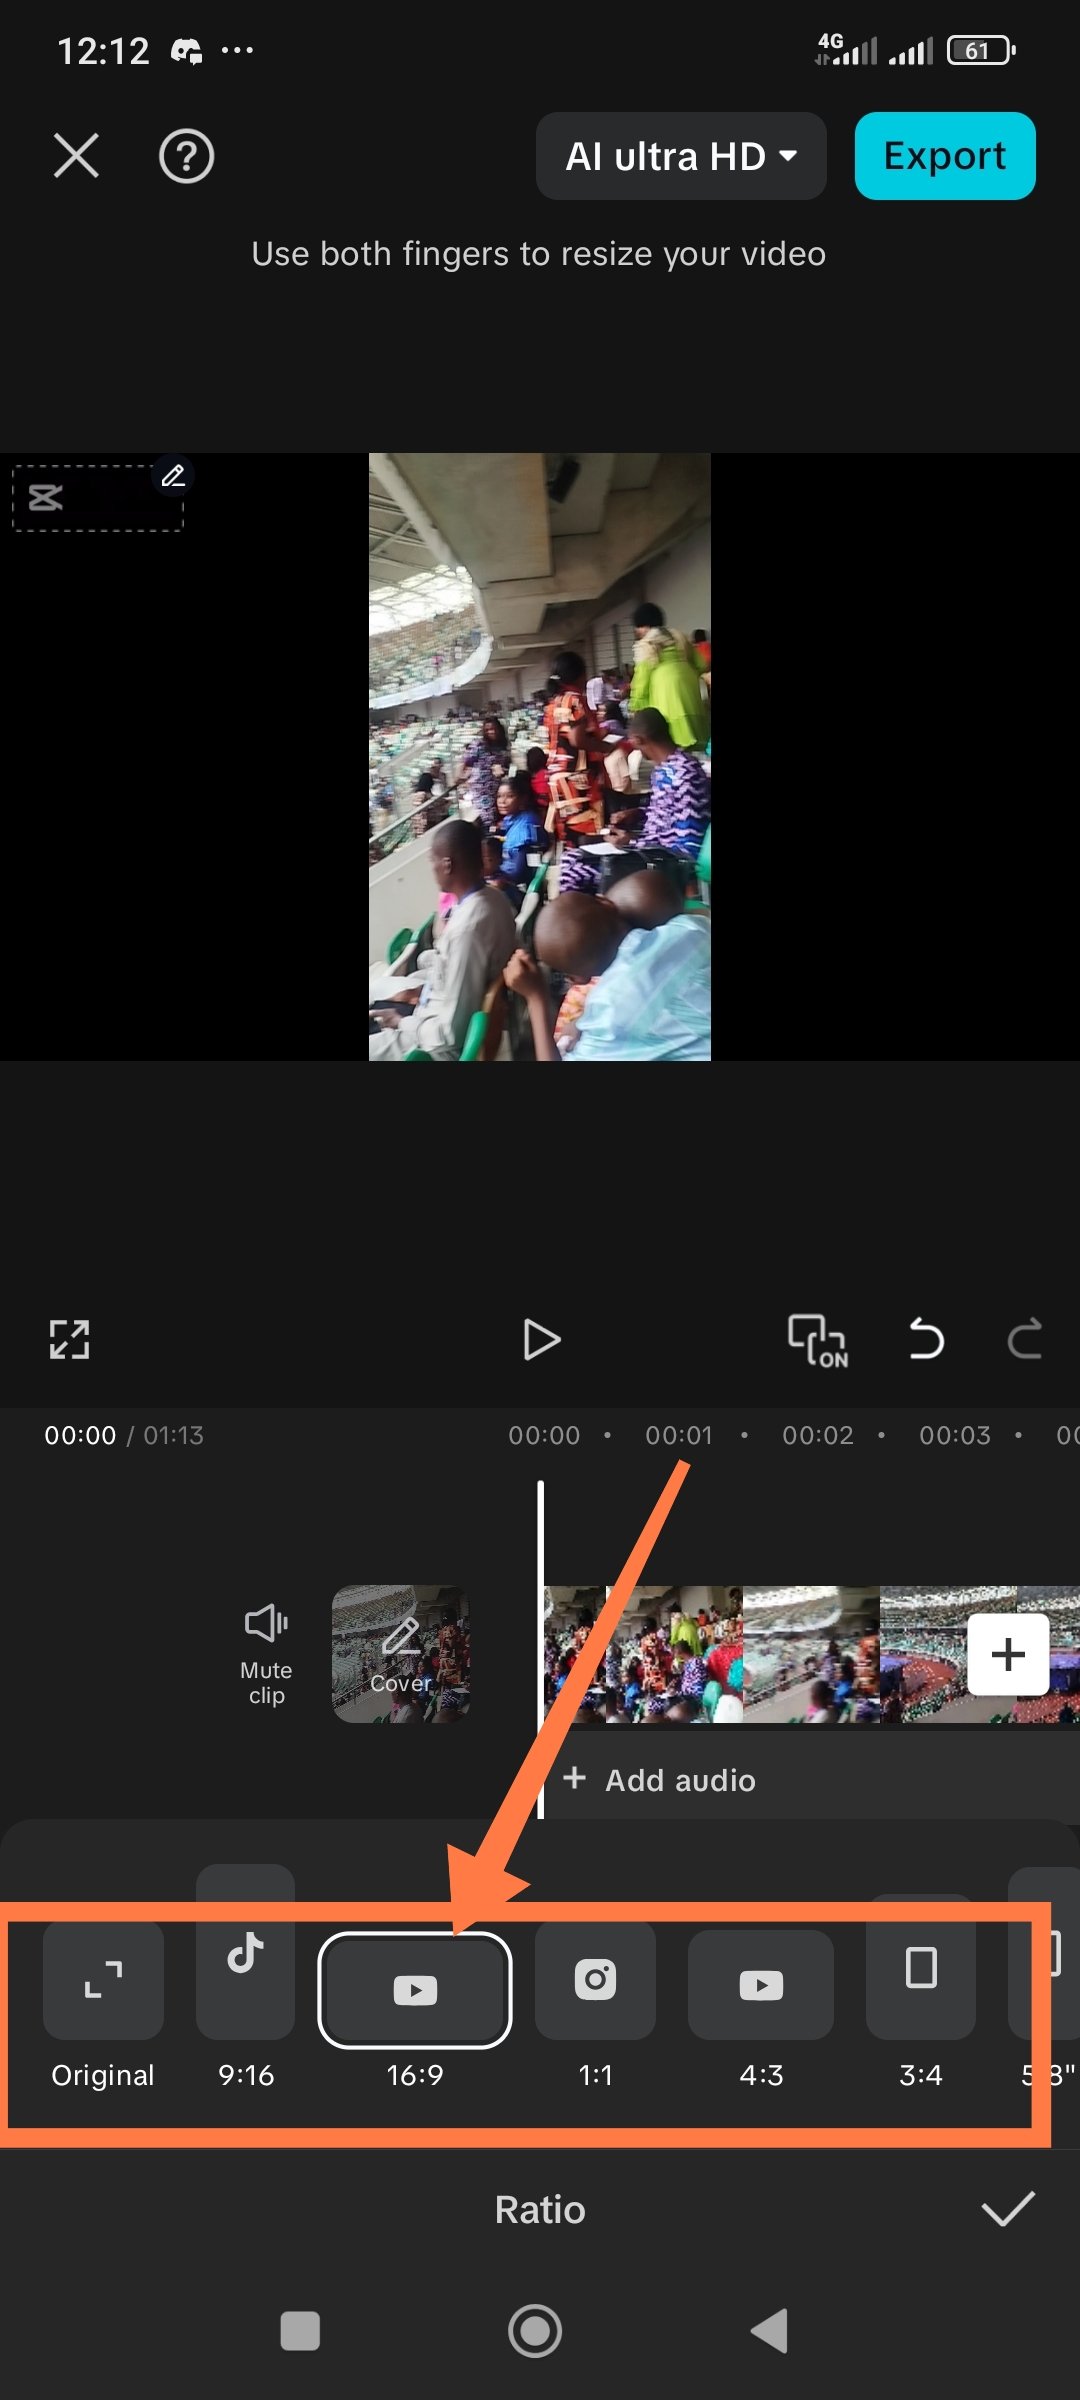
✓ Aspect Ratio is used to just the size of the screen, that is, to zoom in and out depending on how we want it. We can see the icon on the menu 1 just second to the last of the icons found on that menu bar. The screenshot on the left indicates that. When it is selected, I chose ratio 16.9 as indicated on the screenshot at the middle. Then I selected the item and used my fingers to zoom in and out to achieve what I have on the screenshot by the right hand side below.
 |  |  |
|---|
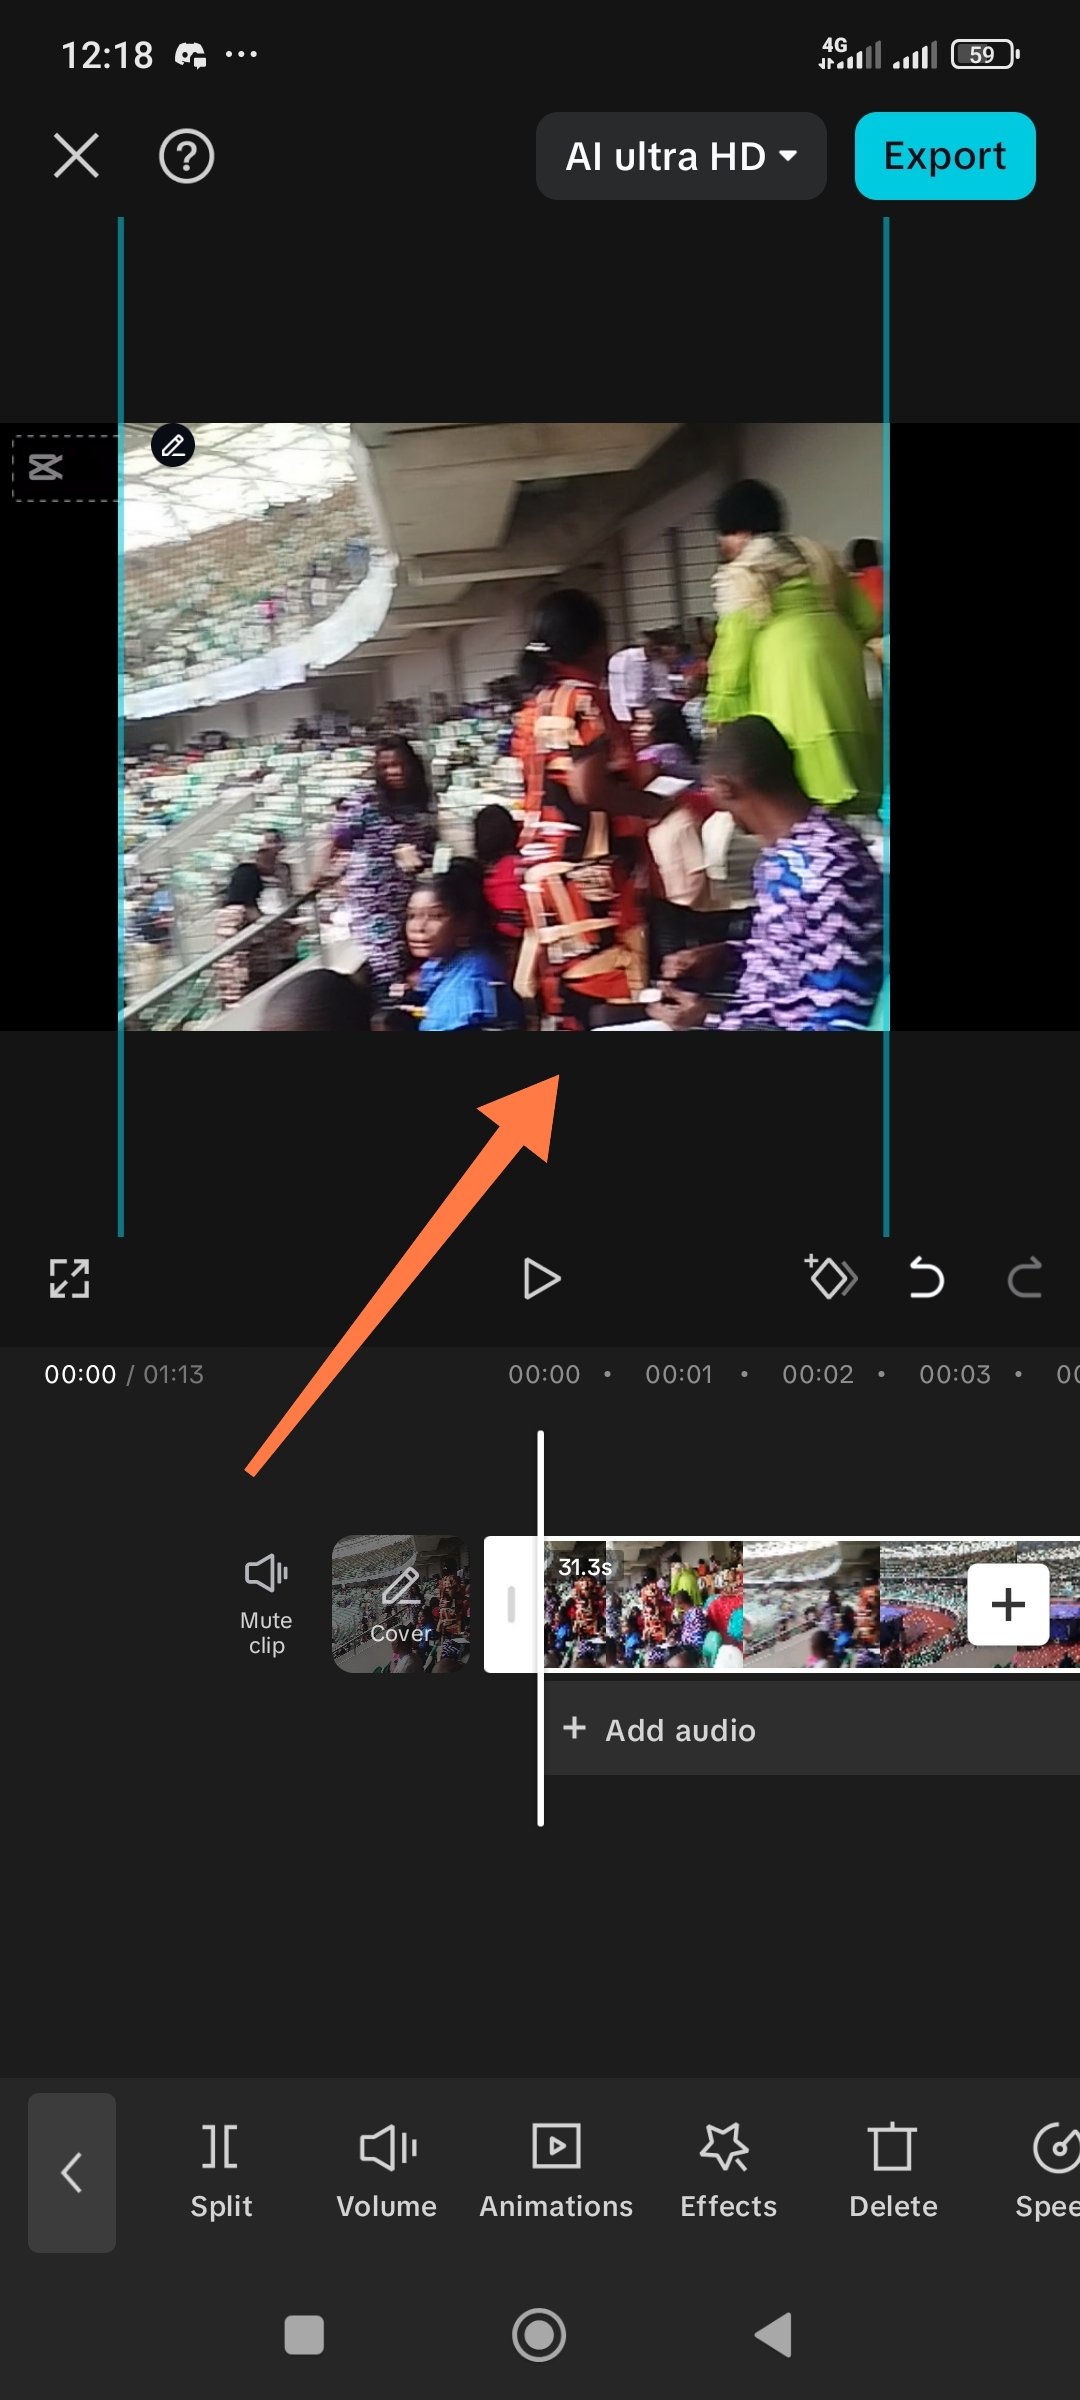
 | I used the delete icon to delete the ending after selection as shown |
|---|
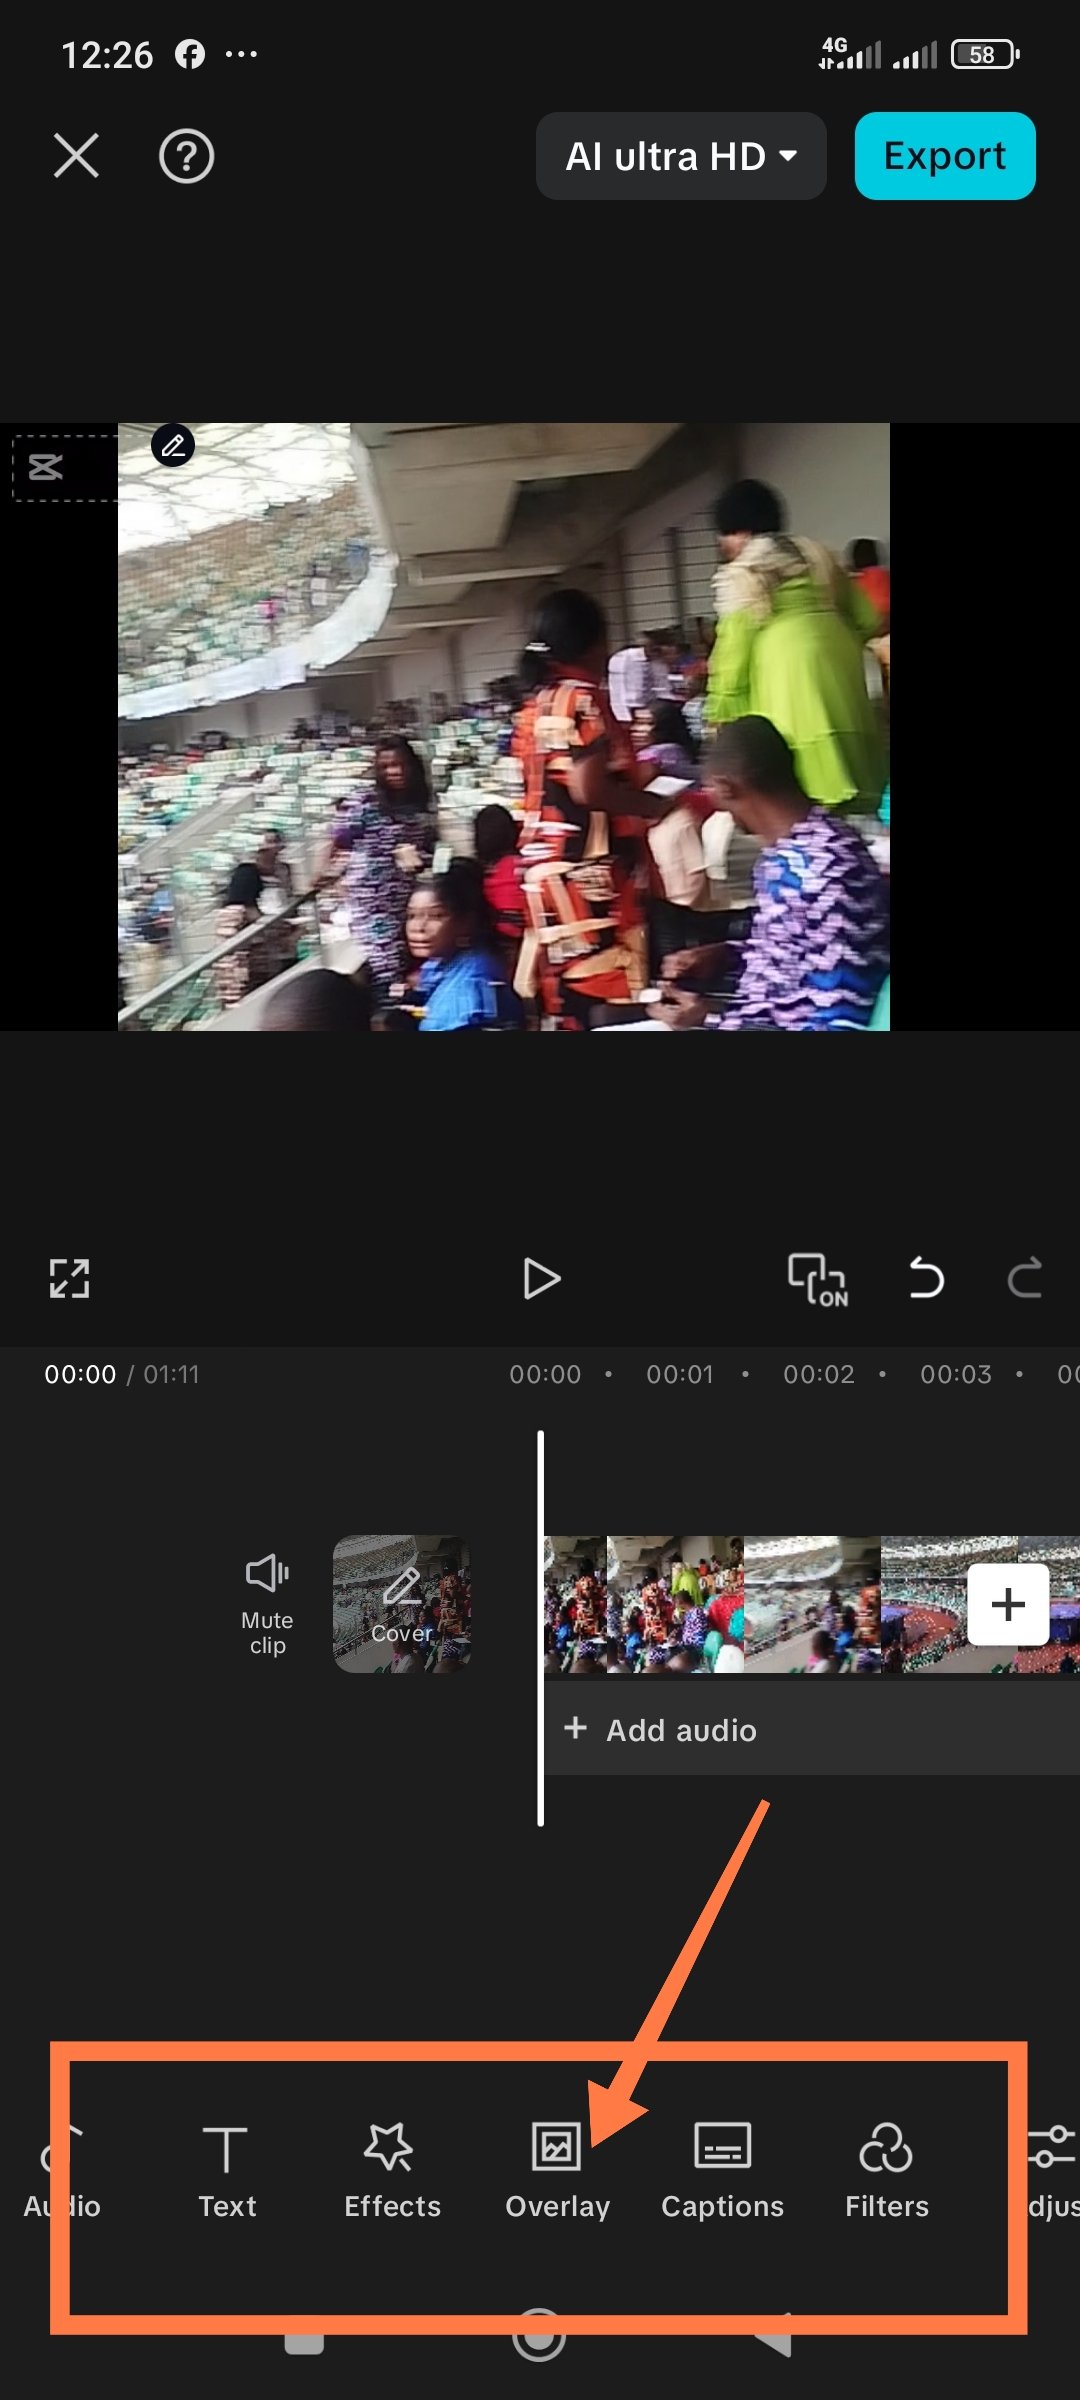
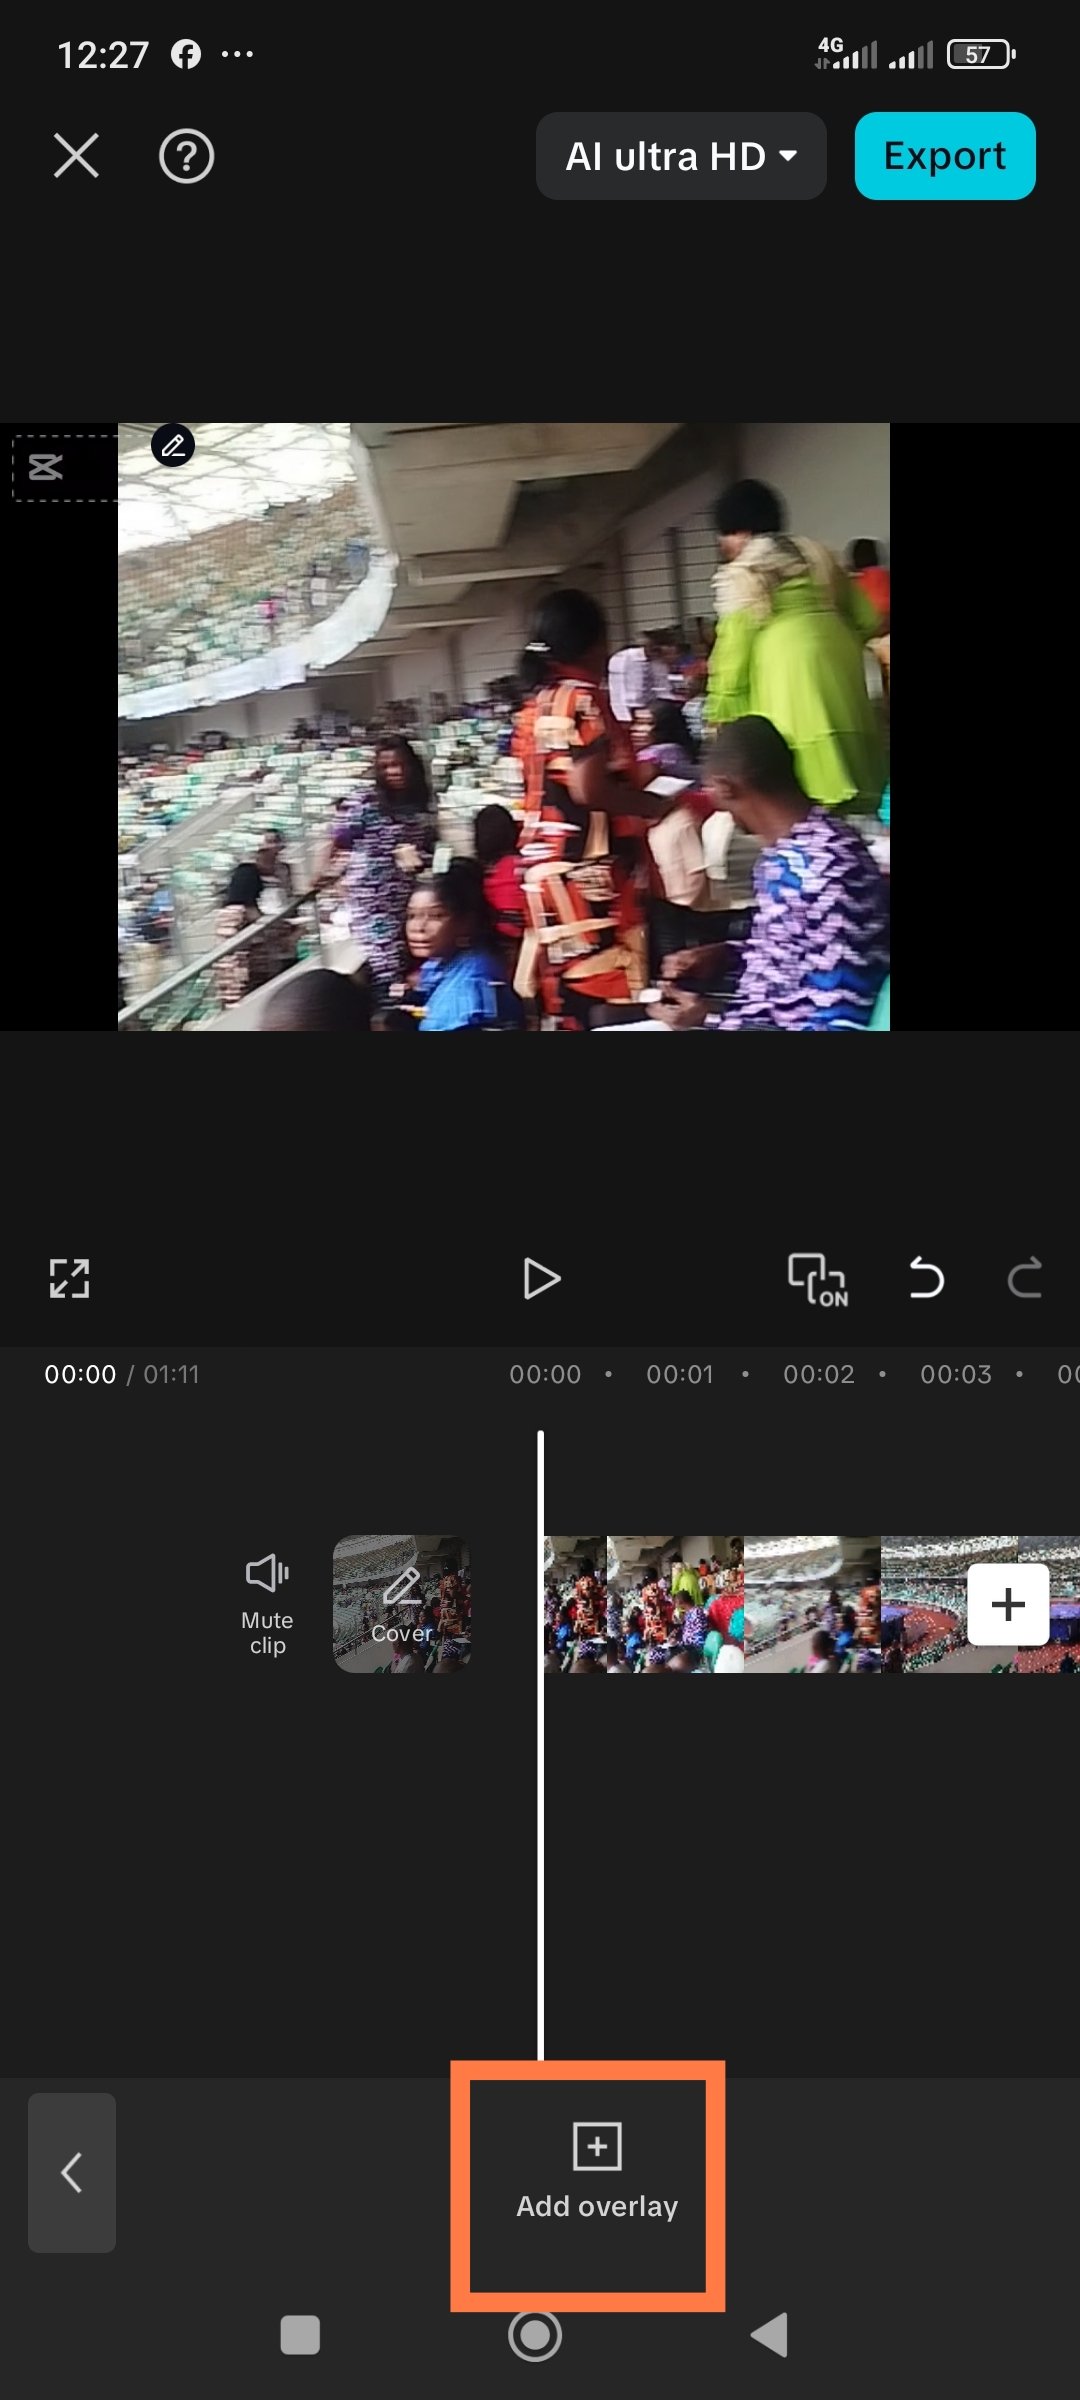
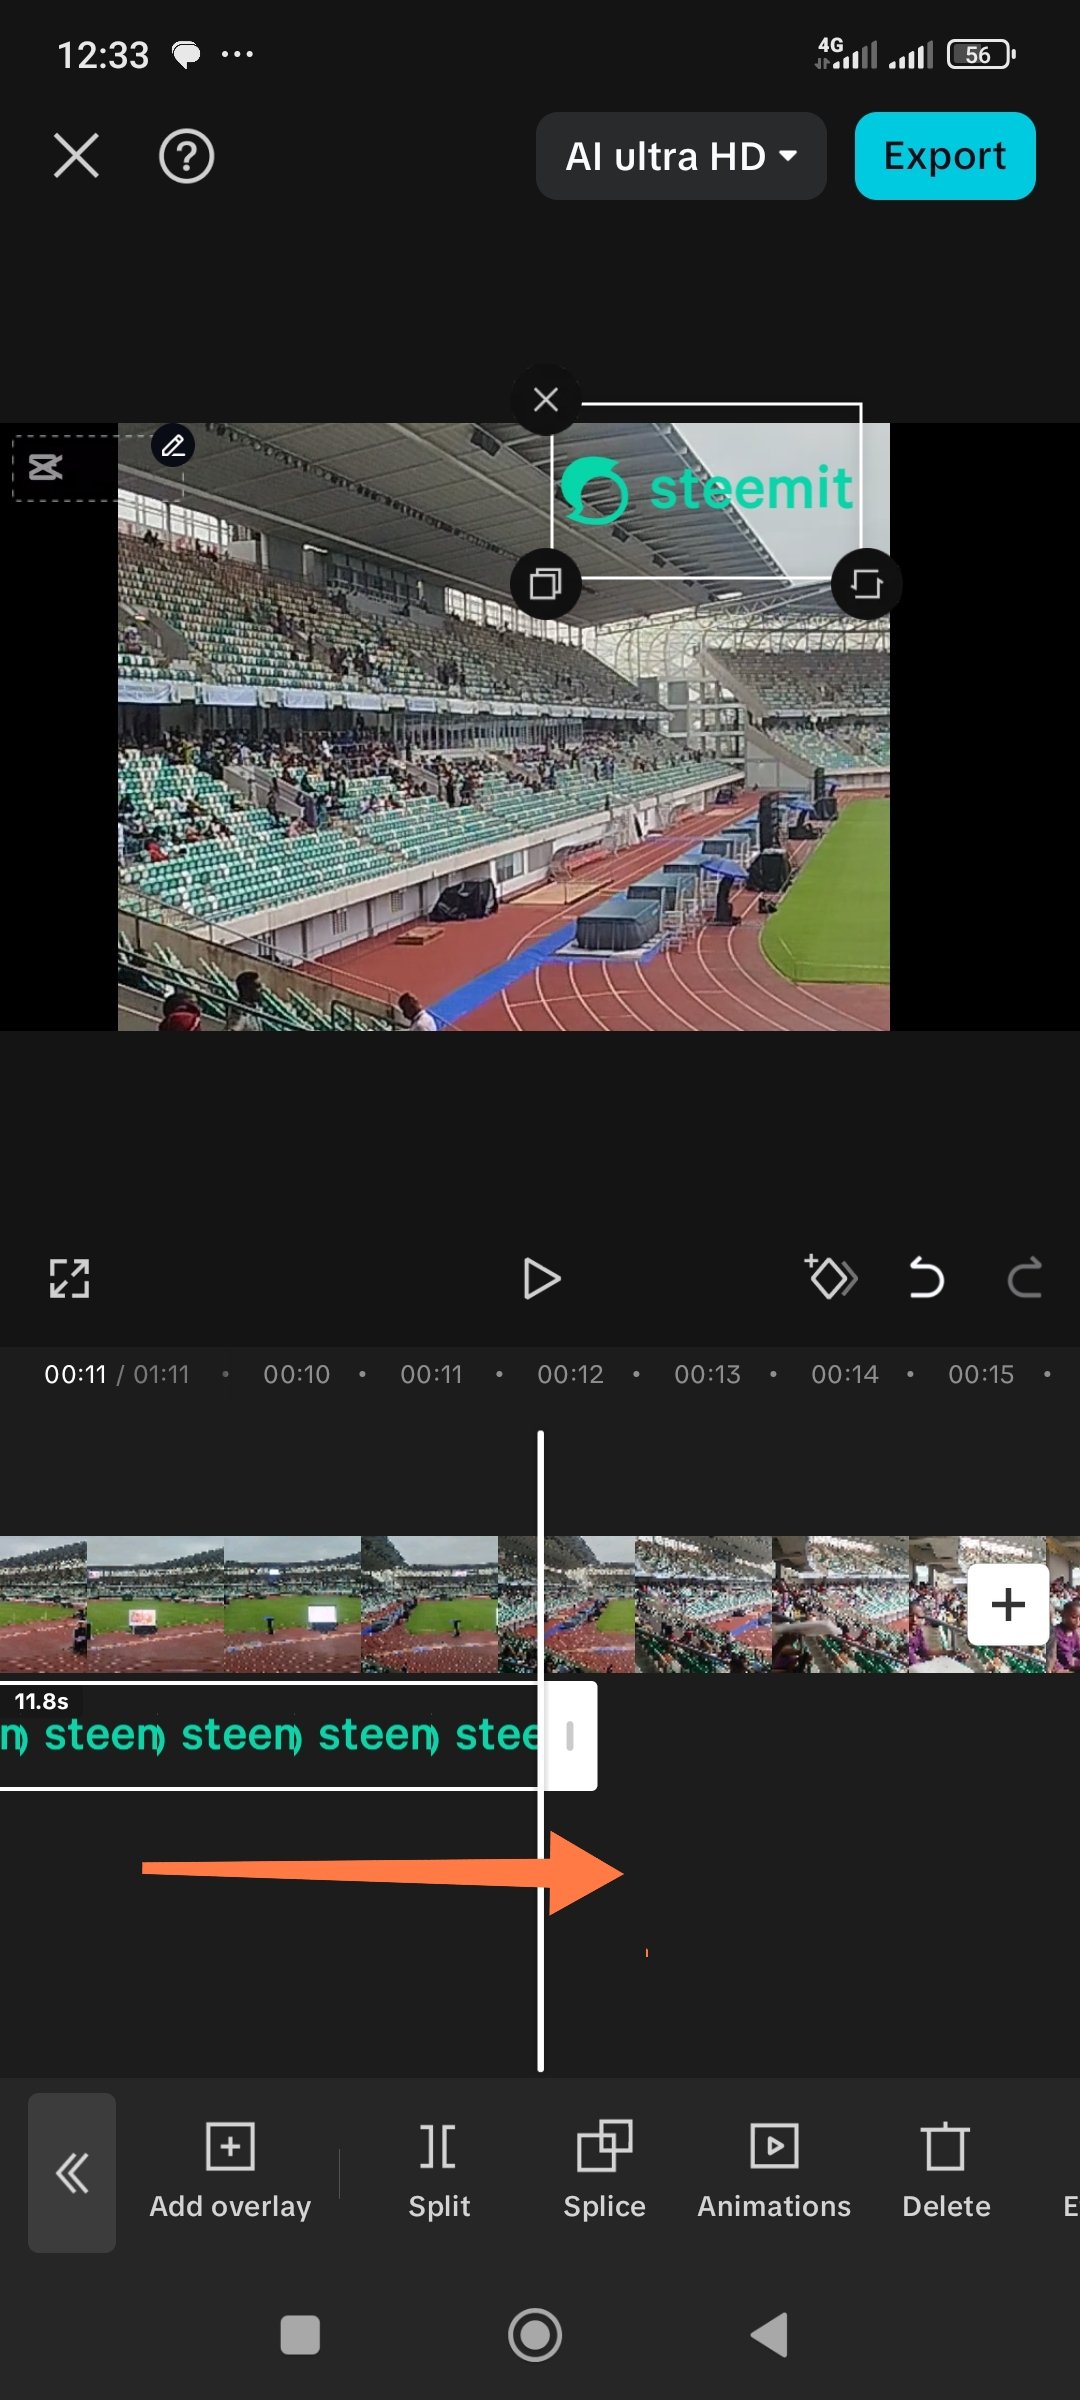
✓ Adding an overlay
I then clicked on the overlay I on on the menu I, then clicked on add overlay. it took me to my gallery where I selected the Steemit logo I already downloaded and added it to the workspace. Then I used my fingers to reduce the size and to move it to the corner as you can see on the screenshots below. Then I clicked and dragged it till the end of the video so that it can appear on all the scenes.
 |  |
|---|---|
 |  |
 |
 |  |  |
|---|
The last thing I did once I was sure that I have applied all that I learned was to export the video using the export button at the top right corner of the capcut screen as indicated on the screenshot below
 | export |
|---|
Below is the link to the video
I will continue to learn and to practice. For sure, there will be a lot of improvements in the end. I can't wait! @bossj23 @impersonal @ruthjoe pleaseyou are all invited to take part in this challenge. Wishing you all the best
I used my Redmi Note 13 to record the videos and take the pictures even to participate in this challenge

This is my introductory post here

Trial and error is a starter way of learning especially without a mentor ready to help. You learnt from it despite it's error and slow mode likewise me. I guess the trial and error days are over since we are opportune to have a tutor on Video editing. I have this assurance that we will be able to excel in the field of video editing during and after this proposed six weeks. For your write-up and video, you made sure you deliver everything accordingly and excellently. Kudos to you and good luck ma'am 🙏
Honestly, the days of trial and error is gone. I can now learn their real uses and use them accordingly. Yes, with a tutor, I will learn faster within theze 6 weeks. Thank you for the compliment. I wait to be scored
You're welcome ma'am
As expected, it was one of the best I have visited so far. Now I have decided to do my next through this app on my phone (If I do) and see how it works for me. All the best.
Note. I can still change my video with a proper logo but I will not 👍.
I fell the most important thing is the do the editing as instructed which you did. Anyways, nothing is wrong if you choose to have the app experience. I personally prefer going through the app. Thank you for engaging and for the best wishes
You know on YouTube and ClipChamp I can do everything within minutes and without any extra effort. I just keep experiencing for the sake of experience like I recently tried to sing for a bossj post and that was another experiment I did. I suggest you to try ClipChamp for editing and that one is super user friendly.
I don't know about the clip charmp. I will check it out too. Thank you for this
It's
https://clipchamp.com/en/
Thank you so much. I will try it out
https://x.com/NgoziNwank56943/status/1955358765013987615?t=aWOeHg_OVFa3zKnPlVmAbw&s=19
Por lo general usamos las aplicaciones "de forma intuitiva", pero es bueno recibir las instrucciones de alguien más que nos oriente los nombres y utilidad de las funciones, de manera que trabajamos con un poco más de conocimientos.
Compartiste un paso a paso detallado del uso que le diste a la aplicación para esta primera sesión. Felicidades por la convención a la que asististe y compartiste en tu video. Éxitos.
Yes, having a tutor makes all the difference and we are happy to have one now.
Thank you for the compliment. I appreciate dear friend
!upvote 50
the post has been upvoted successfully! Remaining bandwidth: 200%
Greetings @ngoenyi ! I admire your efforts for this post. Your way of explaining CapCut functions is very clear and helpful. I learned how this app can make video editing very fast. cap cut has amazing tools, effects and transitions. Your tips are very easy to follow. This will help to beginners for creating professional videos. Reading this has inspired me to try CapCut for my own projects.
I am glad that you have been inspired. Thank you for engaging. I will be waiting for your entry
Wow, this is beautiful capcut editing app has been helpful. You did an awesome work here and I'm motivated to give this challenge a try. But before then good luck.
It will be awesome to give it a trail. I will be waiting for your entry to see how you did it. Thank you for the compliment and for engaging
Wow, this is a great video editing. I've been wondering how video editors do come up with different and eye-catching videos. Steemit has really taught us a lot of things, and using capcut to edit video is not excluded. Honestly, I didn't know about the "overlay" feature in capcut and how to use it. With this presentation of yours, I'll start applying it in all my videos. This is a nice learning challenge worth participating.
We are grateful to Steemit for this opportunity. We will keep learning and keep improving