SC-S26W4/ Transitions, animations and visual effects

The fourth week of the video editing tutorial using Capcart tools seems like a great learning experience for me. I have learned a lot from using the tools used in the last three tutorials up until this fourth week. Let's start using the tools in today's tutorial.
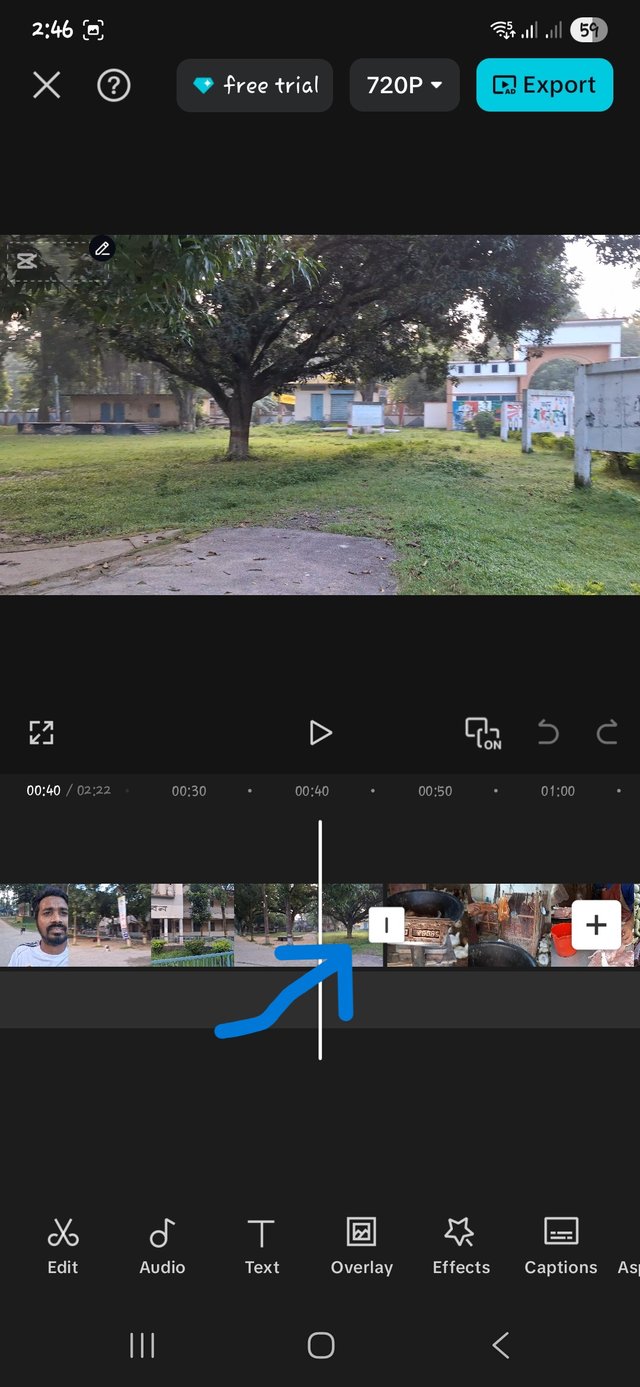
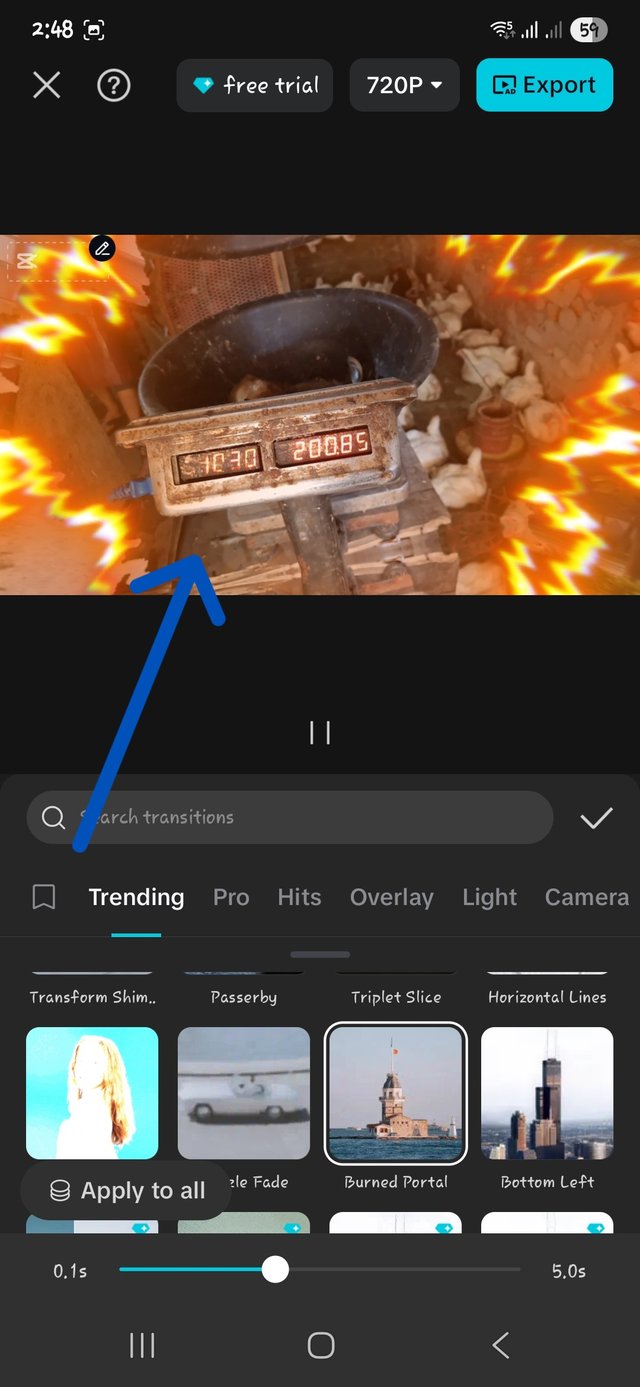
I first selected and added my clips. I first added transitions to my clips. There were many transitions here. I selected one. It creates a great attraction for entering from one clip to another. There were many options here. Click here and adjust the time by selecting the desired time and how long you want it to show. Now click on the ✅ sign to finish using the first tool.
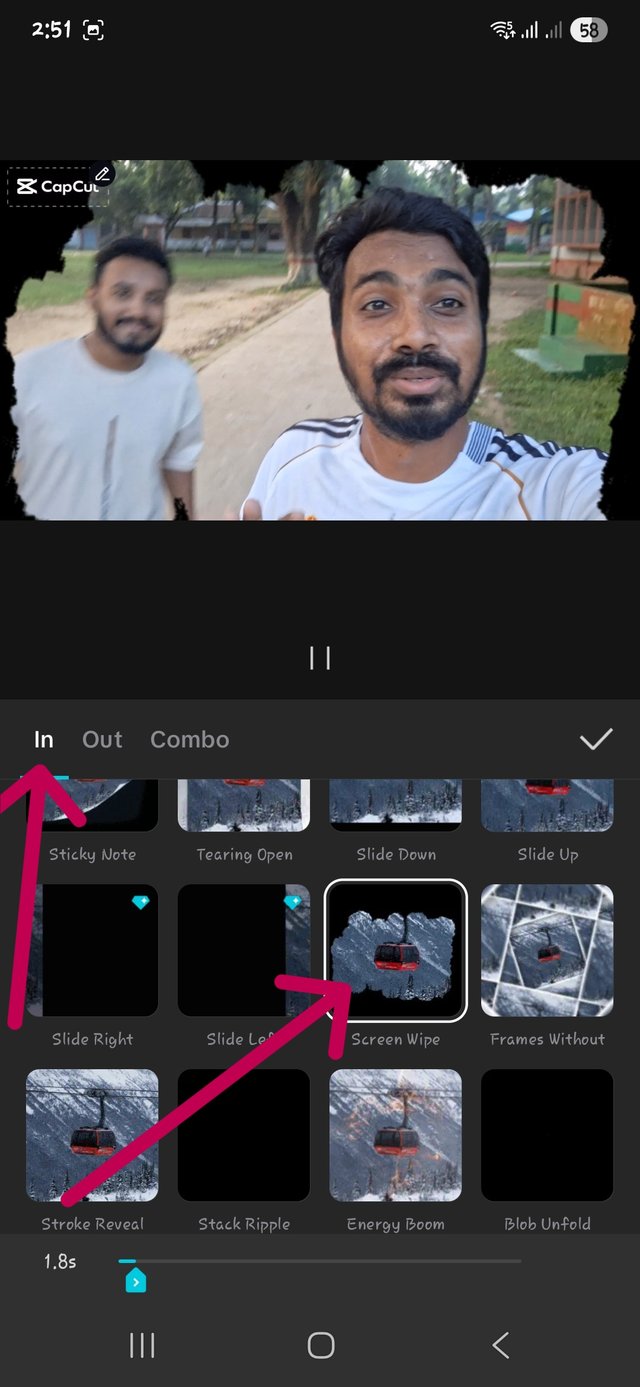
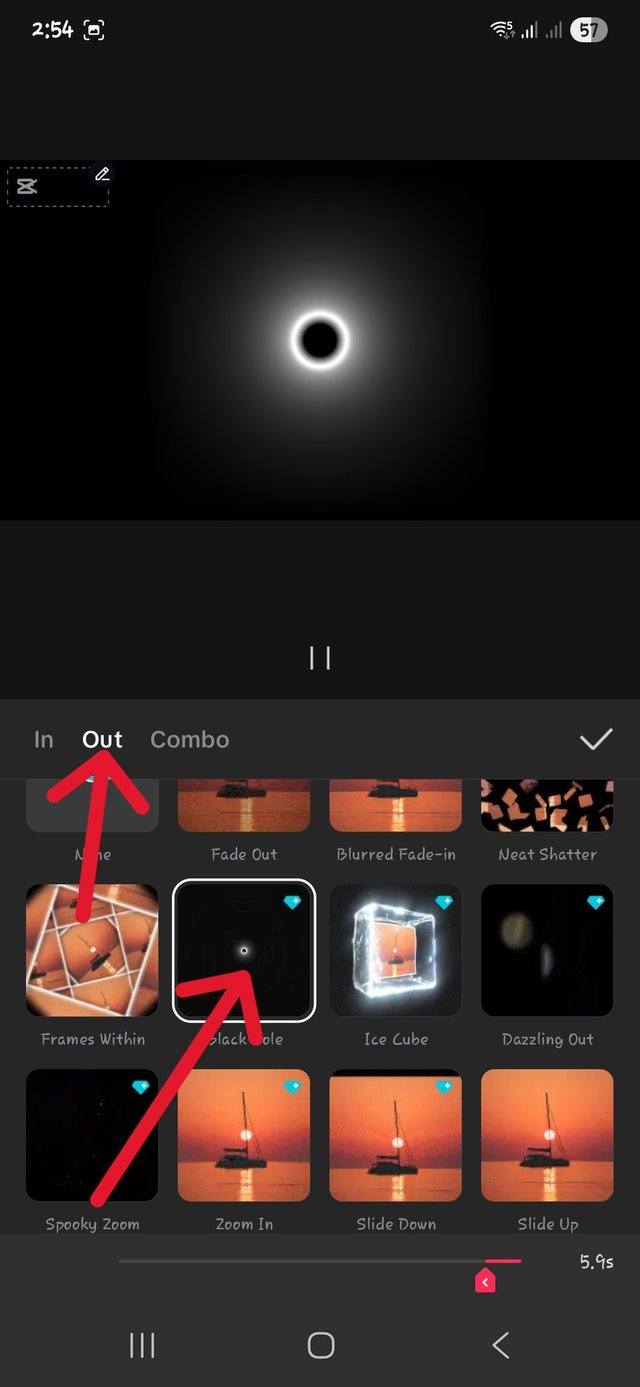
Using animation Clicking on this will show you the use of three tools. In, Out, Combo, In is used to show how you want the video to start and Out is used to show how the video will end. Each one has an option to set how long you want it to show. I ended up using the animation tool by selecting the animation for the start and end of my choice and setting the duration. I didn't use the combo option.
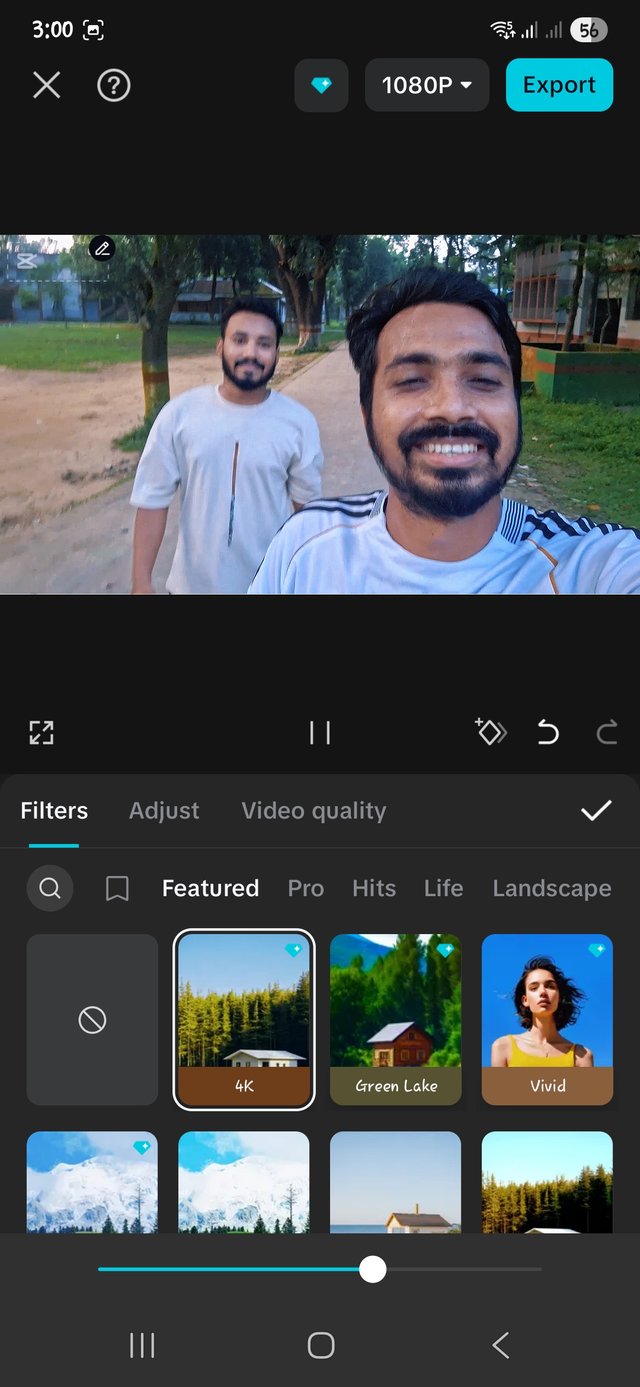
Filtering This is used to increase or decrease the color and brightness of the video clip. I used it sparingly in my tutorial and it was used from the first clip to halfway through the last clip.
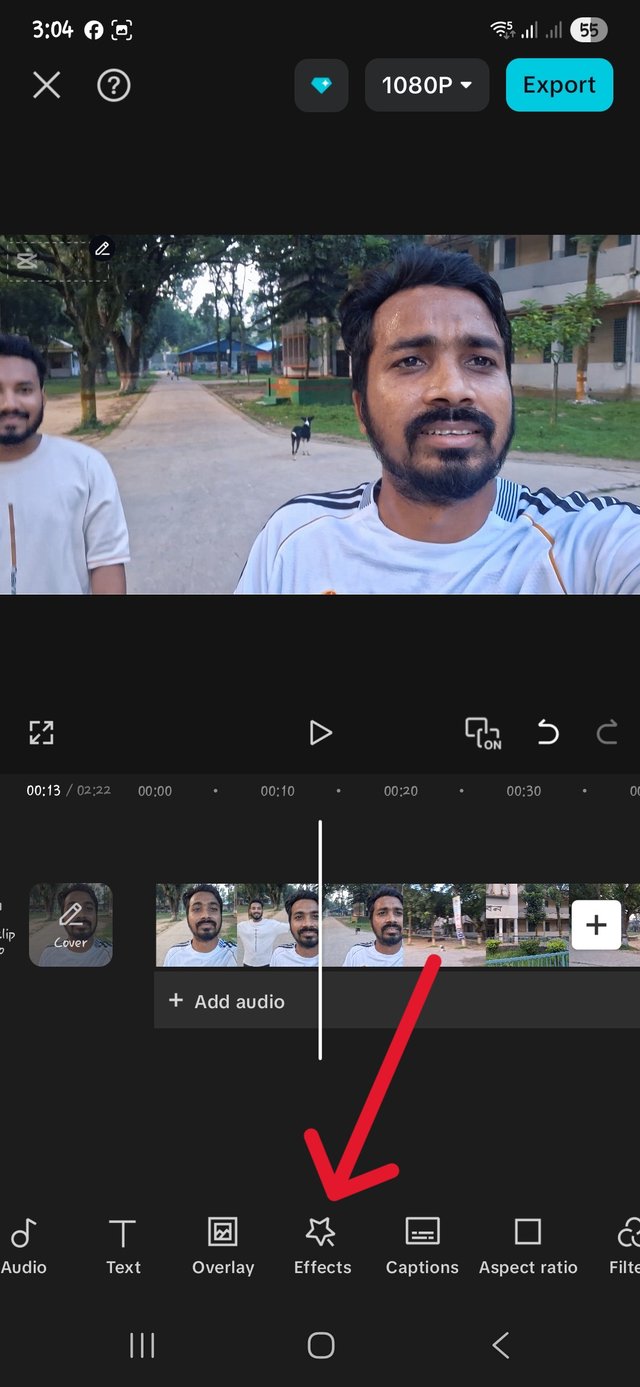
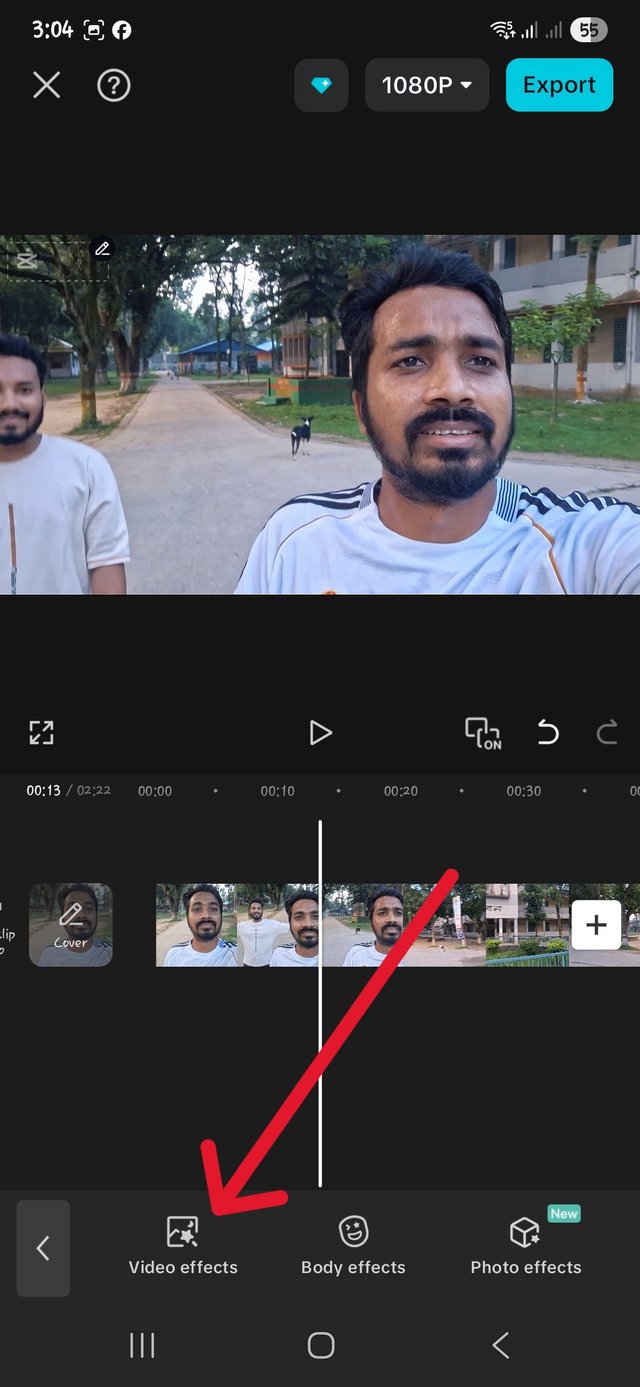
Using the Effect Tool: When you click on Filter, you get three options: Video Effects, Body Effects, and Photo Effects. I first tried using the Video Effect. The two options to adjust here were Speed and Blur.
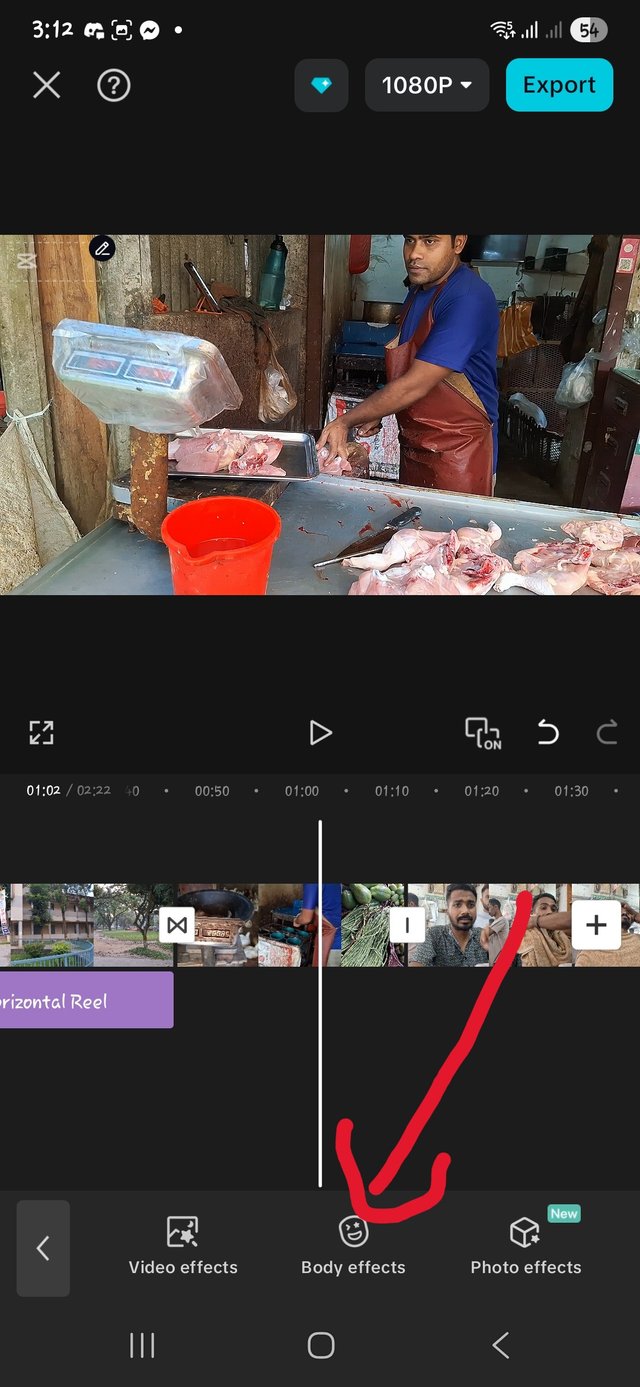
This time I am using the body effect only in a small area. When I am buying meat, I have applied it to the meat seller and applied the electric flash effect to his eyes. Here too, there are many options to adjust, such as color glow, filter, range.
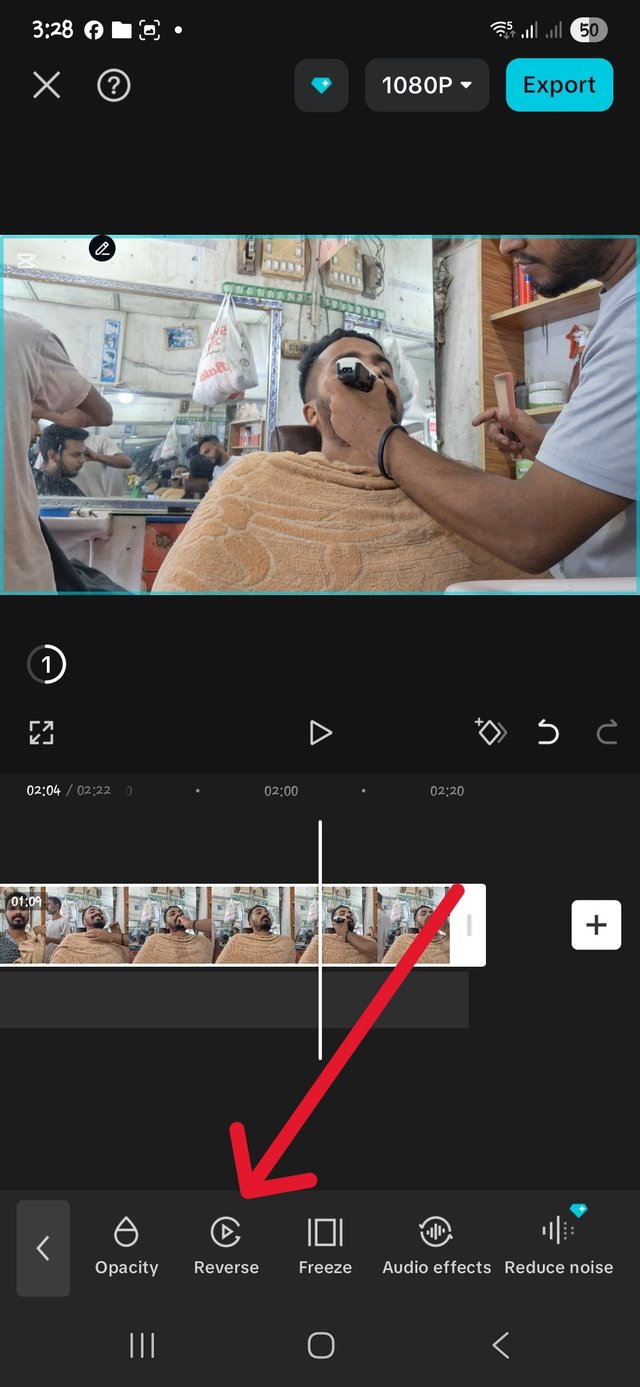
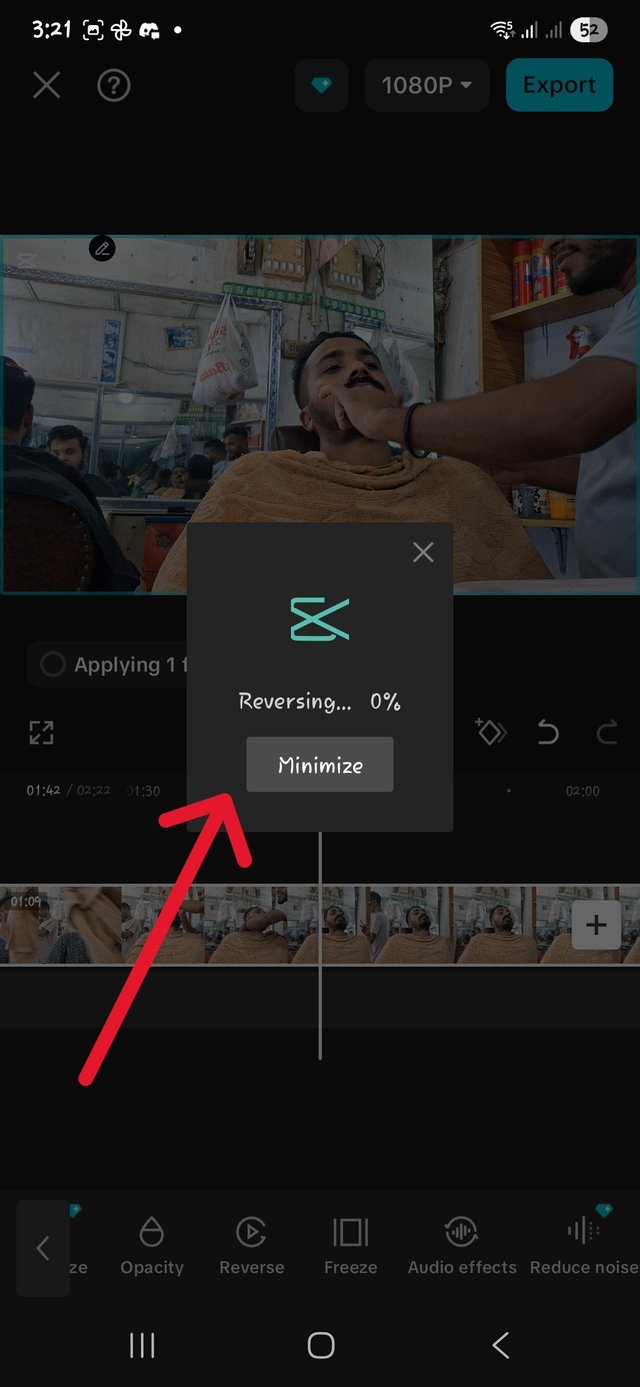
Using the Reverse Tool While cutting my chicken, I took some parts first, such as bringing the moment of cutting the meat forward through reverse. I brought the back part forward.
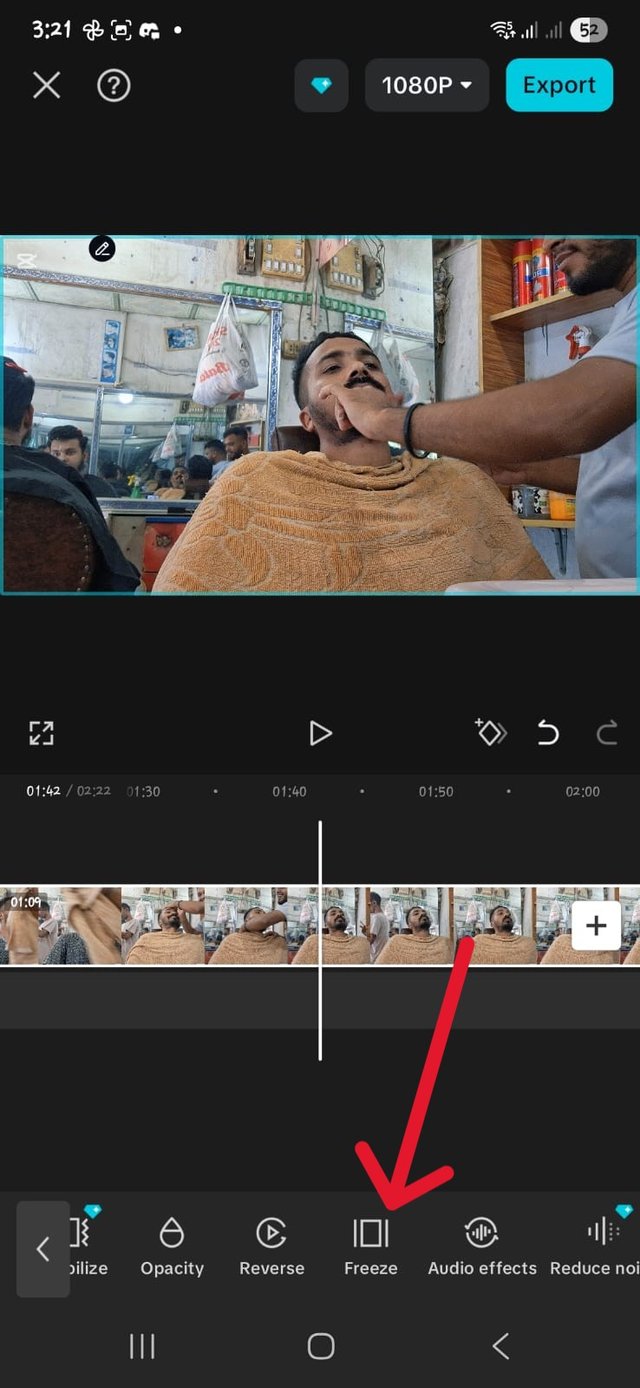
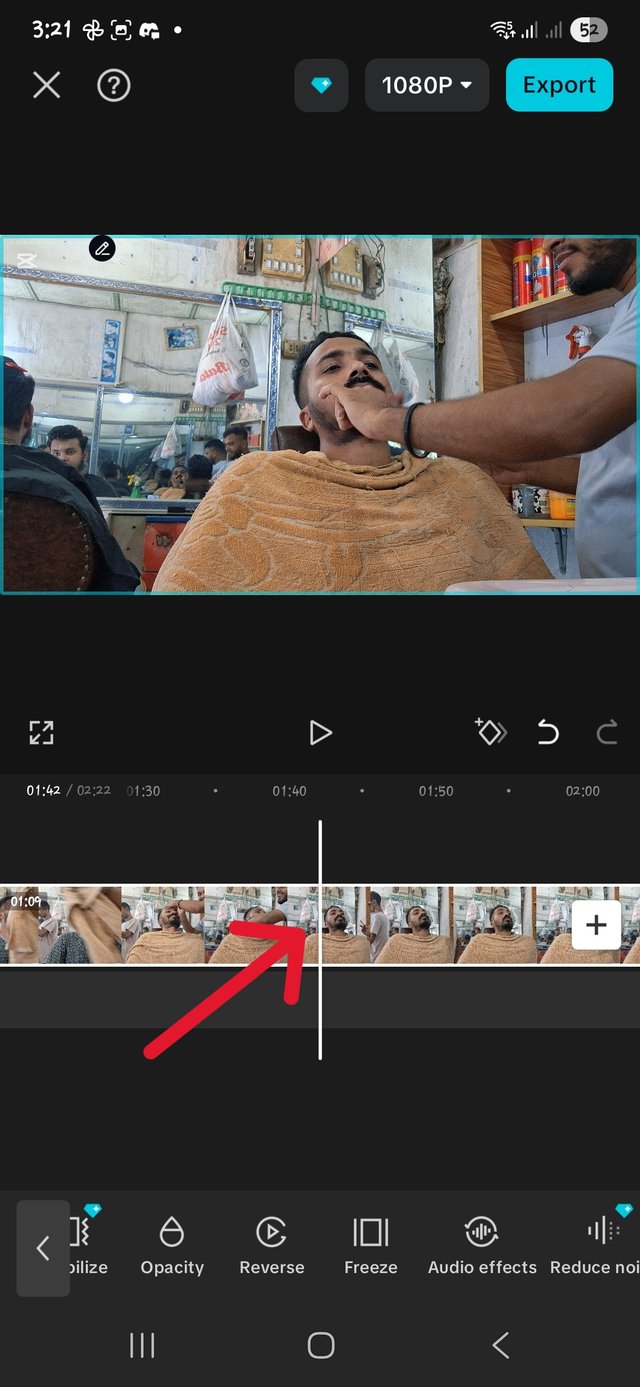
I used the freeze tool to freeze the video for a short time at the very end while trimming my beard.
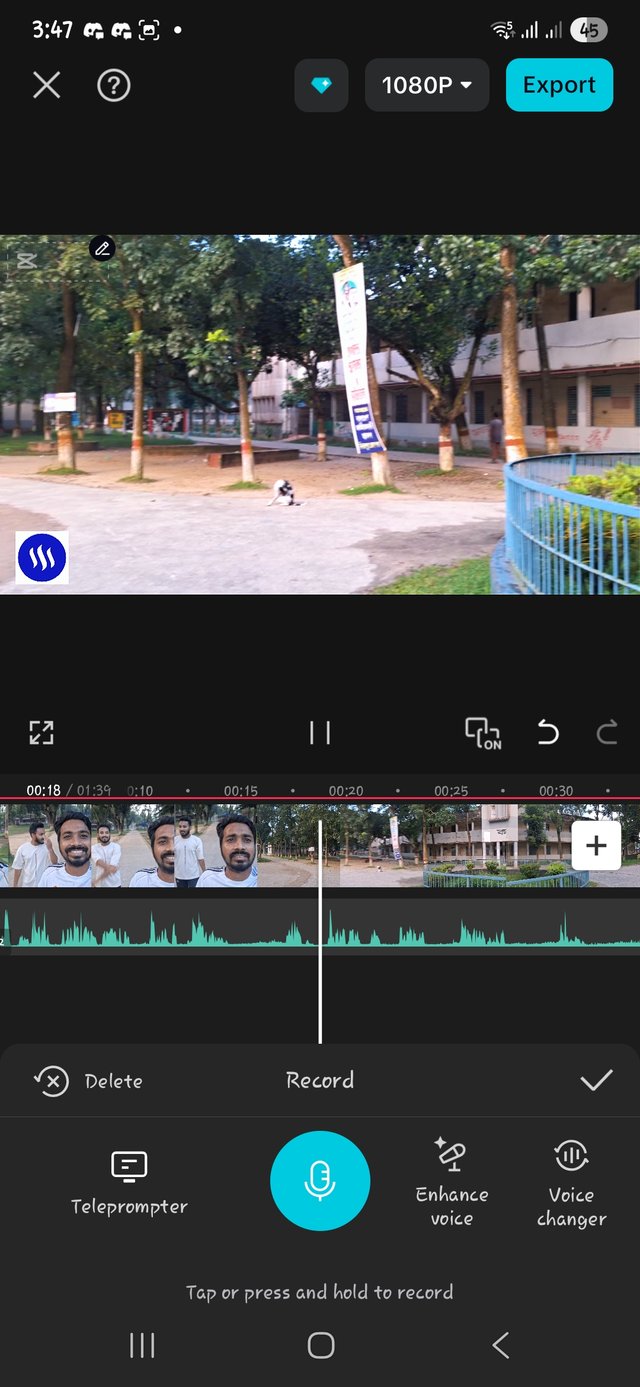
In today's video, I used the Speed tool of the tool used last week to slow down and increase the speed. I used overlap and at the same time I used voice over on the record. I did not add any music, I just used my voice.
In the video, I shared some samples of my activities today. I got up in the morning and went to exercise and shared the beautiful morning atmosphere. This beautiful morning weather and exercise gave me peace.
I had to go to the market for my bachelor flat for lunch. I shared some clips of buying chicken in the market and vegetable market. I shared a short clip of where I went to the salon to get my hair and beard cut. I have captured my busiest moments till noon in this short video.
I am sharing some links to connect with others.
https://steemit.com/@rmm31/sc-s26w4-transiciones-animaciones-y-efectos-visuales
https://steemit.com/@mahmud552/sc-s26w4-transitions-animations-and-visual-effects
https://steemit.com/@saifuddinmahmud/sc-s26w4-transitions-animations-and-visual-effects
@tipu curate
;) Holisss...
--
This is a manual curation from the @tipU Curation Project.
Upvoted 👌 (Mana: 0/7) Get profit votes with @tipU :)
Saludos amigo.
Has logrado una buena edición, creo que tiene elementos que ayudan a llamar la atención de quien lo ve, sin embargo si siento que le faltó un poco de música de fondo porque así lo hace más llamativo al oido y le da un plus a la narración que haces de tu día
Te deseo mucha suerte
It would have been more lively and interesting if background music had been added, I skipped it this week. I will try to improve on each new work. Best wishes to you too