How to Make a TV Socket Board at Home | DIY Electric Socket with Switch | With a video tutorial.
Assalamu alaikum Everyone. I am @imranhassan From #Bangladesh
.png)
A few days ago I bought an LED TV for my house, and I replaced that TV in another place, and to load that TV, I needed to connect a socket board and a switch, and this is needed by everyone in our house, so today I will share with you how I made a Line board without buying a socket board from the market and loaded it on my TV. So let's see step by step how we made the socket board, connected it and turned on the TV.
Step -01

Now the thing you see is a two-hole board. You can get these boards with bigger holes. Here you have to buy according to your needs. I needed two holes, so I bought this board.
Step -02

Now what you see in my hand is a switch that turns on and off any load. It is powered by 220 volts AC voltage. With this, you can turn on and off everything: fan, TV.
Step -03

Now what you see in my hand is a two-pin socket; through this socket you can run any two-pin device with a load.
Step -04
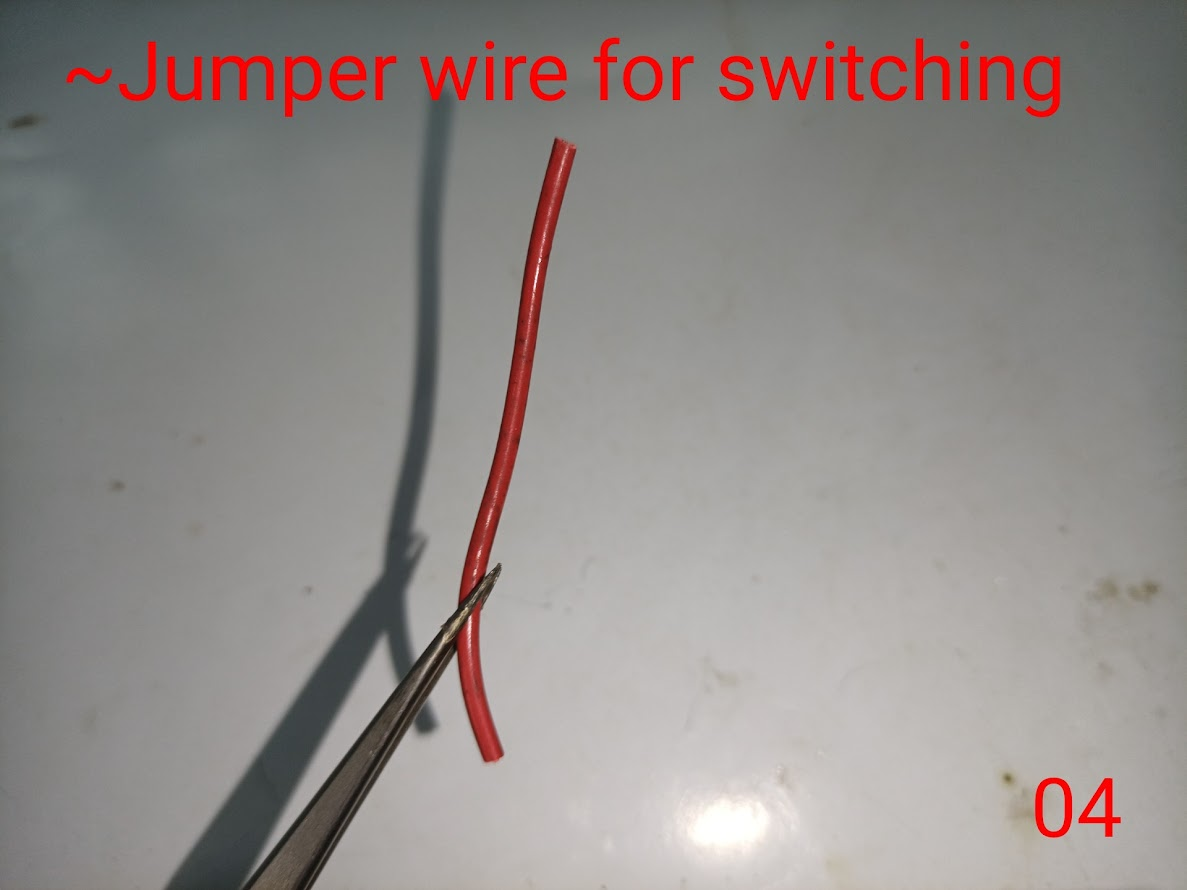
Now you see a jumper wire in my hand; this is what I will use to connect the switch and socket to provide the line connection for the switching.
Step -05

Now you see I have taken all the necessary materials in my hand; now I will fit them step by step and show you step by step, and I will share a diagram below so that you can understand better.
Step -06


First I replaced the switch and socket inside the board and fixed them with screws and tightened them with pliers.
Step -07

Now you can see that I will connect the switch to keep any of my devices on the socket board on and off and to keep it completely disconnected from the electricity, so here I have made a jumper from the switch to the socket board with a red-coloured wire.
Step -08

Now you can see that I have first taken 220-volt input voltage inside another cover of the socket board, which will work as live and neutral, and I have shown it here with a symbol.
Step -09

Now you can see that I have given a lifeline connection on one side of the previous jumpered switch connection, and I have given a neutral line connection on the other side of the socket.
Step -10

Now you can see that my complete socket and switchboard connection is complete. Now I can run any device from here which has two-pin features.
Step -11

Now you can see in this picture that I have taken a line from a previous connection and taken two connections of parallel connection, live and neutral.
Step -12

Then after installing the LED TV that I bought, I will show you how to run this TV through that socket board.
Step -13

Now you can see that my TV is installed on the wall, and I have run the TV from the socket board that I made, and if I want, I can turn this line on and off, which will protect my TV from 220-volt AC input voltage if there is an electrical problem.
| I have provided a diagram here to better understand the connection of this socket board. |
|---|

| 🎬 This video includes English subtitles for international viewers. |
|---|

| Video Tutorial: To better understand the practical part of this tutorial, you can watch the video below. |
|---|

✅ CC: My friend @rmm31
✅ We support @pennsif and @pennsif.witness for the growth of this platform. pennsif.witness his contribution to the Steemit community. Vote for him as a Witness here: Click to Vote
| Photography Details | 📱 Device: Walton Xanon90 | 📍 Location: Narayanganj, Bangladesh | 📷 Captured By: @imranhassan |
|---|
Here is your content summary:
We strongly suggest you uploading your content to IPFS for better rewards and exclusivity
By improving the marked items you could get Higher Votes! NOTE: The curator may modify the final percentage of votes, according to the quality and relevance of the content
Curated by @ninapenda