Prove yourself as the best artist for the week
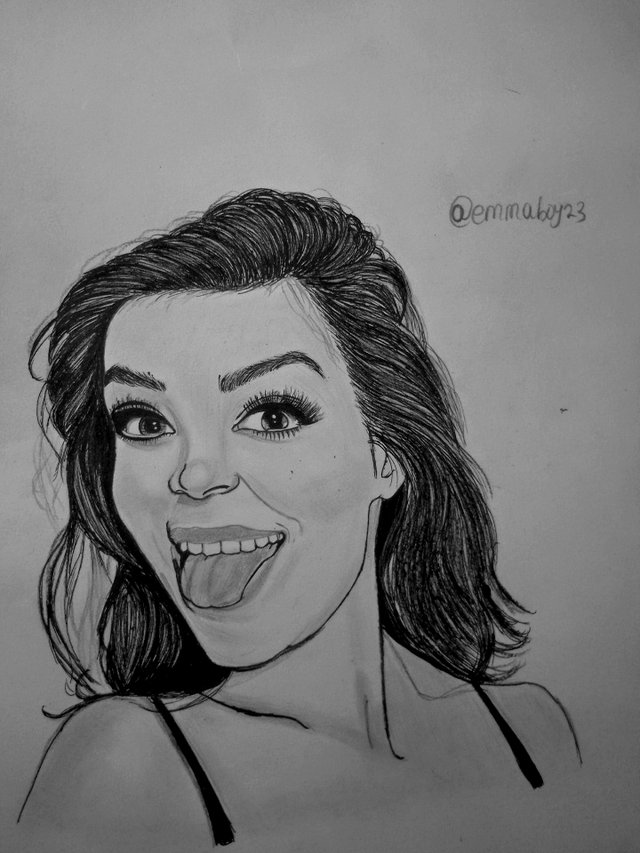
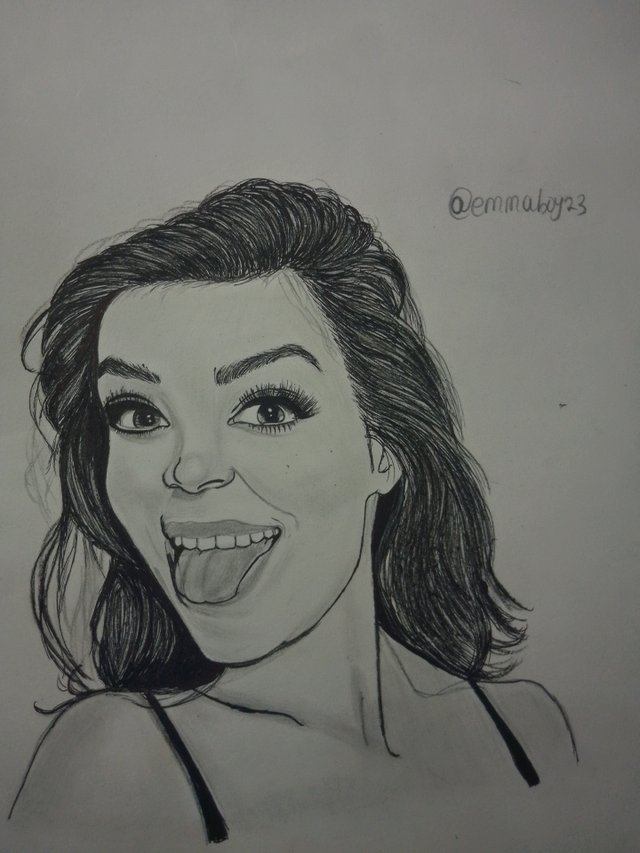
Hello, creative Steemians! 🎨✨, How are you all doing today? I hope everyone is well and okay. For this week’s contest titled “Prove Yourself as the Best Artist”, organised by @dequeen, I decided to create something cheerful, expressive, and full of energy — a pencil portrait that captures pure joy. The idea was to bring life to paper through a happy facial expression that instantly lights up anyone who sees it, a portrait that instantly spreads positivity and makes the viewer smile. The idea of drawing a playful expression, with the tongue out and eyes full of life, felt like the perfect challenge to prove my artistic growth, and today In this post, I’ll take you through every step of how I made this joyful pencil portrait. Stay tuned.
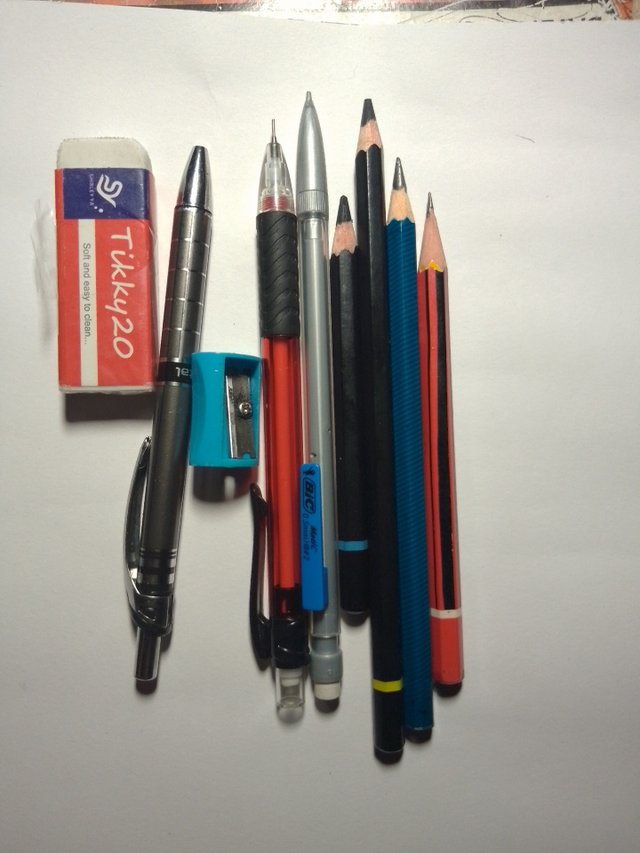
Drawing materials
• A4 paper
• mechanical pencil
• graphite pencil
• charcoal pencil
• HB pencil
• 4B and 6B pencils
• black pen
• eraser
• sharpener.
Step-by-step creation
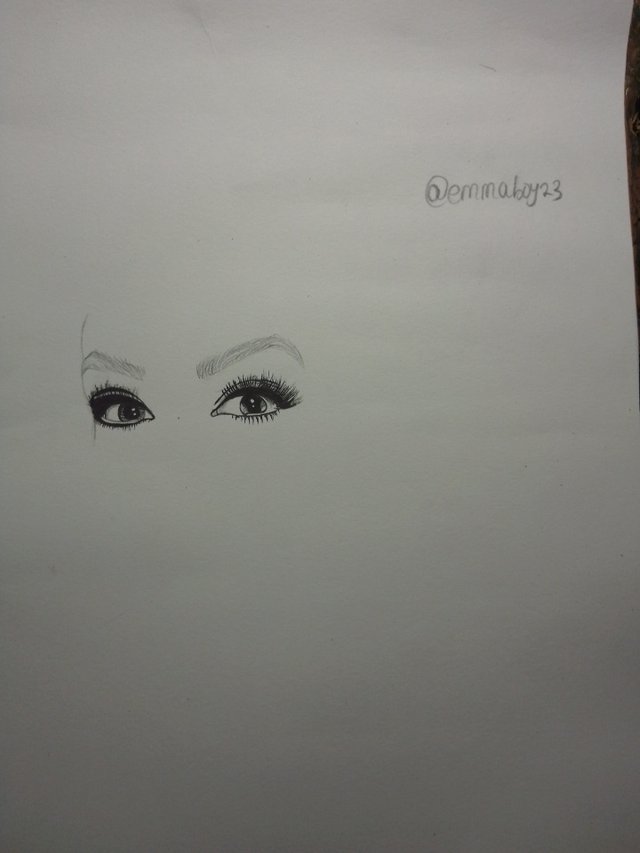
Step 1
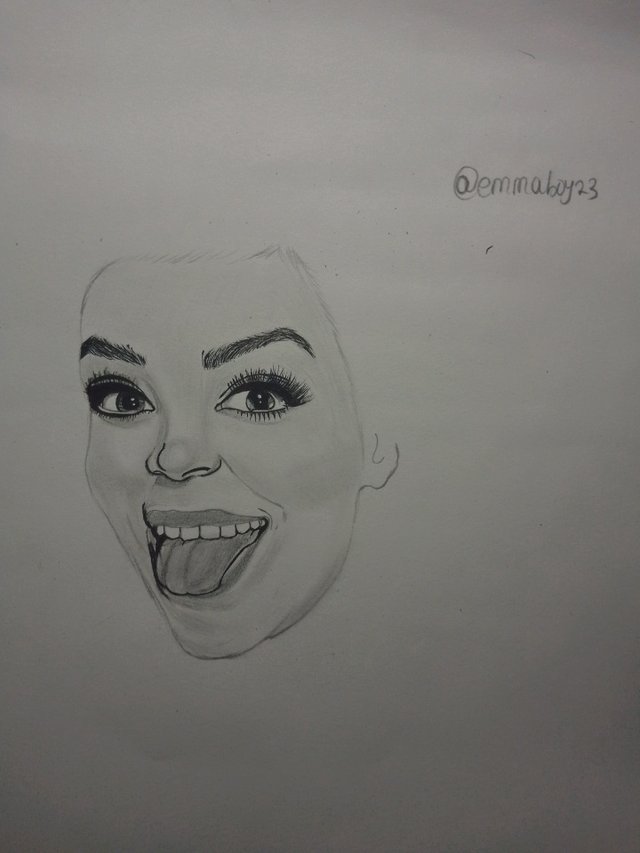
To start my drawing, I began by lightly sketching the facial features. The eyes were drawn first; I believe that eyes are the voice of a portrait; they hold emotion and connection. I used my 2B pencil to deepen the pupils, making sure they had that lively sparkle. I paid attention to the eyelashes, giving them fine, curved strokes for a natural look.
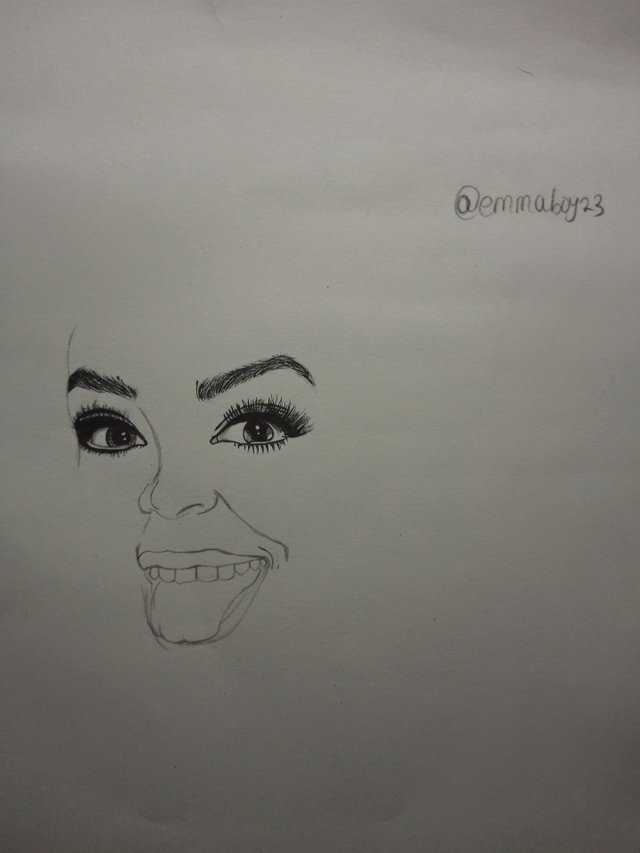
Step 2
Next was the nose and the mouth; I also drew the smile. The smile was the most expressive part — it was where the happiness in this portrait truly lived.
Step 3
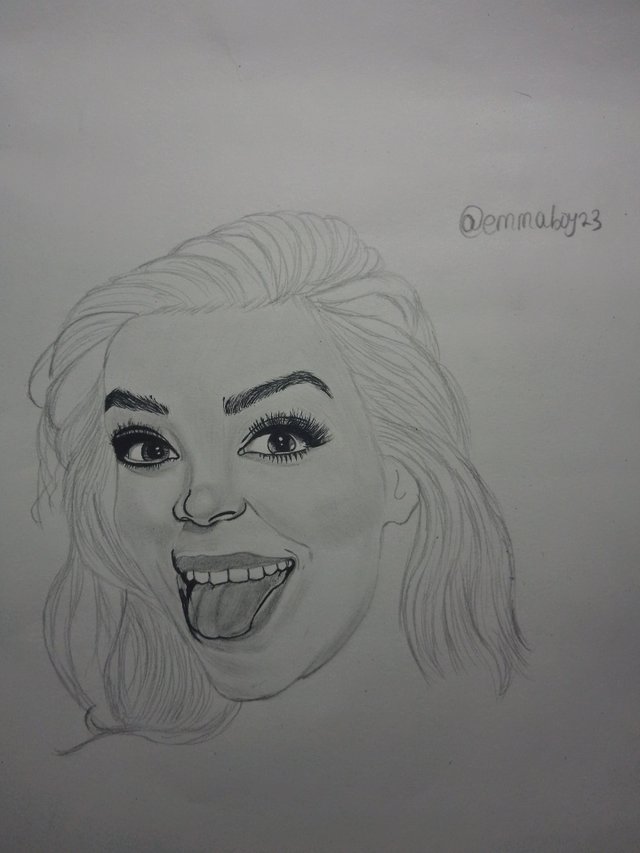
Next I focused on shading. I shaded the face gently, following the direction of light. I applied lighter shading on the cheeks and forehead and slightly darker tones under the chin to create depth.
Step 4
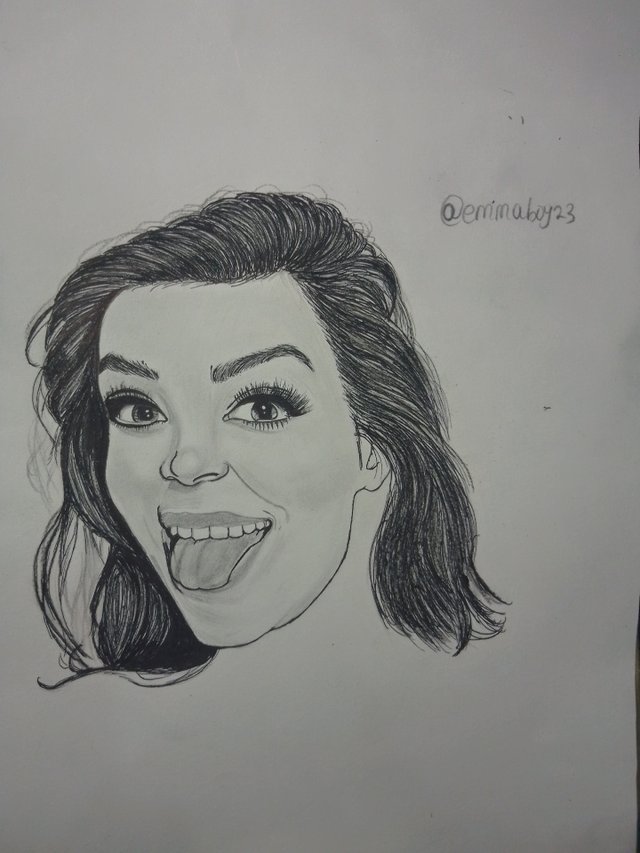
After doing that, the hair was next. The hair was the most detailed part. I used my 6B pencil to layer dark tones and add texture. I followed the flow of the hair strands, blending some sections to give it volume and realism. The messy, natural flow of the hair added motion and made the portrait feel more alive.
Step 5
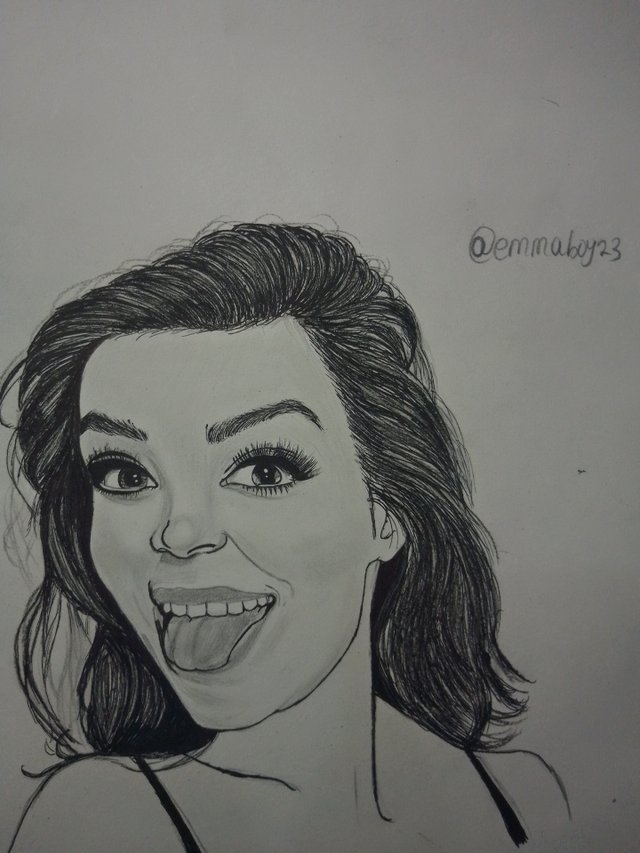
Then I drew the neck and shoulder and added subtle shading on it to balance light and give the drawing a good look.
Step 6
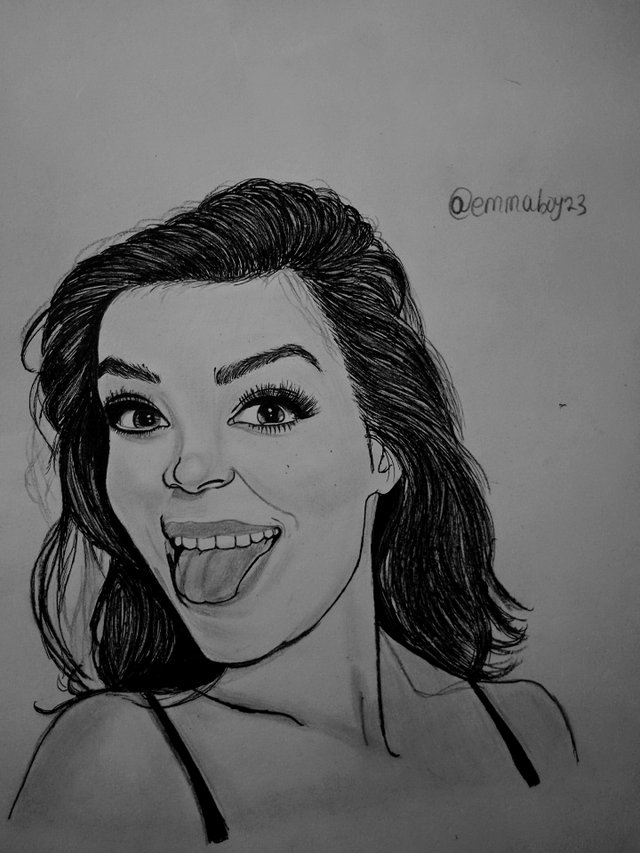
After finally completing the main features, I used an eraser to highlight areas like the forehead, nose bridge, and eyes to add depth. I also added some contrast where necessary. Then my drawing is complete.
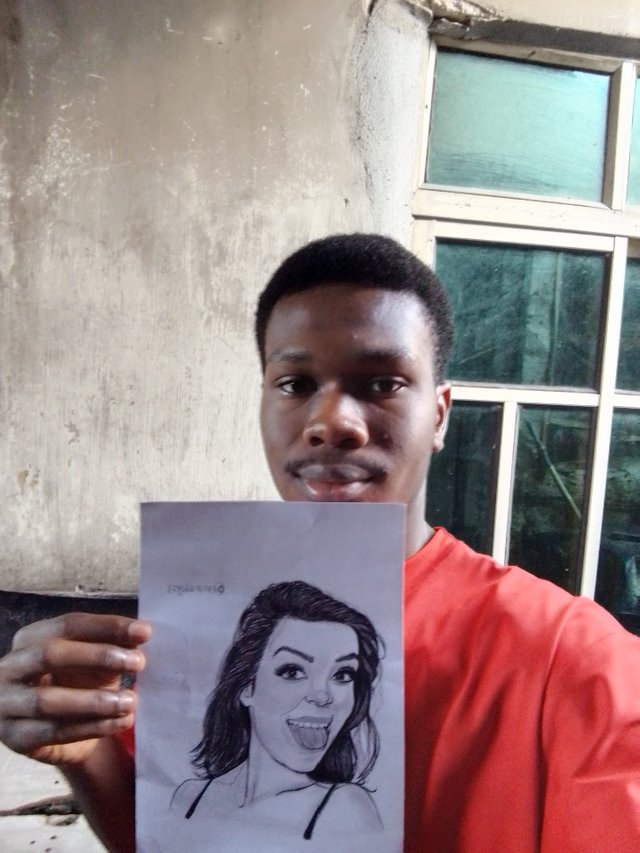
Here's a selfie with me and my drawing.
Looking at the final piece, I felt proud. It wasn’t just a drawing — it was a moment of happiness frozen in graphite. Through this portrait, I wanted to show how art can capture life’s simplest joy: a genuine smile. Thank you, Steemit family, for joining me on this creative journey. I’m proud to share this work for the “Prove Yourself as the Best Artist This Week” contest. Keep creating, keep smiling, and let your art speak happiness! 🎭✏️
Inviting
Cc @dequeen
My Twitter promotion link 👇
https://twitter.com/emmaboy23/status/1981973465042141278?t=i-NnwgMXGze1m4E58cvx4Q&s=19
Thank you for the invite
Always and am expecting your entry soon. 😁
Nice drawing bro....
I should try out pencil art again. It's been long since I did.
Good luck with the contest 👌👌