Pencil drawing tutorial - Drawing of a coiled serpent
Greetings and I cordially welcome everyone to my blog. Truly it has been a wonderful year and I thank God for everything he has done for me. Today I am here to present my latest drawing to you all, and I hope it catches your attention. Art is not only about creating what we see but also about capturing what we feel. Every time I sit with my sketchpad and pencils, I feel like I’m unlocking another side of creativity. The drawing below is a coiled serpent with its fangs exposed—it was one of my most recent drawings I made. Creating it required patience, attention to detail, and a good use of the materials at my disposal, and I am here to share how I created this drawing with you all.

Drawing tools
• A4 paper
• HB pencil
• 2B pencil
• charcoal pencil
• eraser
• sharpener
• black pen

Drawing process
Step 1
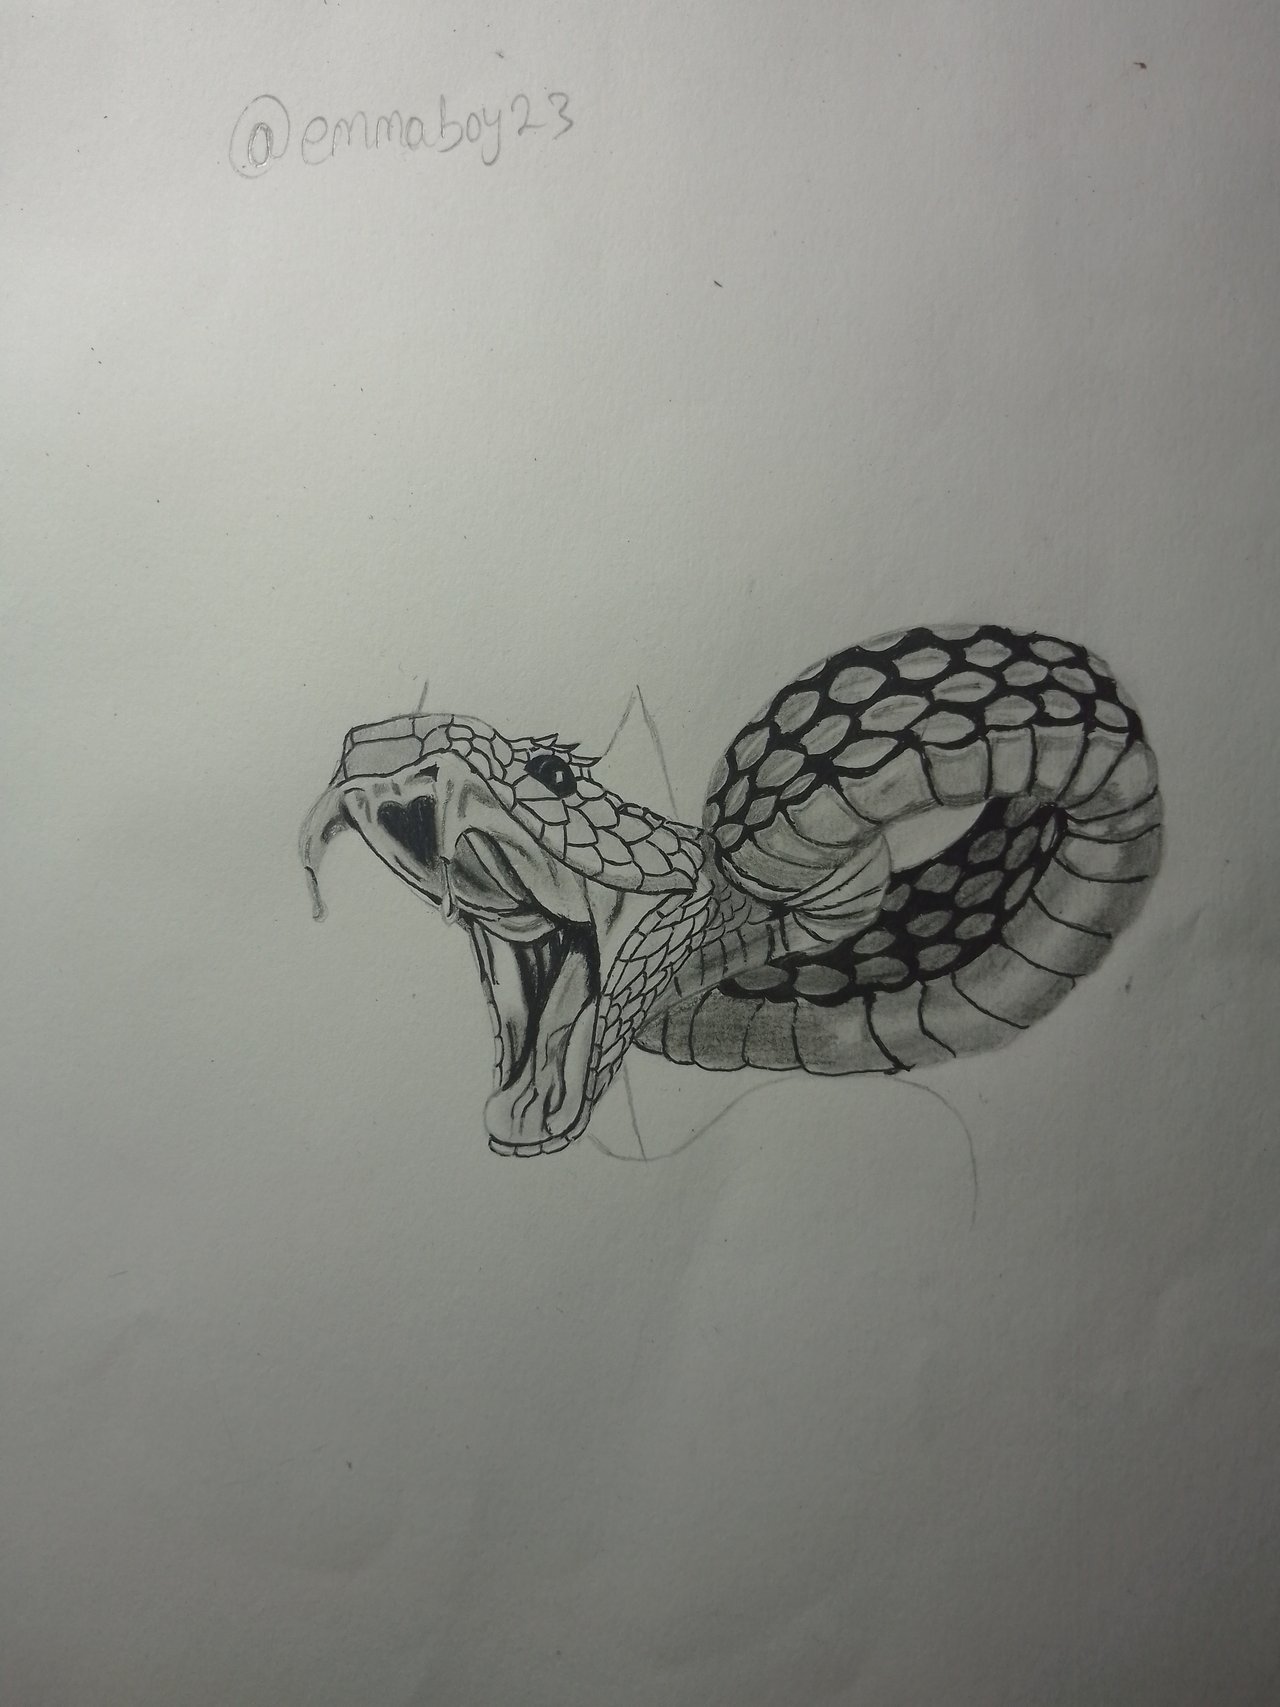
First I began by drawing the head of the serpent. Using a 2B pencil, I deepened the outlines, adding detail to the mouth and emphasising the fangs. Shading inside the mouth with darker tones gave it depth, while leaving highlights on the teeth made them appear sharp and dangerous. Next, I moved to drawing the eyes and head.


Step 2
After doing that, next was the coiled body of the serpent. Using HB and my charcoal pencils, I varied the pressure to create contrast—lighter strokes for the reflective parts and darker tones for the shadowed areas. The more scales I completed, the more the snake seemed to coil off the page.

Step 3
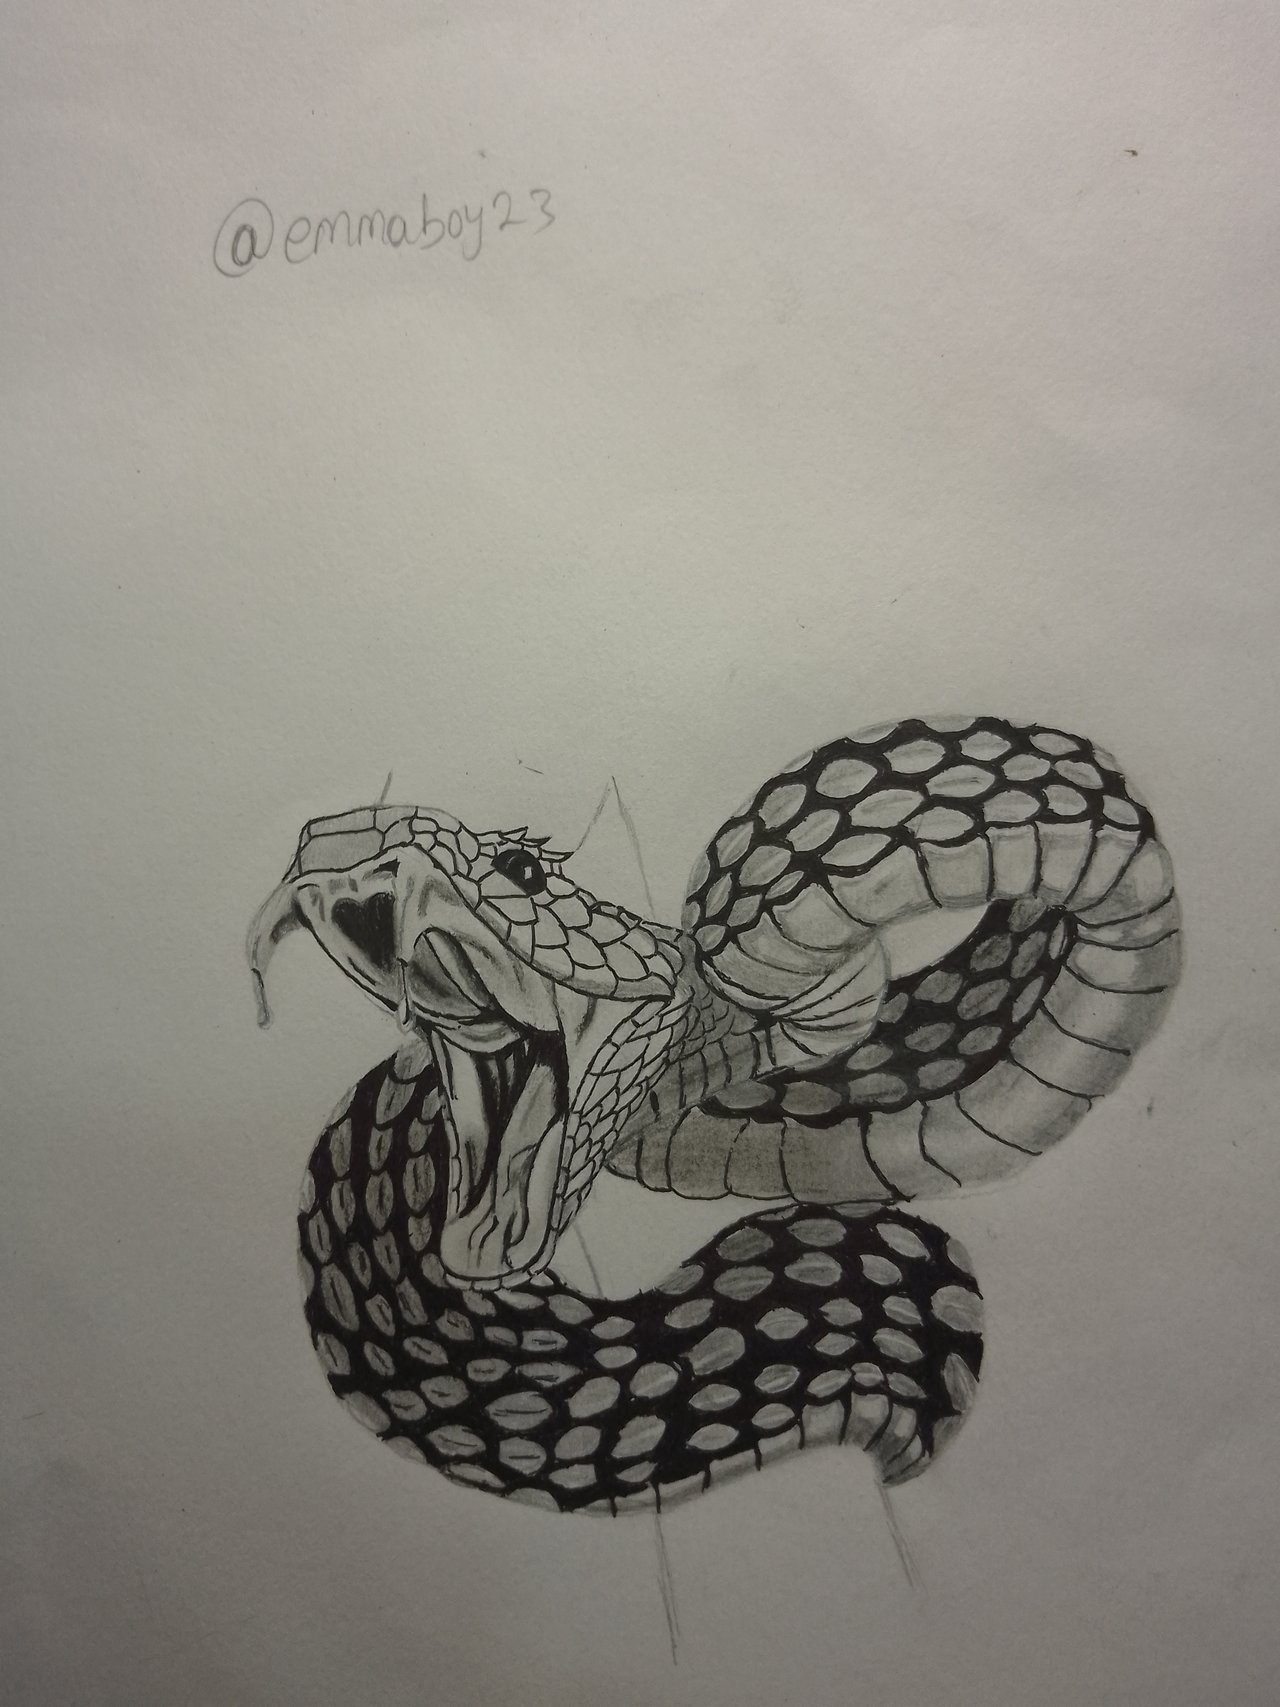
The scales were the next major challenge. I used both HB and 4B pencils. Each scale was drawn individually with varying pressure to create light and dark tones. I worked in sections, slowly building up the pattern until the body looked natural, continuous and coiled.

Step 4
As I continued with my drawing, I then drew the wood in which it was coiled around, and then I also completed drawing the tail of the serpent.


Step 5
Here I drew the background; the background was kept minimal but shaded lightly with a blending tool to enhance the dramatic presence of the serpent. I didn’t want distractions; my goal was to let the snake command attention as the main subject of the piece.

Step 6
Finally, I added some finishing touches to the drawing and added darker lines and contrast to it as well, and then my drawing was finally complete. Here's my finished work.

A selfie of me and my drawing

When I finally looked at the finished piece, I felt a wave of satisfaction. What started as a few faint lines had transformed into a fierce serpent, ready to strike. This drawing reminded me that art is more than technique—it’s also about patience, discipline, and passion. Every scale, every shadow, and every highlight told a part of the story. And now, that story lives on paper. I hope you all enjoyed my drawing; I'd love to hear your thoughts in the comments section.
Inviting
My Twitter promotion link 👇
https://twitter.com/emmaboy23/status/1967662237482619014?t=cy2WYjLjYVoepey62oOD2A&s=19
Nice work. I glad you could control all the medium just to get a tremendous result.
Keep drawing. It helps you get better.
Keep steeming too.
Thank you for your support
Admins/Mods Observation
Greetings! Thank you for being part of the community, participating in our community and sharing your quality content with us.
You can help us in our community for members to get support & participate in other community contests.
This is beautiful. Your sketching, shading, and finishing are something else. Keep shining.
Thank you, I appreciate your comment