SLC-Home Repair Club | S23W5 | Installing a New Socket Board for Home Appliances.
Assalamualaikum Everyone. I am @imranhassan
From #Bangladesh
.png)
Project Summary
Recently, I went to someone's house and connected a new socket board for their house. While installing it, I showed them step by step how to connect it safely and ensure power to other electronic devices, including the fridge. In this post, I will share my experience and explain each step.
Cause of the problem and solution plan
The homeowner said that he had bought a new fridge, and it became necessary to install a new socket board inside his house. First, the power connection was turned off to ensure safety. Then, the location of the new board was determined. I used a tester to connect the power line to the socket board, so that the connection was made correctly.
Conclusion
By doing this work, I have shown practical experience of installing a socket board. This is a very important work, because ensuring a safe power connection is essential for every home. I hope this experience will be helpful to many, especially those who want to connect a new socket board.
I am going to start my tutorial post.
Step -01
 |  |
|---|
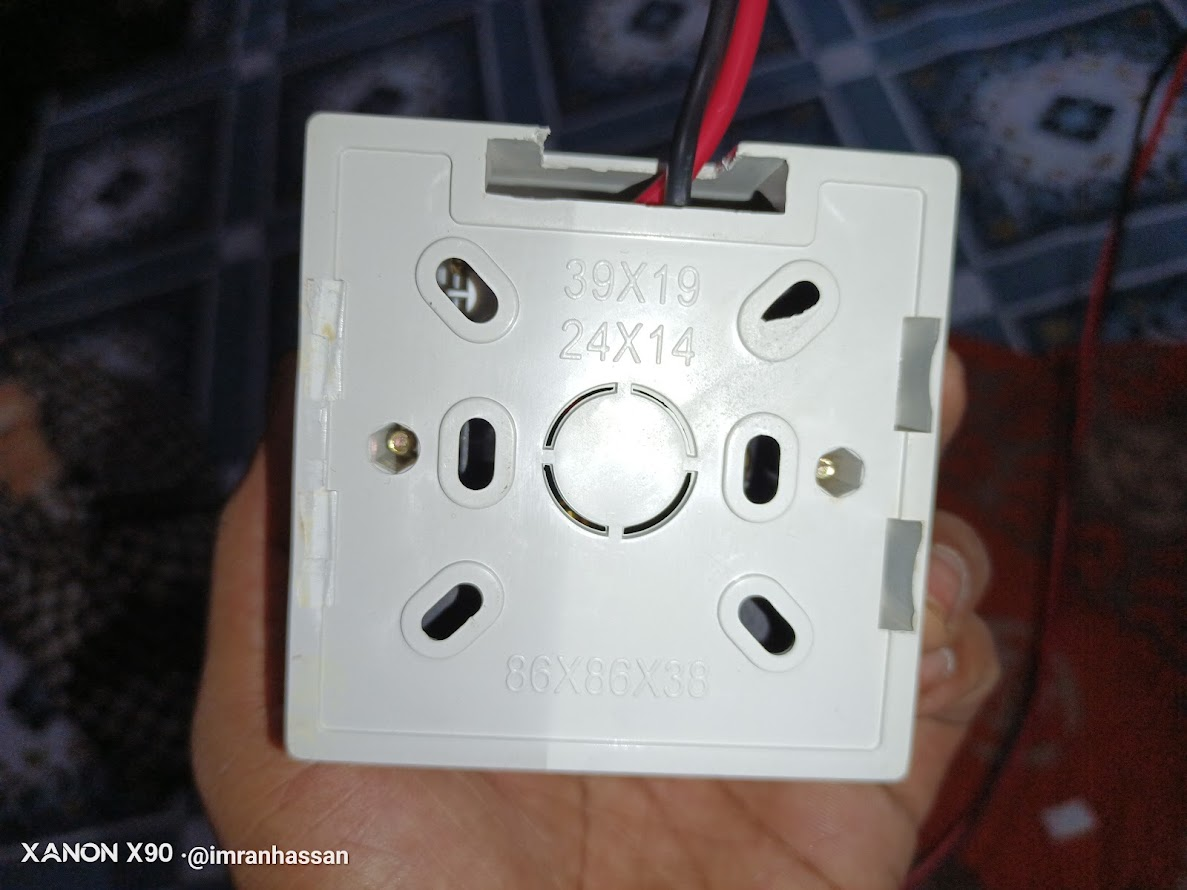
First, as you can see, I took a three-plug socket board from the Superstar company, and it has an indicator switching system. Then, I took a screwdriver, insulation tape, a tester, and pliers to work. Then I opened the socket board from the packet and observed how to connect it on the back side. Because, it is important to check everything properly before connecting.
Step -02
 |  |
|---|
Then I am showing you the front part of the socket board. First, there is a red indicator light, which lights up when the power connection is active. Then there is a switch, which is used to turn the board on and off. Then there is a two-pin plug connection system, which is suitable for normal plug connections. Also, two separate ports are connected for connecting three-pin plugs, which are used for appliances that require more power. Now I will start the work of connecting the lines to the socket board. In the first step, I cut and prepared a small wire for the switching connection, which will ensure the connection of the live line.
Step -03
 |  |
|---|
Then you can see, I have cut the small wire that I have cut, spread the plastic cover on both sides, and taken out the inner copper wire, so that it is ready for connection to the socket board. After that, I have made the connections inside the board. If you notice, you can see that I have connected the wire from the output of the switching to the live line, which will conduct the power flow properly.
Step -04
 |  |
|---|
Then, as you can see, I have connected the 220 volt wire of the live line to the input voltage of the switching. Besides, I have connected the black wire of the 220 volt input voltage to the neutral end, which will ensure the correct balance of the power flow. After connecting everything properly, I have firmly fixed the back cover with the help of screws, so that the board is safe and functional.
Step -05
 |  |
|---|
Then I completed the work by completing the wiring of the entire socket board and attaching the back cover. As you can see, I took a picture of it in my hand, so that the complete setup of the board can be clearly understood. Then, to connect the live line and neutral line directly from the meter, I spread the plastic cover of the replaced wires on the socket board, so that the inner copper wire is ready for connection.
Step -06
 |  |
|---|
Then, to finish my entire work properly, you can see that I have neatly connected the live line and neutral line from the meter to the socket board. Then, I insulated it with black plastic tape, so that there is no short circuit or power connection problem. Finally, after completing the connection of the socket board to the 220 volt line, I connected the refrigerator line, and the refrigerator started. To make sure, I made a short video, so that it can be understood that the socket board is working properly.
| Component | Description |
|---|---|
| Brand | Superstar |
| Socket Type | Three-Pin Socket Board |
| Tools Used | Screwdriver, Insulation Tape, Tester, Pliers |
| Connections | Indicator Light, Switch, Two-Pin & Three-Pin Plug Inputs |
| Wiring Process | Live and Neutral Line Connection, Insulation with Tape |
| Final Testing | Connected to Refrigerator, Verified Functionality |
| Video Tutorial: To better understand the practical part of this tutorial, you can watch the video below. |
|---|
| 📢 These courses and challenges will run from today until 11.59pm UTC, on Sunday, March 23rd, 2025. |
|---|
Here are our selection criteria for the Home Repair Club; if you want, you can read the post and understand it: Clubes de Aprendizaje de Steemit Temporada 23 | Introducción y Bienvenida al Home Repair Club
I invite you to join the Home Repair Club. @rashid001 @seharsharif @caringmanasseh @mueeinislam @philhughes @diamondxclusive
Photography Details: 📱DeviceWalton Xanon x90
Best regards
@imranhassan
My friend @rmm31

I promoted my post X here.
I have read your posts and I like you a lot and you have done everything very well and look I am very happy that you have invited me to your posts and inshallah I will also participate in it.and very nice post😍
Brother, your post is very educational and informative. You have explained each step of socket board connection in such detail, which will be helpful for both beginners and experienced. The pictures and explanations of each step make the entire process easy to understand. The emphasis you have placed on safety, such as switching off the power supply and properly insulating the wires, is really commendable. Also, your simple explanation of the connection of live and neutral lines will boost the confidence of others.
When a refrigerator is successfully turned on after doing such technical work, it is a recognition of your hard work and skill. I hope your experience will be a source of inspiration for many more. Thank you for sharing such a wonderful post!
This is a beautiful construction, I can imagine the time it took you to set all this up and proceed to drafting this write up, very detailed explanation and practical steps.
Keep it up.