The Beauty of Pencil Art: Drawing a Realistic Face
Greetings, my Steemian friends, and I hope you all are doing okay. It's @emmaboy23, and today I am excited to share with you all my recent pencil drawing. Art has always been a way for me to express myself, relax and capture my creativity on paper. With just a simple pencil, it’s amazing how much detail and expression can be created. Today I present to you my recent drawing, which I created with patience and care, which are the essential features of the human face. In this essay, I will share not only the story of how I created it but also the steps I followed to bring this portrait to life.

DRAWING MATERIALS
• A4 paper
• HB pencil
• graphite pencil
• charcoal pencil
• eraser
• sharpener
• black pen

Step-by-Step Guide
Step 1
Every artwork starts with a foundation, using faint lines. I began by sketching very light guidelines to mark the position of the eyes, nose, and lips. These faint strokes acted like a map, ensuring that the proportions of the face were balanced, and then I started drawing the left eye.
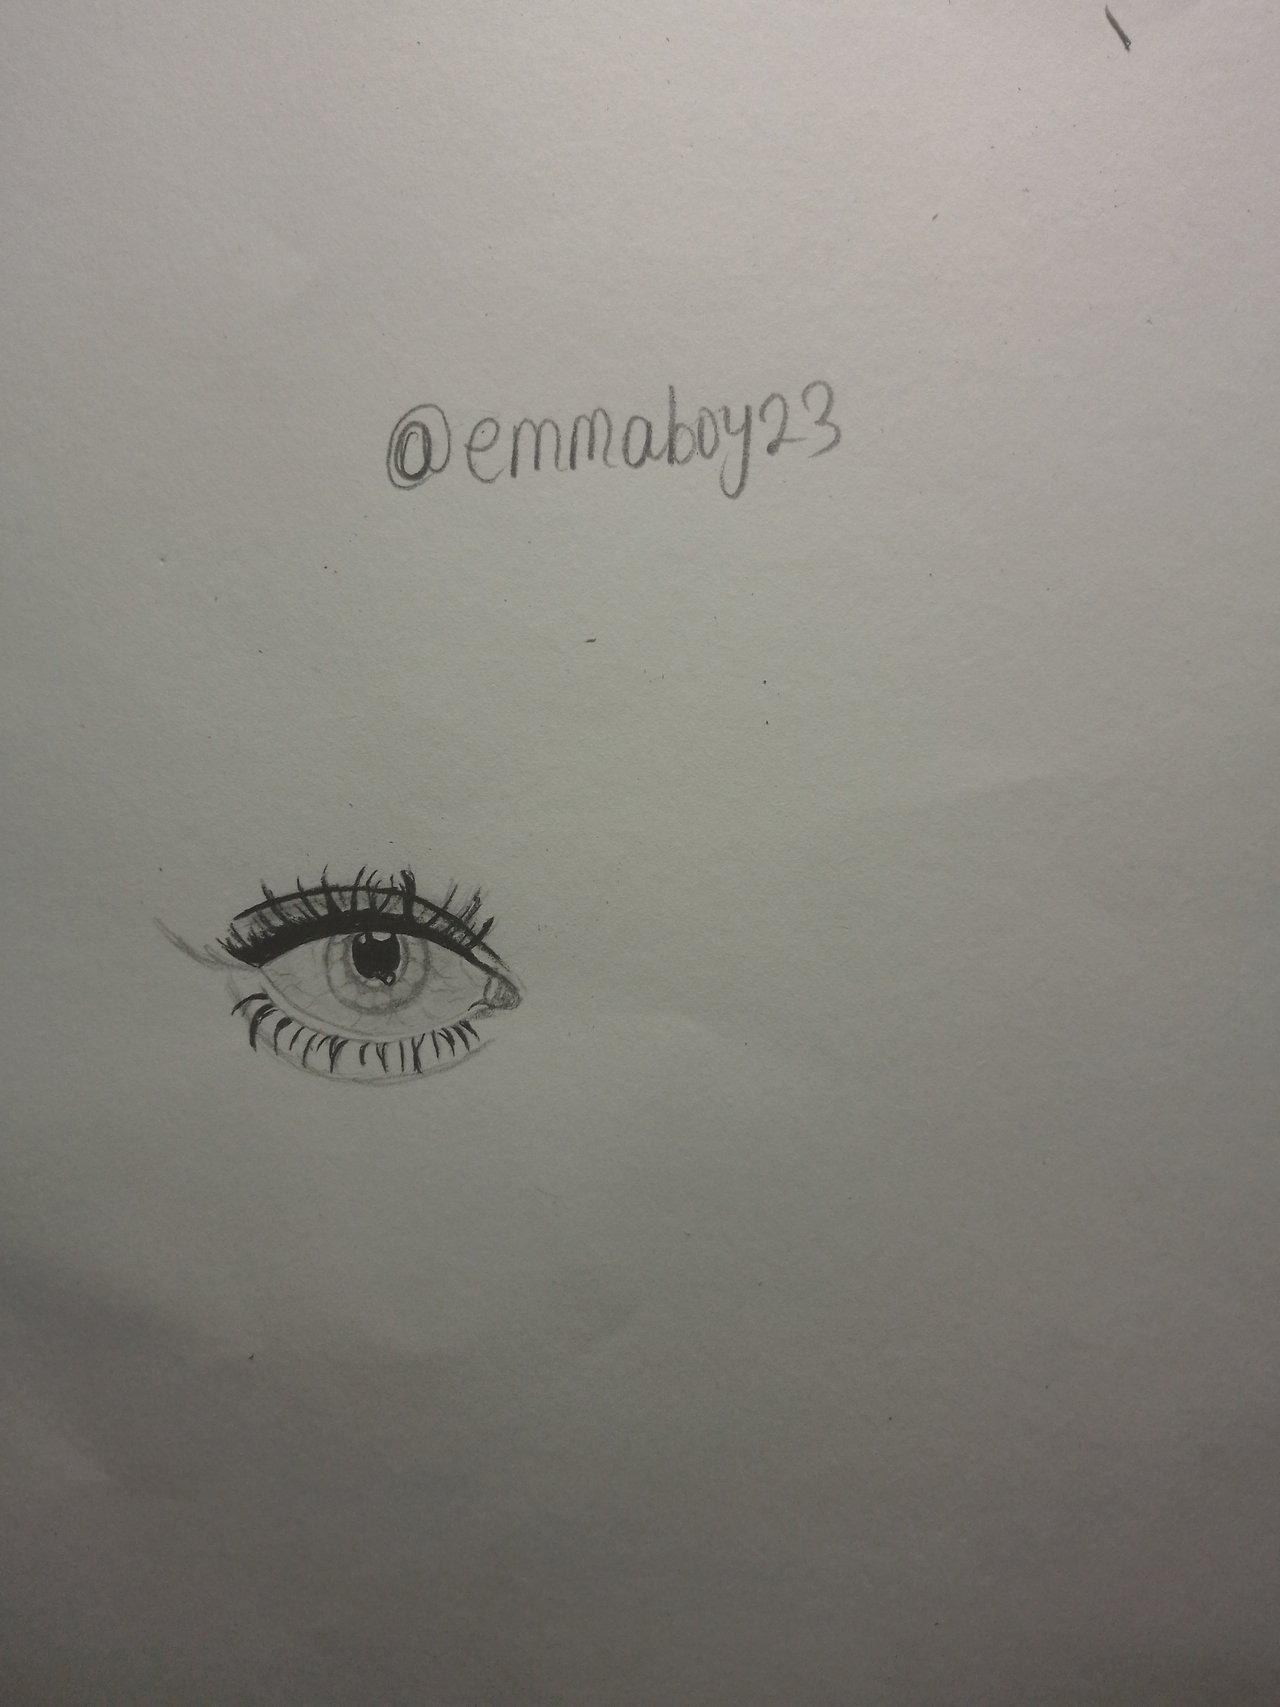
Step 2
Next I drew the second eye. To give the eyes a realistic appearance, I shaded the darker areas while leaving tiny highlights within the pupils to create the effect of reflection. The eyelashes were drawn one at a time, using quick, curved strokes to make them look natural and long.

Step 3
After drawing the eyes, I then focused my attention on the eyebrows. Using my HB pencil to create short strokes, I layered the pencil marks to imitate natural hair growth. By varying the pressure, I achieved both light and dark tones, giving the eyebrows texture and fullness. This gave the eyes the perfect look and began to give the face its unique personality.

Step 4
Next was the nose; the nose was drawn mostly through shading rather than strong lines. I softly shaded around the bridge and nostrils, blending carefully to give it a three-dimensional form. I was also able to show both highlights and shadows, which made the nose appear realistic without being overdrawn.

Step 5
After doing that, I then moved to drawing the lips. I started with the outline, and then I carefully shaded gently to give them volume. The upper lip was shaded darker, while the lower lip was given softer tones with highlights to suggest natural lighting.

Step 6
Once the drawing was complete, I deepened the shadows to enhance contrast. The areas around the eyes and under the nose received more shading to add realism. I also blended lightly in some parts to soften transitions, making the portrait appear smoother and more realistic; below is my final result.
A selfie of me and my drawing


When I completed this drawing, I felt a sense of joy and accomplishment. This drawing was not just an exercise in pencil work; it reminded me of the importance of patience in art, the ability to move slowly, layer by layer, until the image takes shape. With just a pencil and a few materials, I was able to capture emotion and expression, turning a blank page into something alive and realistic. This work stands as a reminder of the timeless beauty of pencil art and the endless possibilities hidden in simple strokes. I hope you all enjoyed my drawing for today, and goodbye for now.
Inviting
My Twitter promotion link
https://twitter.com/emmaboy23/status/1972716893199864226?t=0E3Czy9zKPGtr3PIwtCbJw&s=19
Hello @emmaboy23! 👋
Thank you for your support