Two-year-old broken charger fan repair. || Problem: All parts of the circuit are damaged, and the battery is damaged. || With video tutorial.
Assalamu alaikum Everyone. I am @imranhassan From #Bangladesh
.png)
A brother working in the weighing scale department of our factory gave me an AC to DC Sanka Company two-battery charger fan for repair in his house for two years and said that it had been lying in his house for two years and water had entered inside it. Then first I brought the fan to my house, and I opened it and saw that the inside of the fan was in a very bad condition. All the parts of the circuit were rusty and were falling off by themselves, and it was impossible to repair this circuit because all the parts were falling off. I bought a new charging and controlling circuit from the market. So let's show you how the old fan that was left for so long worked.
Step -01


Now the fan that you see on my worktable is the fan that was turned off for two years. I cleaned it of some dust and dirt very carelessly and gave it 220 volts input voltage. No line comes. Then I opened the fan, which I tried to show you in the video. Then I took the old circuit in my hand. You can see some diagrams here. There are no parts in it. All the parts have fallen off by themselves, and the parts and legs have become weak. Therefore, to restart this fan, I have to buy a new circuit from the market. So I will buy a new circuit and then show it to you again in the second step.
Step -02


You can see a new circuit wrapped in paper in my hand. I bought it from Dhaka Gulistan Electronics Market for five hundred taka, and it is sold in the local market for 600 to 700 taka. The connection system inside this circuit is a 12-volt AC transformer. The input voltage goes through, and 12 volts DC is filtered through the capacitor and converted to 06 volts. The fan runs and charges the battery. In the second picture, you can see that the lines of the transformer are lying carelessly. I will now carefully replace them in the circuit.
Step -03


I am observing where the line connection will be because there are two connections of the fan motor, two connections of the battery and a 12-volt AC input connection coming from the transformer; I have to observe these carefully, so you can see on the right side of my circuit that the transformer connection has to be made. Then you can see in the second picture that I have connected two white wires from the transformer to the circuit, and after filtering through the diode, my circuit has started, and a red light is giving a signal, and I am very happy because the new circuit has started.
Step -04


Then I took out the battery line through a digital multimeter and checked its output, and you can see that it is giving a DC output of around nine volts. This voltage is enough to charge a 6-volt battery. When I run the load, the voltage will be a little lower. Then I turned on all the buttons of the circuit and saw that two white LEDs are lit here, which will illuminate the room if the current goes through, and my fan is on and off and high, low, medium and power-saving mode are all working.
Step -05


But now you can see that I have pulled and soldered the two white wires from the transformer and a red and black wire from the battery and a red and black wire to charge the battery. Then I switched on the fan, and you can see that my motor is spinning very nicely and the fan blades are spinning at a high speed, and here it is signalling that my fan connection is complete.
Step -06

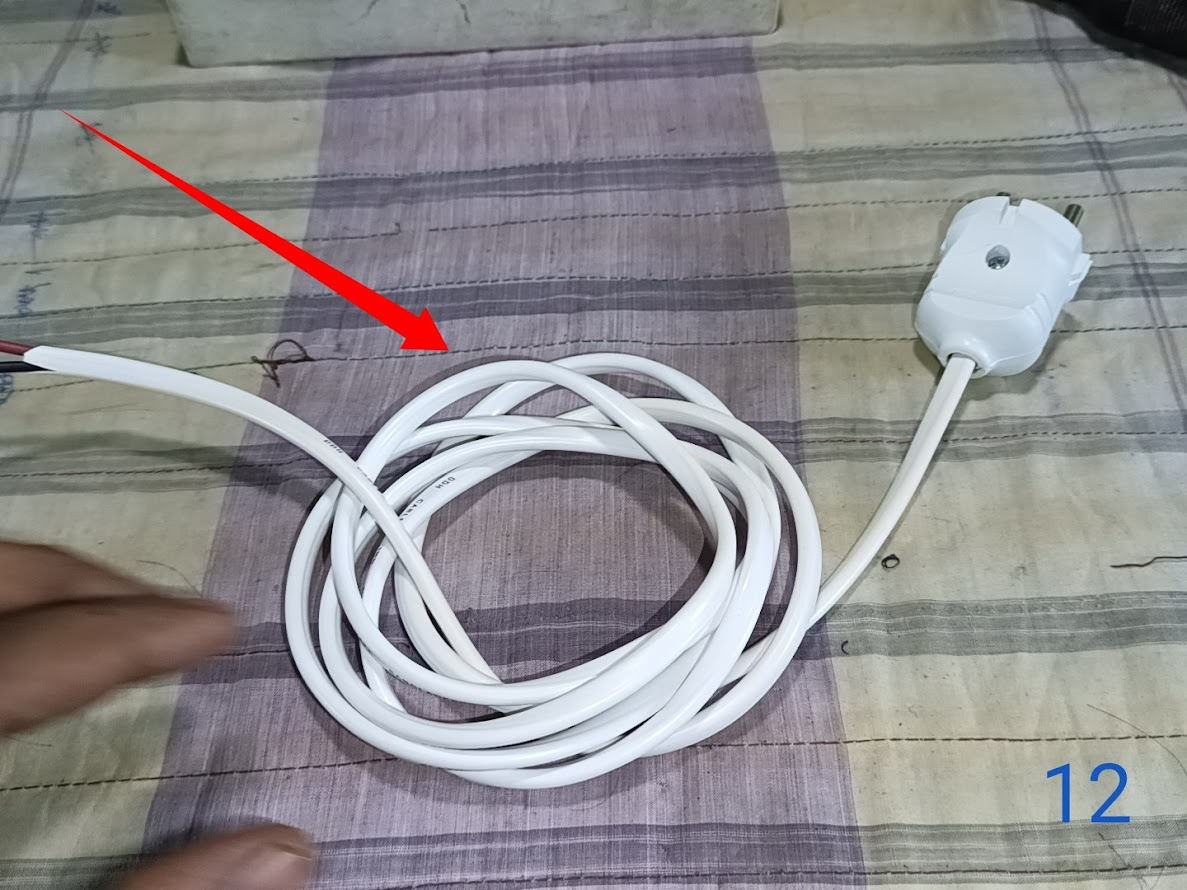
But now you can see that I have pulled and soldered. After finishing the work, I faced another common problem with this fan, which was the two-pin plug line of 220-volt input voltage. It was very shaky, and the wires were damaged, so I bought a two-pin plug and 2 yards of good wire from the Superstar company for 50 taka from the market. Then I connected the line with the two-pin plug, and now it will work as my AC cord.
Step -07


Then you can see very nicely that I connected the 220-volt AC cord line that I made earlier with the 220-volt input voltage of the transformer. Then I restarted the fan circuit with 220-volt input voltage, and from the battery clip, I made two separate jumpers of four wires so that there is no loose connection with the battery clip, and you can see here the output for charging the battery is shown.
Step -08


Then here you can see two six-volt batteries; here the parallel connection is given. This fan runs on two batteries, and one battery was old, and I bought a new battery for five hundred taka, and I made the connections in this way so that if the charge and current go out, there is no problem and it runs well. After completing the battery, I put the upper covers on nicely. Now my fan is one hundred per cent complete. Now I have to put the upper mesh covers on.
Step -09


Before completing everything, before putting on the mesh covers, I ran the fan and saw that it was running very nicely, so now I decided to complete this fan by putting on the complete body cover and mesh covers nicely. So now you can see that I have put the complete covers and the mesh covers to work as safety, and I have put them on now, but my final work is 100% complete now; I will give it to its owner.
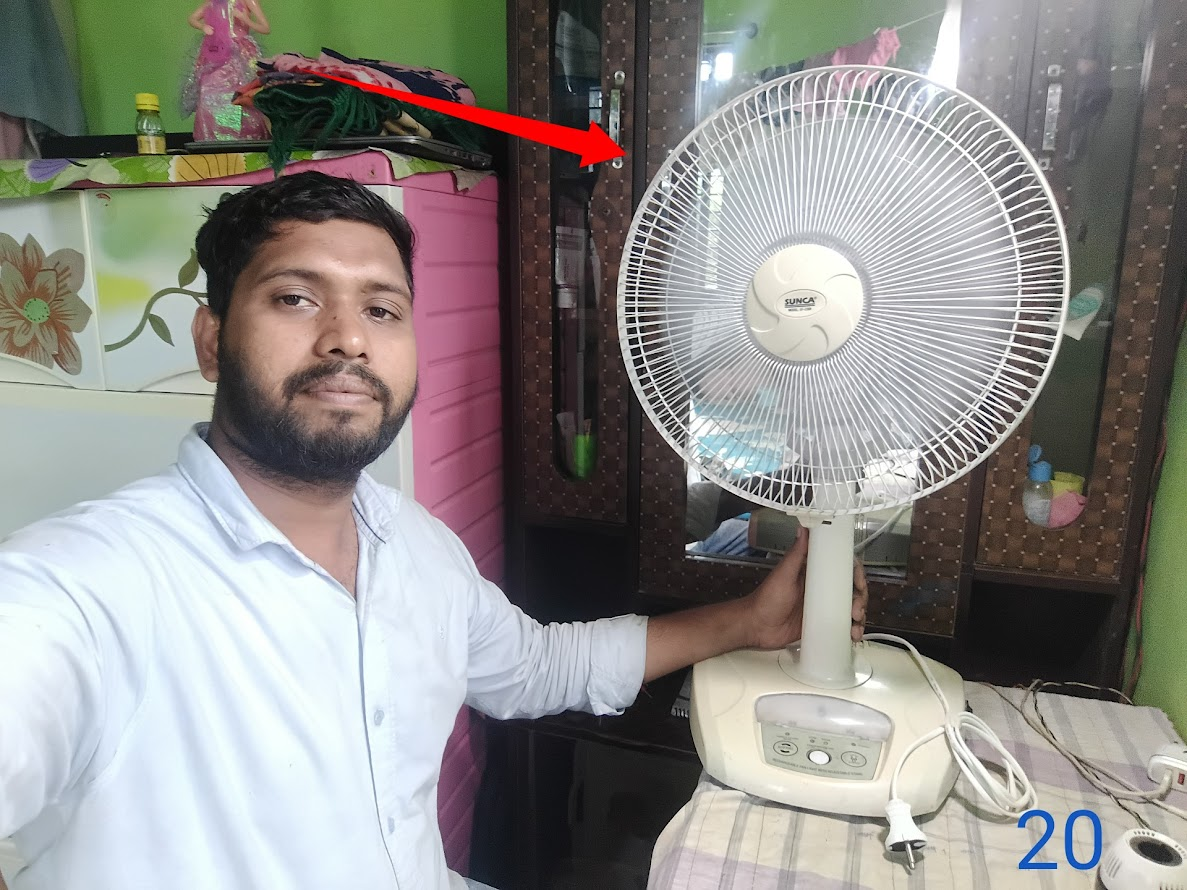
Here you see a picture of me with the fan. I had a lot of trouble doing this work. I had to go to Dhaka for 200 taka to buy its circuit. I had a little trouble because it was not available. However, I was able to complete this fan, and her child cries when the power goes out. Now she has repaired this fan for a very small amount of money and can feed her child with air. I am also happy, and the person who has the fan is also happy to hear that I have completed this fan for just 1400 taka, a new battery, a circuit and my wages. The current market price of this fan is 8 to 9000 taka.
| Video Tutorial: To better understand the practical part of this tutorial, you can watch the video below. |
|---|

✅ CC: My friend @rmm31
✅ We support @pennsif and @pennsif.witness for the growth of this platform. pennsif.witness his contribution to the Steemit community. Vote for him as a Witness here: Click to Vote
| Photography Details | 📱 Device: Walton Xanon90 | 📍 Location: Narayanganj, Bangladesh | 📷 Captured By: @imranhassan |
|---|
Lo bueno es que en su localidad se encuentran tiendas de electrónica donde venden las tarjetas completas, es decir cuentan con repuestos completos. A nosotros nos toca reparar la tarjeta, ubicar los componentes dañados y así solventar.
Veo que son muy populares estos ventiladores y cada día te llegan más personas con fallas. Ahora. Resulta económico hacer este de reparaciones?
0.00 SBD,
1.85 STEEM,
1.85 SP
Yes friend you are right in our Gulistan Kaptan market in Dhaka, all electronics and electrical equipment parts and circuit parts are available which can easily repair an old discarded thing into a new one.