"Weekly Drawing Contest 46 | Drawing Of Computer Keyboard"
Original Photo
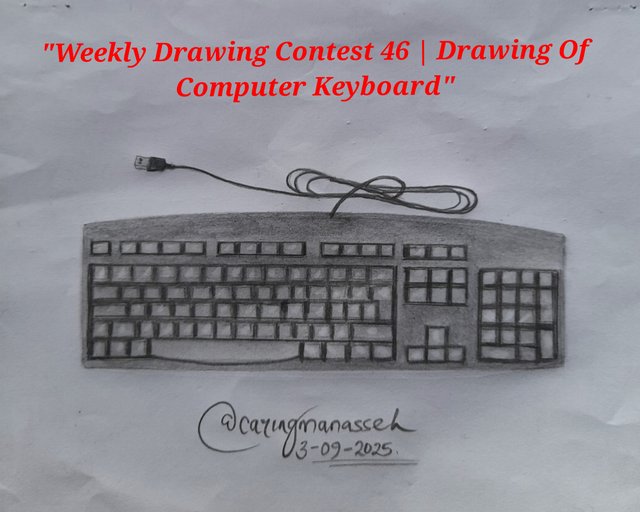
A keyboard is an input device that has keys like a typewriter, which interact with the computer by pressing the keys. The keys have numbers, alphabet and functional keys. The steps that I have taken to draw my computer keyboard are:
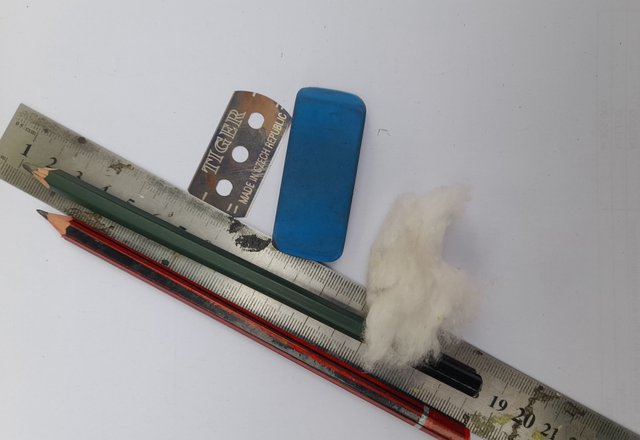
Materials for the drawing
- Plain A4 paper
- Pencils
- Eraser
- Razor blade
- RulerRuler
- Cotton wool
Step 1
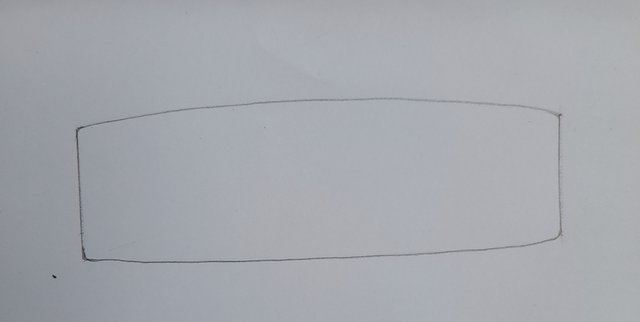
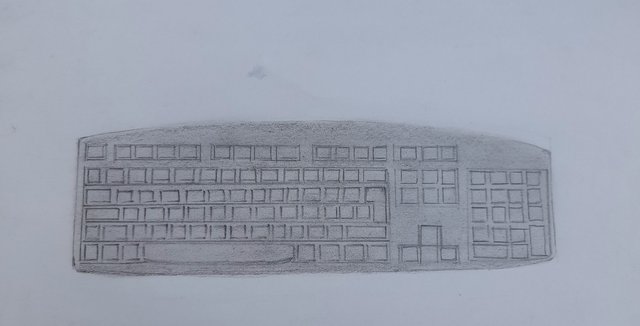
I began by drawing the frame of the computer keyboard, which looks like a rectangle. So, I drew a rectangle measuring 13cm by 4cm and after that, I curved the top and bottom of the rectangle to give me the shape of the keyboard.
Step 2
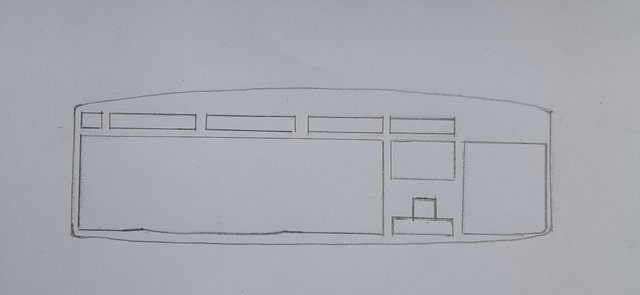
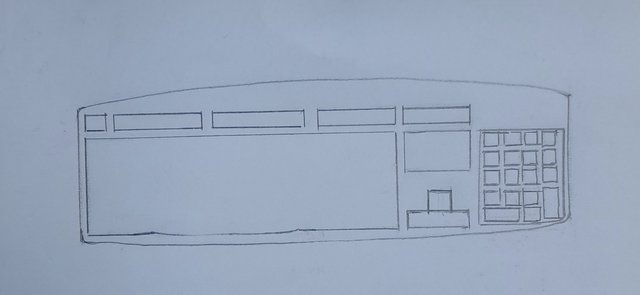
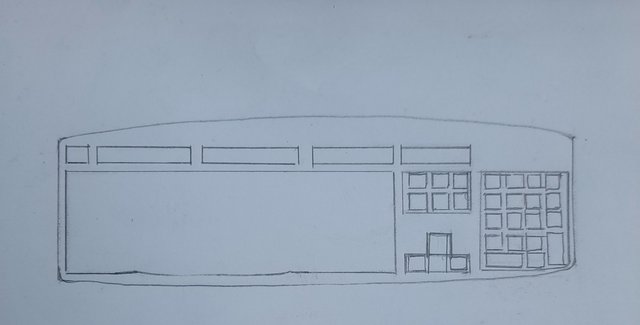
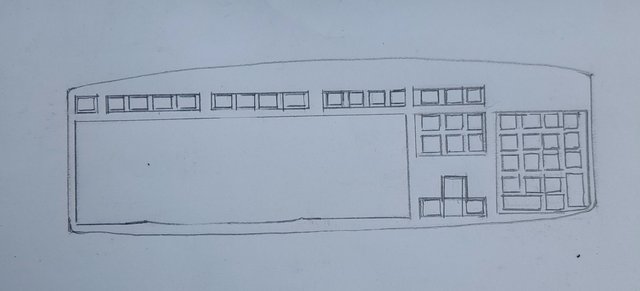
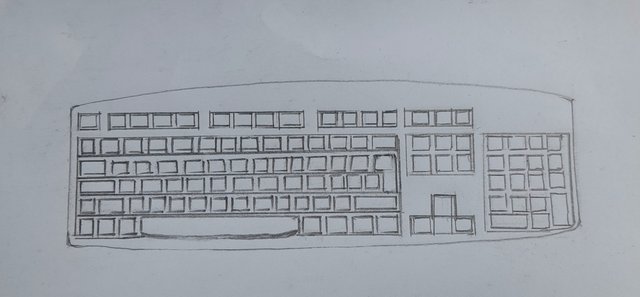
I drew the various parts of the keyboard, which I started with the numeric keys, the navigation keys, the function keys, and lastly the typing keys.
Step 3
I drew the various keys contained in the numeric keys.
Step 4
I drew the various keys contained in the navigation keys.
Step 5
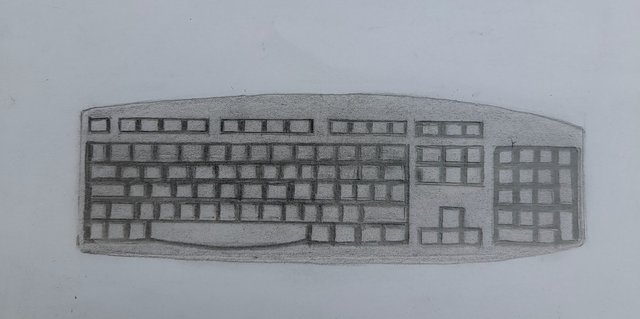
I drew the various keys that contain the function keys.
Step 6
I drew the various keys that contain numbers and typing keys.
Step 7
Here, I shaded the entire keyboard using a 2B pencil and then used cotton wool to blend the shading.
Step 8
I used a 10B pencil to shade each key on the keyboard and this has helped to show each key is independent from the other.
Step 9
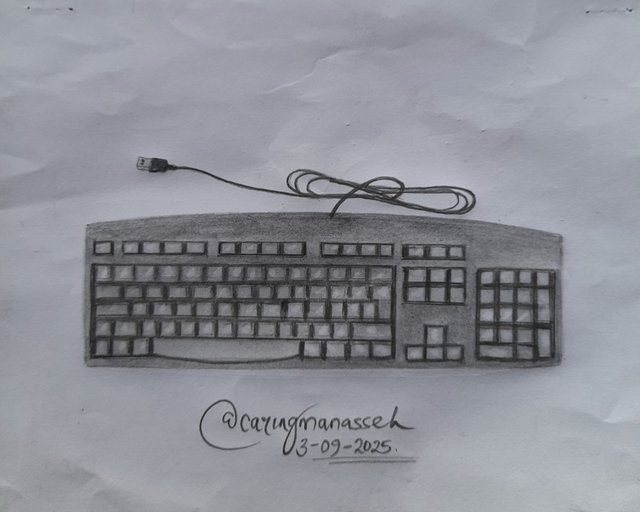
Here, I drew the cable of the computer keyboard using a 10B pencil. The cable has a USB head as seen in the drawing. Lastly, I adjusted the frame of the computer keyboard and then showed the sign of letters on the keys by using an eraser to lightly reduce the thickness of the shading.
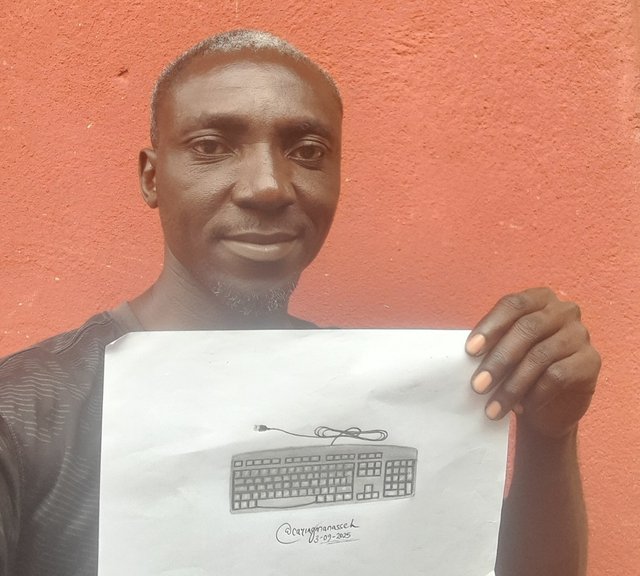
My Selfie
Conclusion
I appreciate you all for reading this article to this point and thank you for your support. I also appreciate @m-fdo for the contest.
Invitation
I invite the following friends to join me in this contest:
CC
@m-fdo
.jpeg)
Congratulations! This post has been voted through steemcurator03.
Hello there, you have posted a great quality post and we are happy to support you, stay up with good quality publications
0.00 SBD,
0.04 STEEM,
0.04 SP
Thank you for being so supportive.
X Share (Twitter) Link
https://x.com/Manasseh3600/status/1963308093606895969?t=n44s7AaEjTtKwguxn6EdcA&s=19