Assalamu Alaikum to all my dear Steam friends. How are you all, I hope you are well. Today I have come to present you with a wonderful colorful clay flower. Today I will share with you a bouquet of flowers in colorful clay. I make all these wonderful flower bouquets in my free time. I always try to come up with some new drawings or artworks in front of you, that is, on the Steemit platform. Now I have presented all the steps of making my flower.
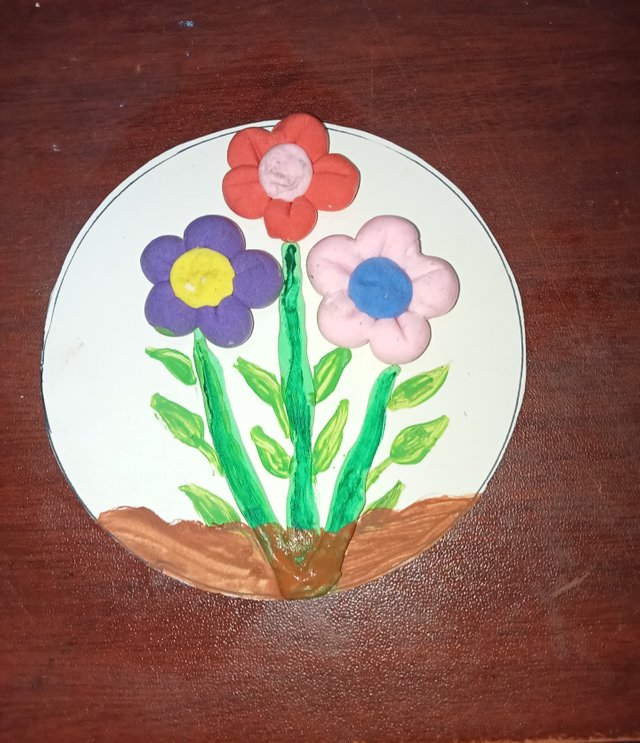
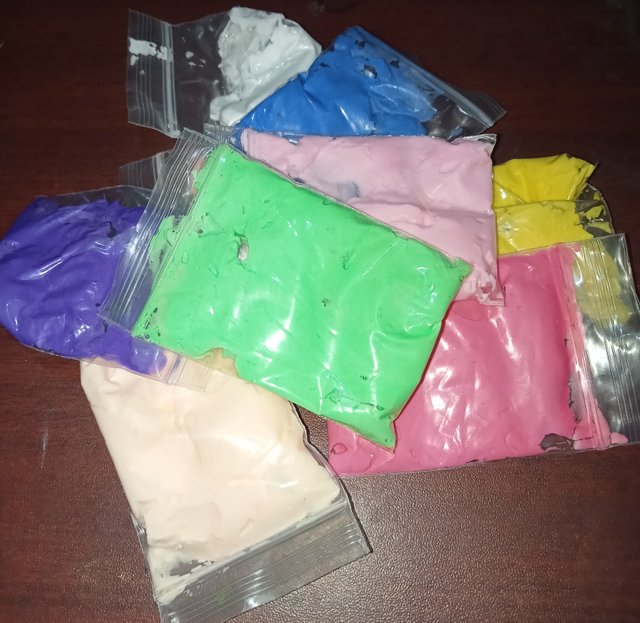
The materials that will be needed to make the flower in my scene.
- A piece of paper
- Colored clay
- Pencil ✏️
- Scissors ✂️
- Watercolor
- Paper
- Step by step steps to make it.
I took a piece of A4 size paper. And then I drew a circle with a pen.
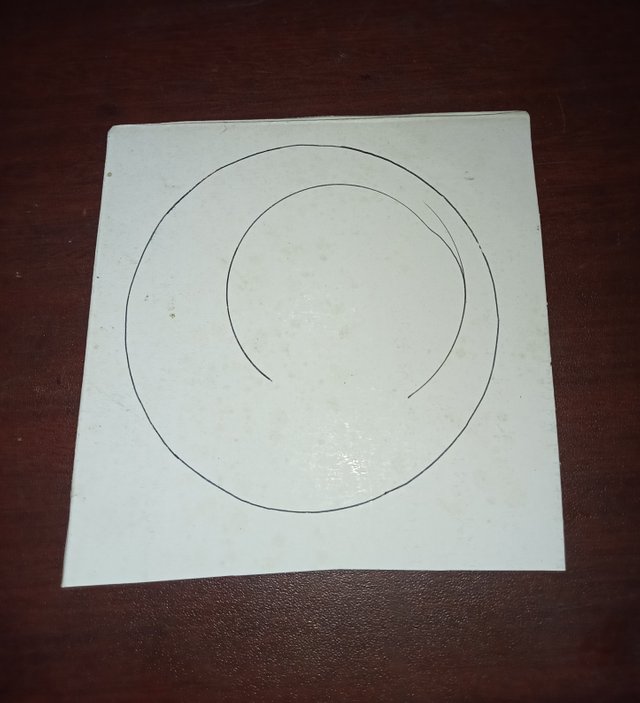
Then I cut the circle into a circle with the help of a pair of scissors. And I took several types of colorful clay.
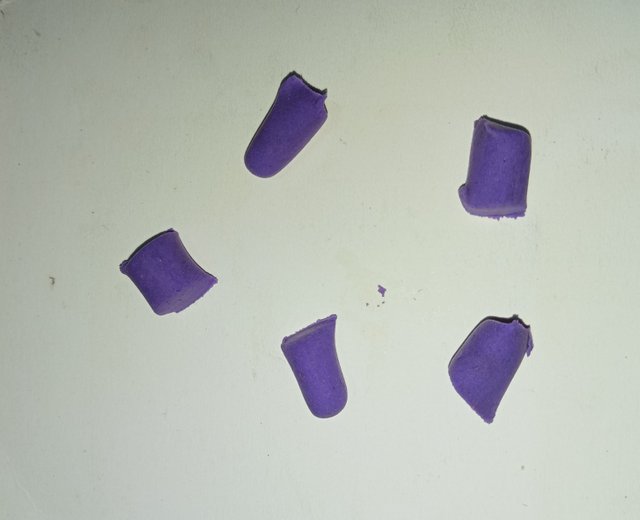
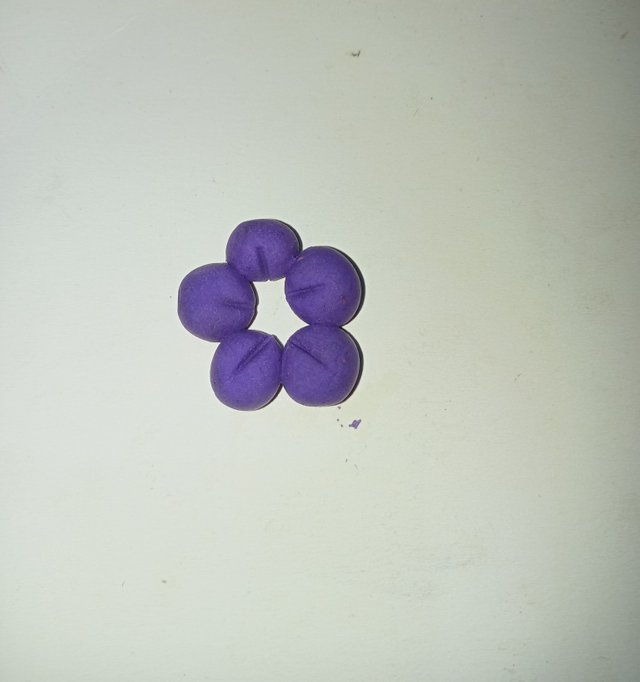
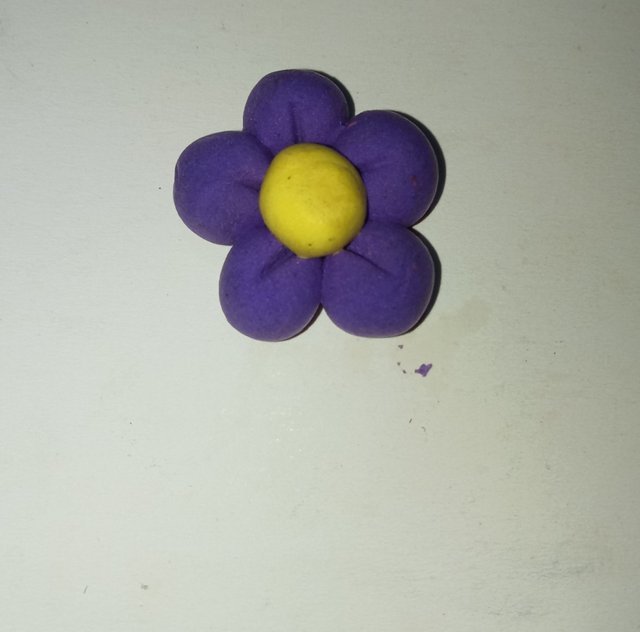
I took a colored clay of purple color. And then I divided the purple colored clay into five small pieces. And I made a round flower shape.
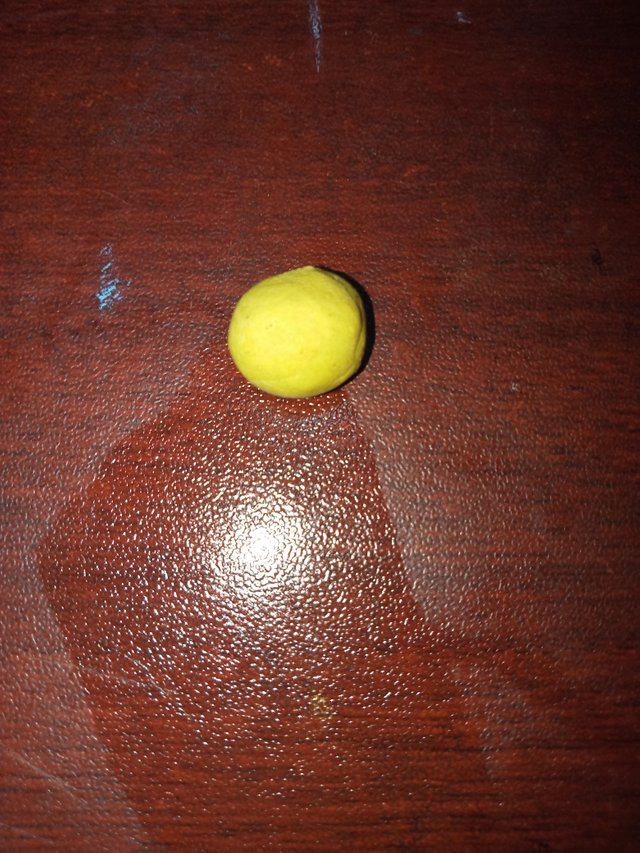
And then I took another colored clay. Its color is yellow. And I took a piece of it, it is a little bigger than the previous pieces. And I have to place this colored clay in the empty part in the middle of the flower that I made. I have shared a picture below, you can understand it very well if you see the picture.
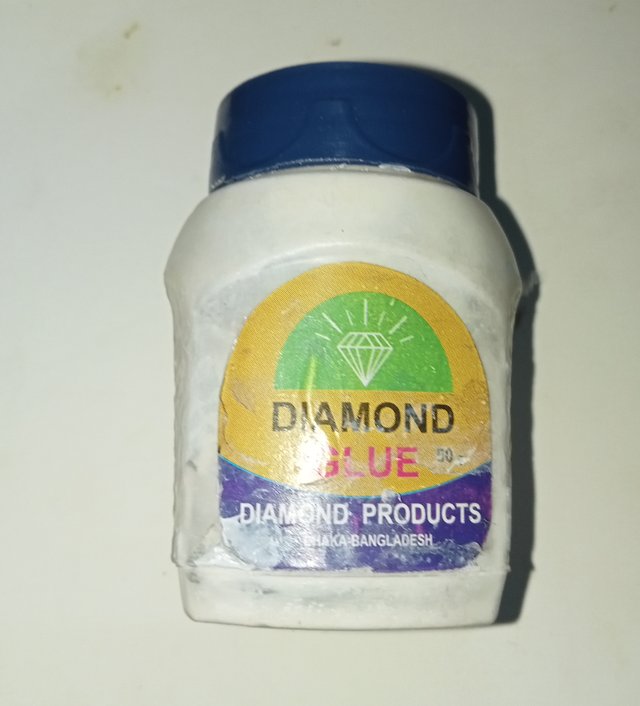
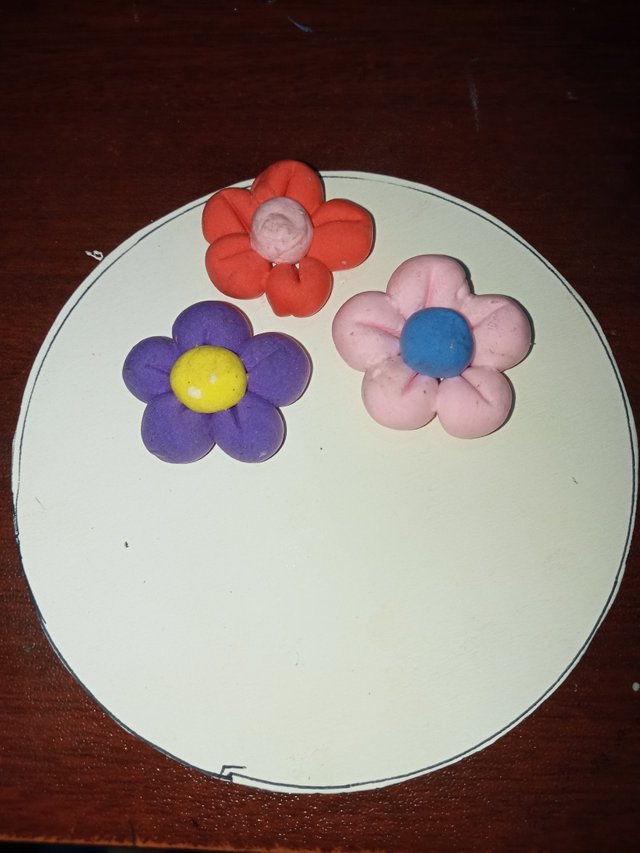
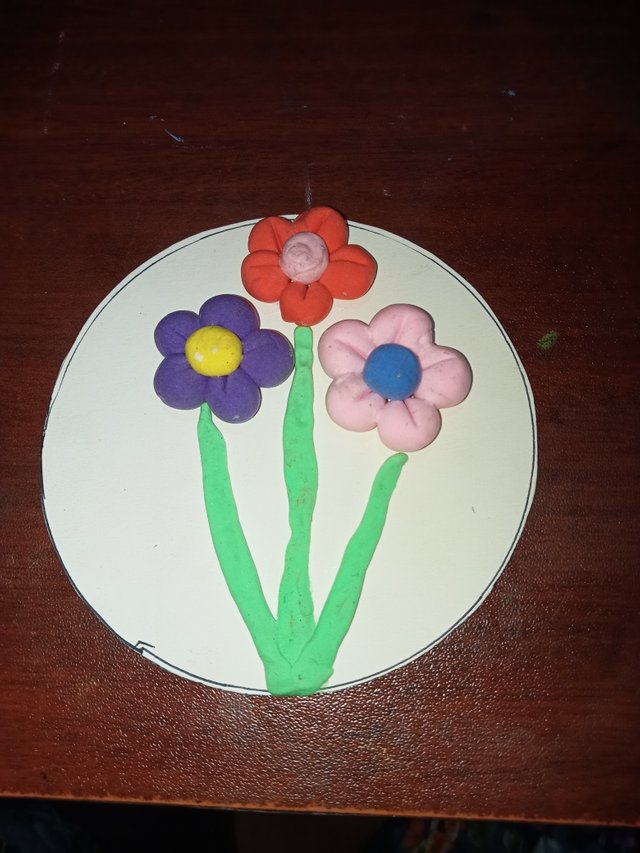
Then I made three flowers one by one. And then the circle that I made first will be useful now. And I put a little amount of glue on that circle and set one flower at a time. You can understand how I arranged the three flowers only by looking at the picture.
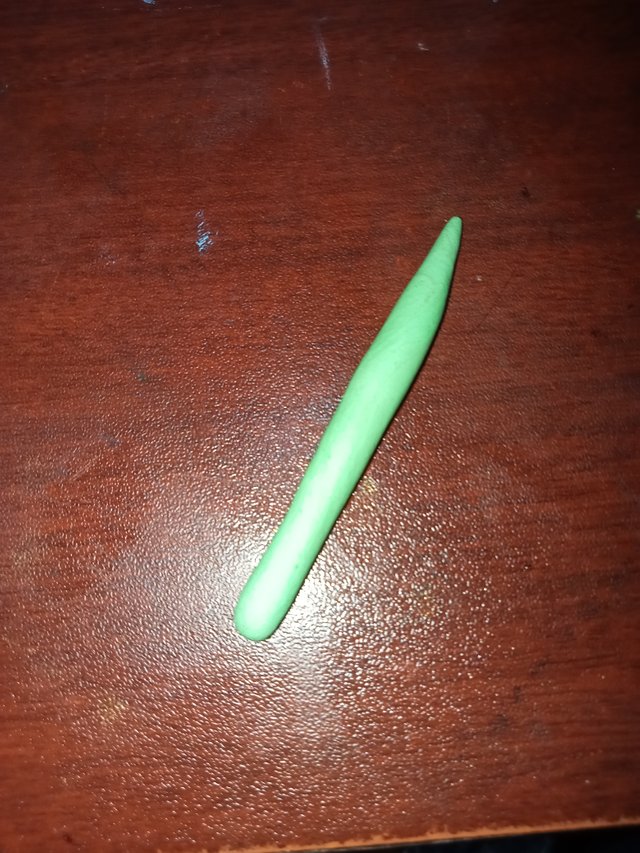
Then I took another colored green colored clay. And then I put it in the palm of my hand and made it a little longer. And I made three branches of the three flowers and turned it into a tree.
And then I took green watercolor. And next to the branches of the colored clay, I made some leaves of some trees with watercolor.
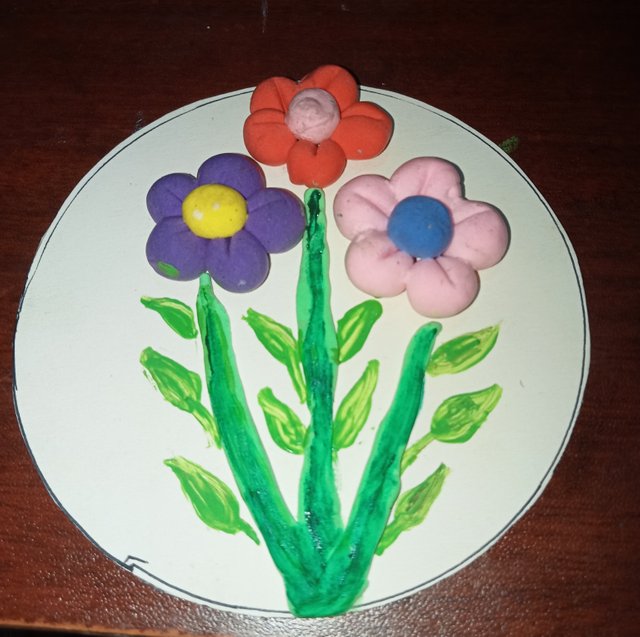
Then I drew a tub at the bottom of the tree. That is its colored clay color. Anyway, today my flower bouquet with colored clay is completely completed.

Due to some personal problems I was not able to provide selfies to you. I hope you will look at this in a positive light.

Following the above 8 steps, I created today's wonderful artwork. I created the artwork with colored clay. Then according to the idea, I used my creativity and work skills to create this wonderful flower top. You all will like this wonderful artwork.



Upvoted! Thank you for supporting witness @jswit.