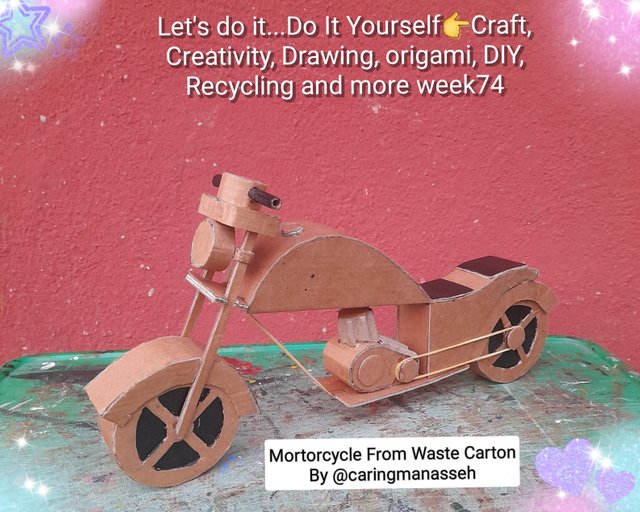
Let's do it...Do It Yourself👉Craft, Creativity, Drawing, origami, DIY, Recycling and more week74
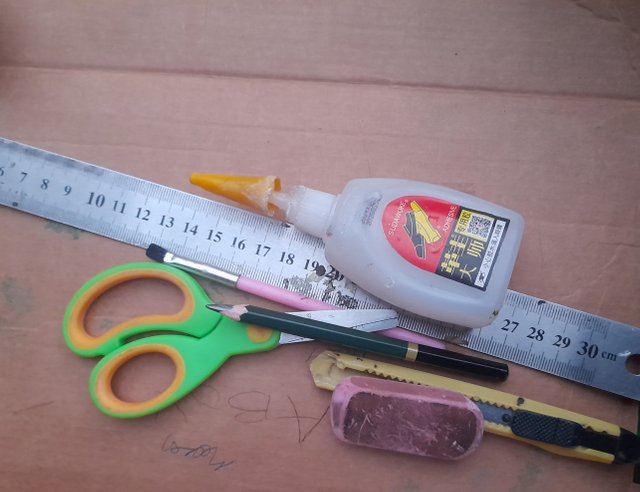
Materials for the construction
- Waste carton
- Pencil
- Eraser
- Sharpener
- Scissors
- Paper cutter
- Black Acrylic colour
- Adhesive
- Rubber band
Step 1
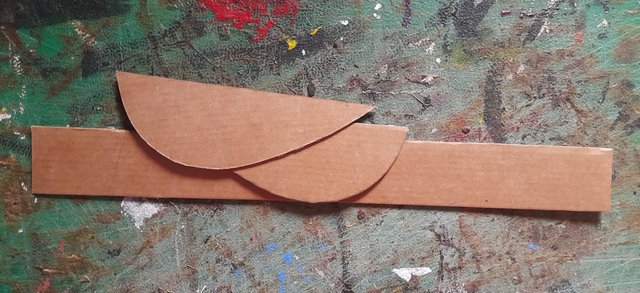
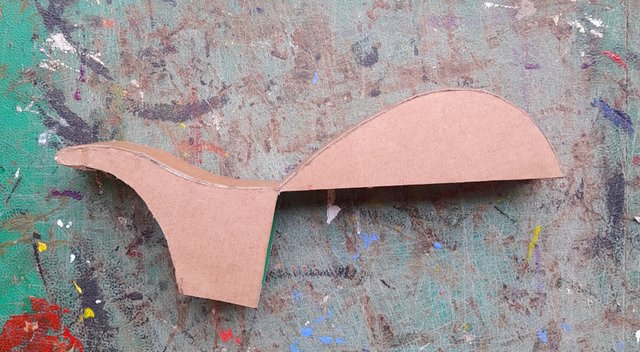
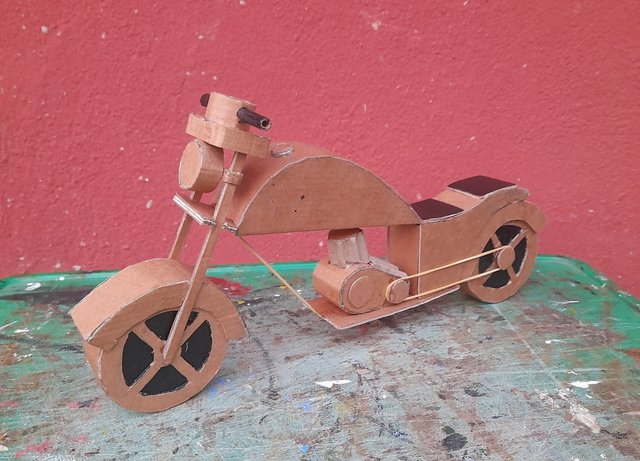
I began by taking measurements for the fuel tank. I measure a rectangle of 5cm by 10cm and design the shape of the fuel tank with a duplicate. I also measure another rectangle of 3.5cm by 32cm which will give me the width and length of the motorcycle.
Step 2
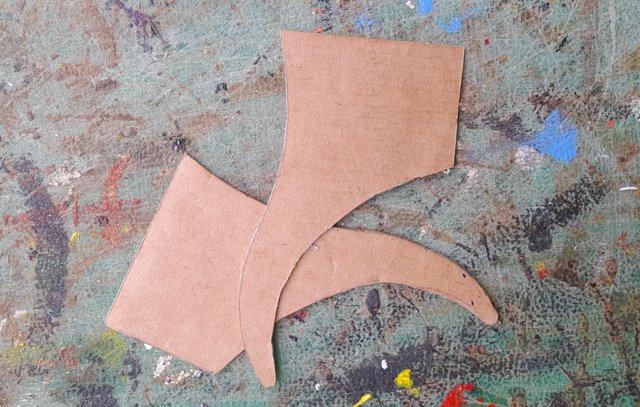
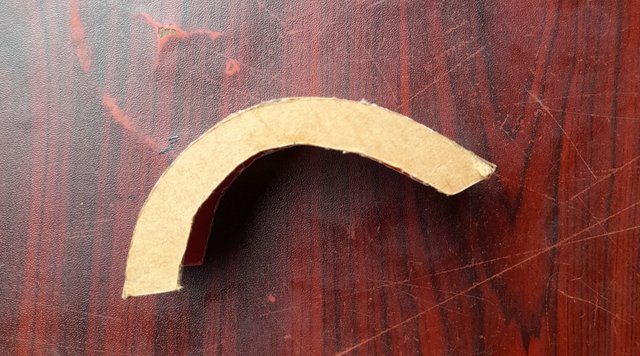
I designed the side cover. I measure a rectangle measuring 5.5cm by 10.5cm. I draw the shape of the side cover and cut it out using a cutter.
Step 3
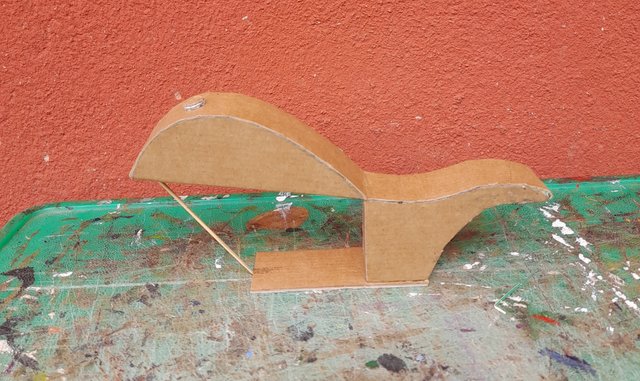
I glued all the results obtained in steps 1 and 2 to form the fuel tank and side cover of the motorcycle.
Step 4
I formed the engine seat of the motorcycle using a rectangular carton measuring 4cm by 10.5cm and a stick measuring 10cm
Step 5
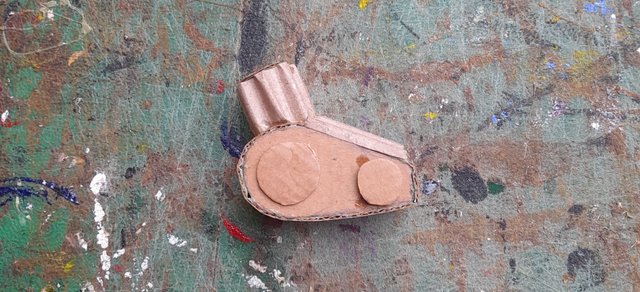
Here, I construct the engine of the motorcycle. I first designed the side view of the engine and cut it out. Again measure the width to be 3cm. I also peeled one side of a carton and formed the block engine. Finally, I assembled all the parts together using adhesive to form the engine.
Step 6
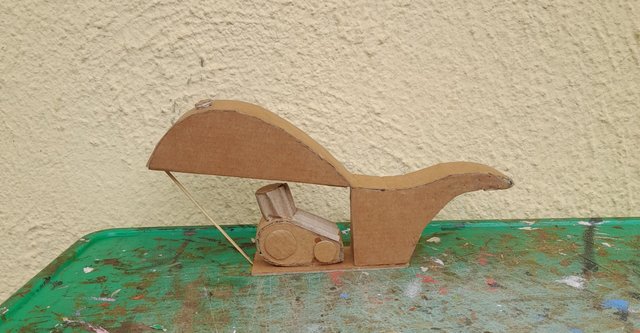
I mount the engine on the motorcycle using adhesive.
Step 7
I deign the fender and mount it.
Step 8
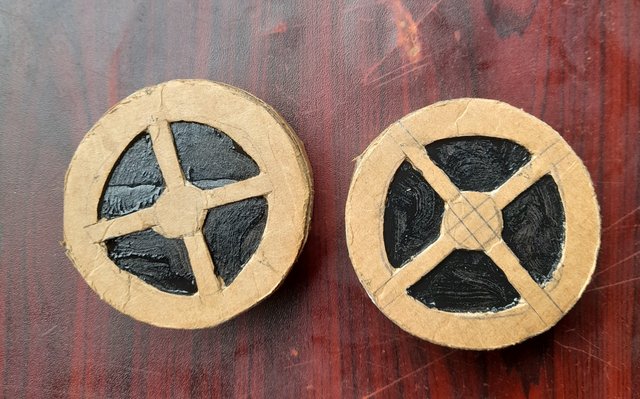
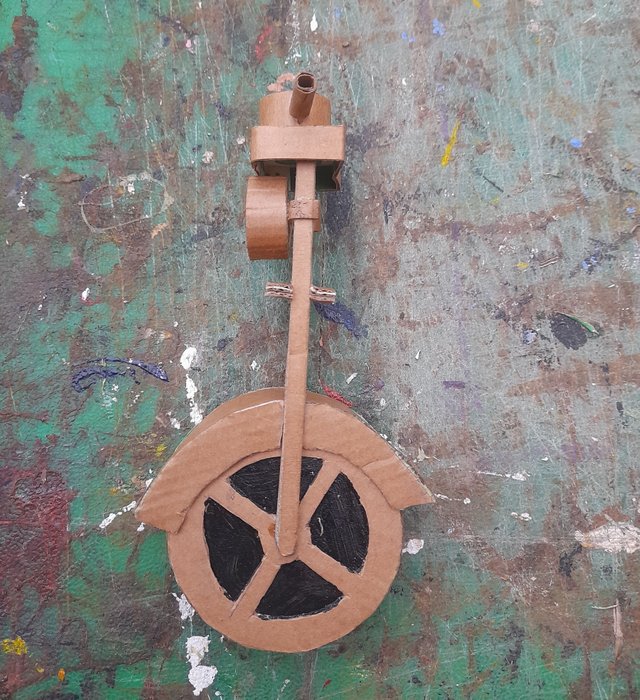
I constructed the two wheels of the motorcycle. I use the cover of a cream to draw the circle and a rectangle 3cm wide. I used the rectangle to round the circle and then make a design on it. I also apply black acrylic colour.
Step 9
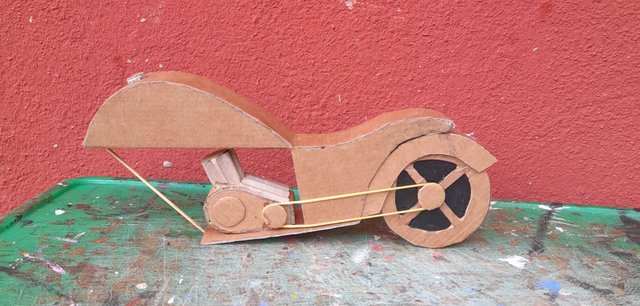
I mount the rear wheel on the motorcycle. I also used a rubber band to serve as the chain of the motorcycle.
Step 10
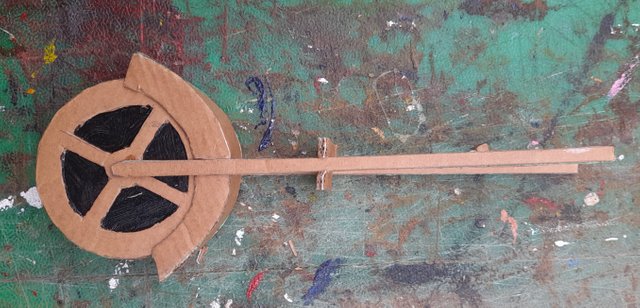
I cut a carton to be 0.5 wide to serve as the front fork of the motorcycle. I double it and mount it on the second wheel. I put a carton to connect the two forks above the wheel.
Step 11
I formed the headlight, the speedometer and the hand grip of the motorcycle and mounted them on the front fork.
Step 12
I connect the front fork with the remaining part to form the motorcycle. I cut two 3cm square cartons and gummed them to serve as the motorcycle seat. Lastly, I coloured the seat and the hand grip of the motorcycle to be black using a black acrylic colour.
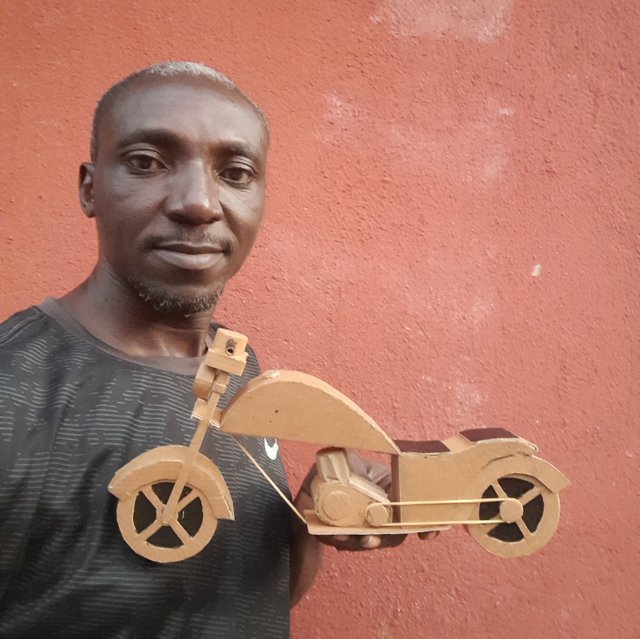
My Selfie
Conclusion
I want to appreciate God for the grace to finish this work today. It actually looks simple, but it took me two days to accomplish. Appreciate you all for going through my article today and for your upvote. God bless you all. I invite @dequeen, @chant, @tammanna and @bimanakhan to join me in this contest.
10% beneficiary to @steemkidss
X Share (Twitter) Link
https://x.com/Manasseh3600/status/1948730353318842631?t=gZMfP2Fw9xLhMbHvhUZZrg&s=19
The TEAM FORESIGHT has supported your post. We support quality posts, good comments anywhere, and any tags
Thank you for the support ma'am
A very wonderful creation 👍👍
Thank you ma'am
Very impressive I love it and keep it up
Thank you.
Your beautiful ideas and art fascinate me. I really enjoy your handiwork and your beautiful step-by-step descriptions inspire others to draw and create beautifully.
Endless love and best wishes to you.
Thank you for the nice comment ma'am.