Let's do it...Do It Yourself👉Craft, Creativity, Drawing, origami, DIY, Recycling and more
Assalamu Alaikum,
Hello everyone,
I am @selina1
From #Bangladesh
I am starting by wishing all my Steemit friends good health. Alhamdulillah, by the grace of Allah, I am also fine. Today, I will participate in a great contest with my creativity skills in the Steem Kids and Parents community. Through this contest, I will make a salwar and share it with you. So let's get started.
Every person has some or the other skill. However, some skills of people are very useful in their lives and can earn money through it. That is exactly what happened in my case, I can work a sewing machine very well. Today, I will show you how to make a pankart salwar. The specific materials that I will need to make this salwar are given below

Required materials:
- Fabric
- Yarn
- Scissors
- Machine
- Chalk
- Ribbon

Preparation method:
- First step: First, I will fold the fabric in the middle and then fold it lengthwise. Now I will measure 41 inches in length using a tape and cut the mark with chalk.


- Second step: Then on the upper part of the cloth, i.e. on the side of the waist, I will measure 11 inches according to the waist size and cut the mark with chalk.


- Third step: Then I will measure 17 inches in length with a tape to measure the waist height and draw it with my eyes.

- Fourth step: This time I will measure 7 inches at the front of the leg of the salwar and draw it with my eyes.

- Fifth step: Now I will draw the hem of the entire salwar with chalk. This has to be done very skillfully and I will cut it with scissors by increasing 1 inch from the measured part with the tape. In this case, the salwar will be divided into two parts.


- Seventh step: Now I will sew the salwar by leaving half an inch in the middle of the first part and later I will put the fabric of the half inch stitch again and sew another one. I will sew two parts of the salwar cloth like this.


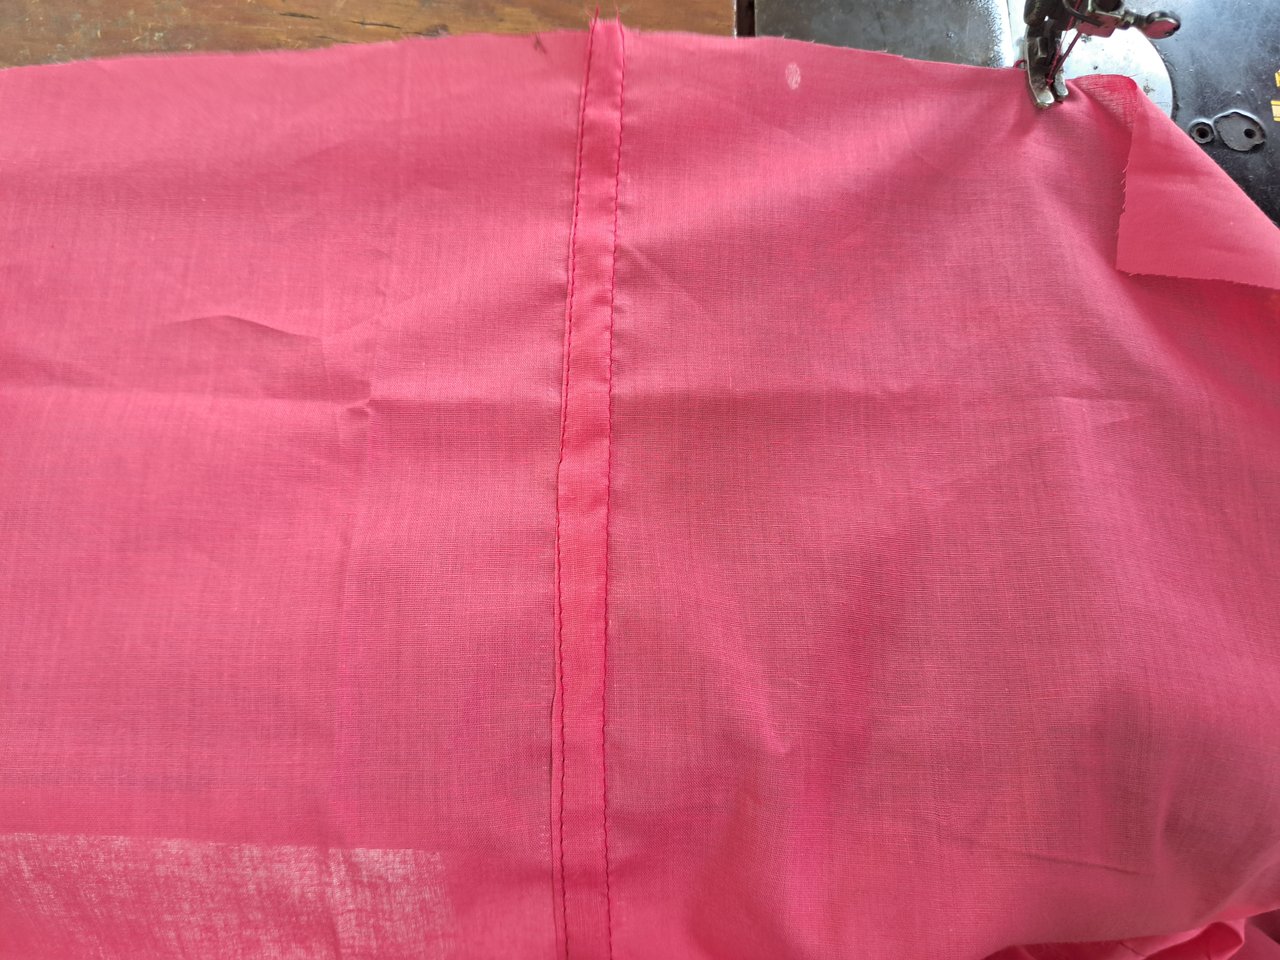
- Eighth step: Now I will sew the two parts of the salwar along the hem.


- Ninth step: Now I will sew one part of the cloth on the lower part of the salwar. Then I will sew it according to the size of the murhi.

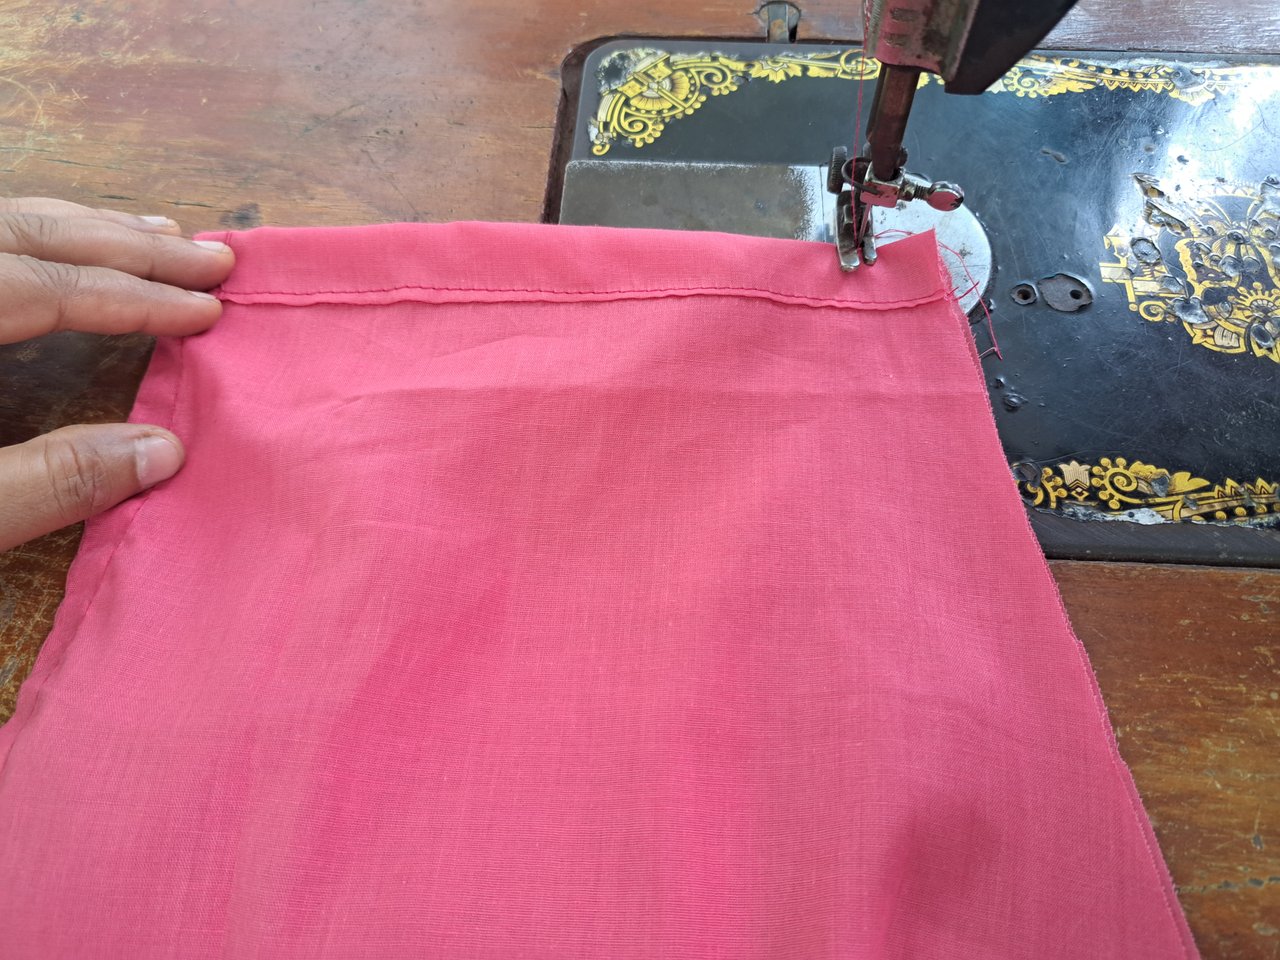
- Tenth step: Now I will sew the upper part of the salwar with a double fold to attach the rubber.

Finally, my salwar is done. Now I will take a picture of my pankart salwar.

Conclusion :
I am really happy to participate in this contact. I made this salwar for myself. I am really proud of myself for making my own clothes for my own study. I hope you can make salwar by following these steps. This was my presentation today.

Thank you all for reading my post |
|---|
I would like to invite some of my friends to this contest. They are, @ahsansharif @memamun @suboohi @uzma @afrinn


Upvoted! Thank you for supporting witness @jswit.
@tipu curate
Upvoted 👌 (Mana: 0/7) Get profit votes with @tipU :)
This post has been curated by
Team #5
@damithudaya
Thank you for publishing an article in the Steem Kids & Parent community today. We have assessed your entry and we present the result of our assessment below.
MODs Comment/Recommendation:
Thanks for sharing this creativity at its peak. I love the fact that you're a garment maker. Keep doing what you know how to do best.
Remember to always share your post on Twitter. This POST LINK is a guide to that effect.