SLC season 26 week 2 ||Let's make pottery for your garden|| @afzalqamar
Assalamu Alaikum friends, I hope you are all well. Today I am going to share a very interesting post that I have organized by @sualeha In this, we have been taught how to make a very interesting pot with white Cement. I really like things that are made with my own hands and I have made this one with my own hands in two whole days, although I have a problem with my joints, due to which I stay at home all day due to severe pain, but still I kept my spirits high and did not give up and completed this interesting work.
1. Make a pot out of white cement use any design of mold as your convenience ,follow given method in the course ,add detail with step-by-step pictures. Include your name tag with the date at the final presentation of your work.
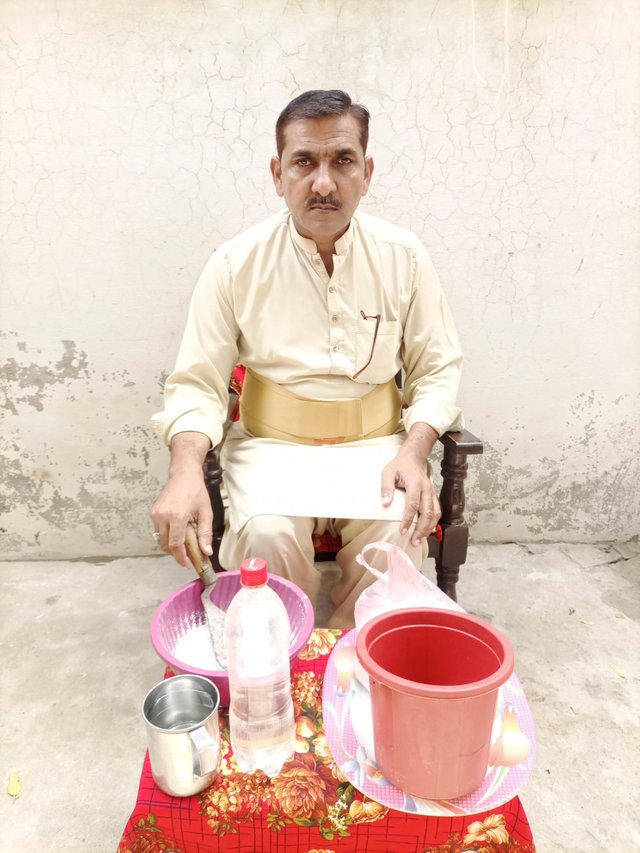
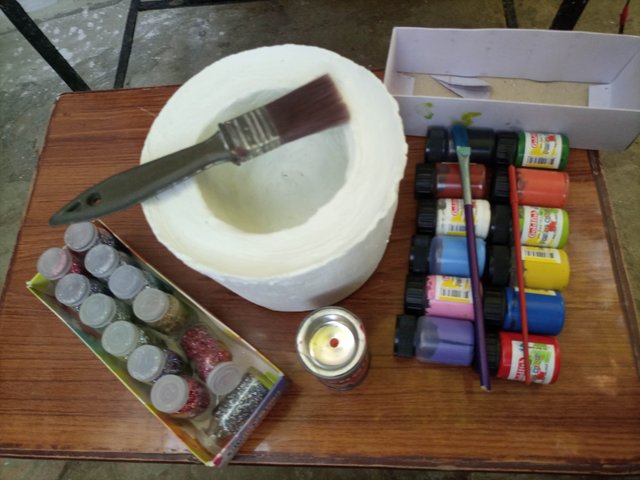
let's start this interesting task in which we have to do some painting, make some designs, and a pot which is to be made from white cement. To prepare this, we will need some things.
Making a Pot with Cement
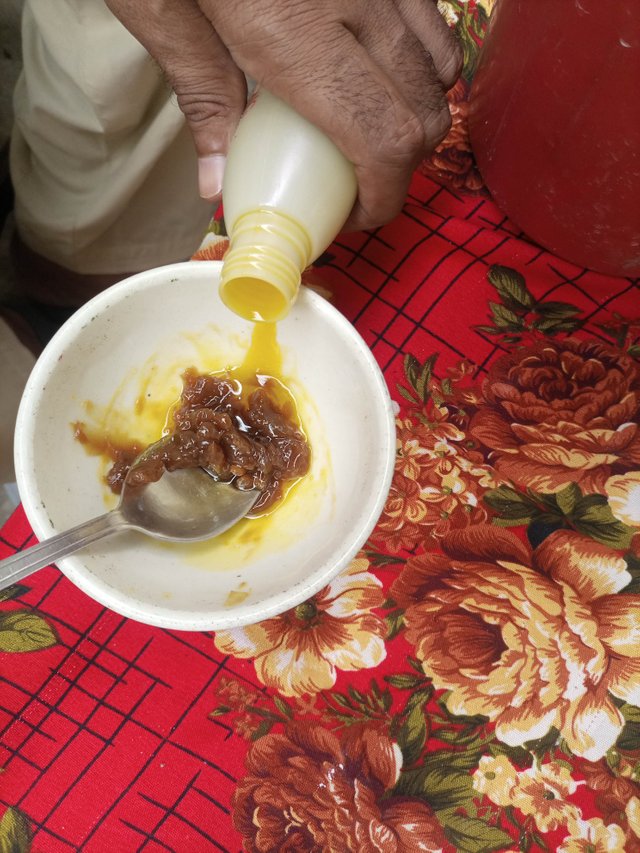
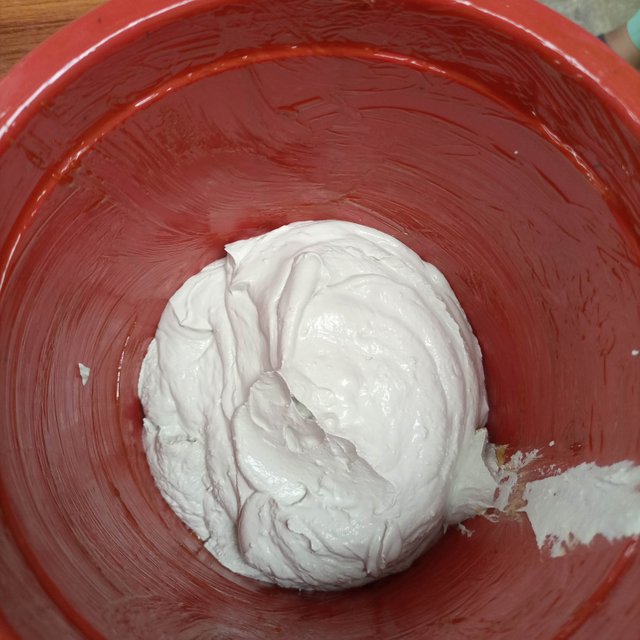
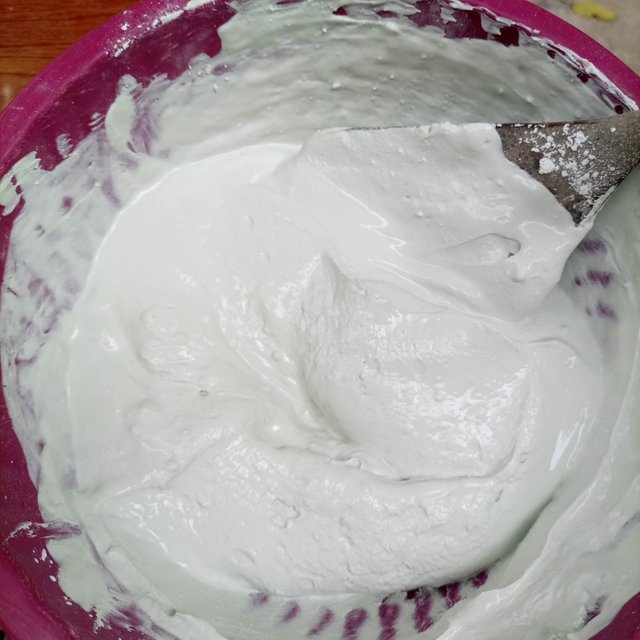
To make this pot, I took two kilograms of white cement and put it in a pot and made a thick paste with water so that I could put it in a mold and make a beautiful pot. For this, I took a bucket and mixed mustard oil and grease in it and put it inside so that when the pot is ready and after drying, it can be easily taken out. And to keep it inside, I chose a bottle so that there is space inside to keep the flowers.
 |  |
|---|
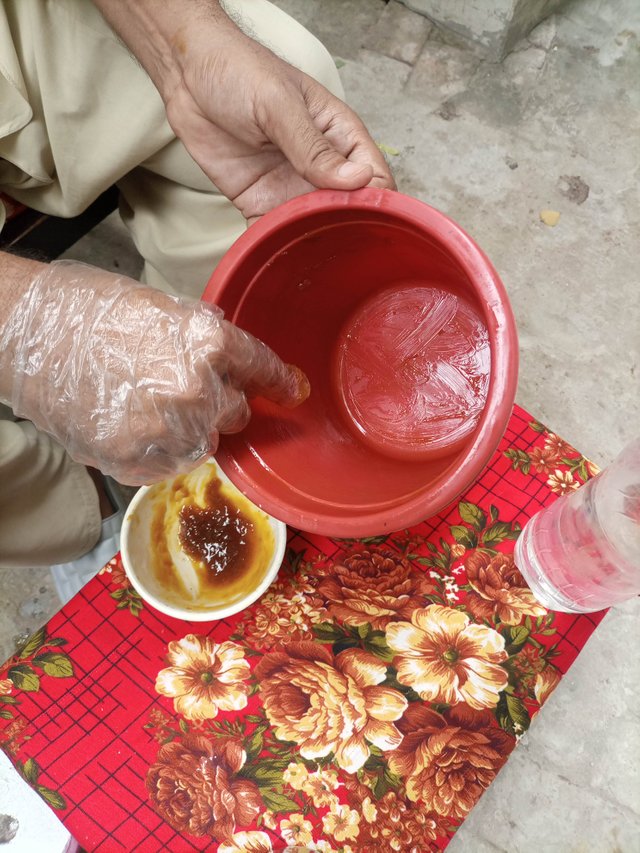
Now I put the mixture of oil and grease inside the bucket. Wearing a polythene glove on my hand, I applied this solution to the outside of the bottle so that the bottle could be easily removed.
 |  |
|---|
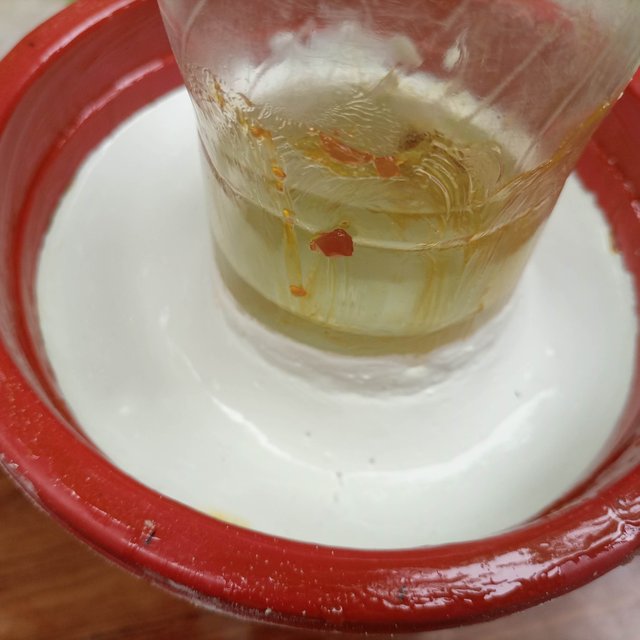
Now I poured the white cement solution, which had become thick after mixing it with water, into the bucket and placed a bottle filled with water in the middle. I poured the water so that the bottle would not float up, but would remain in the middle so that a space could be prepared in which to place the flowers.
 |  |
|---|
 |  |
|---|
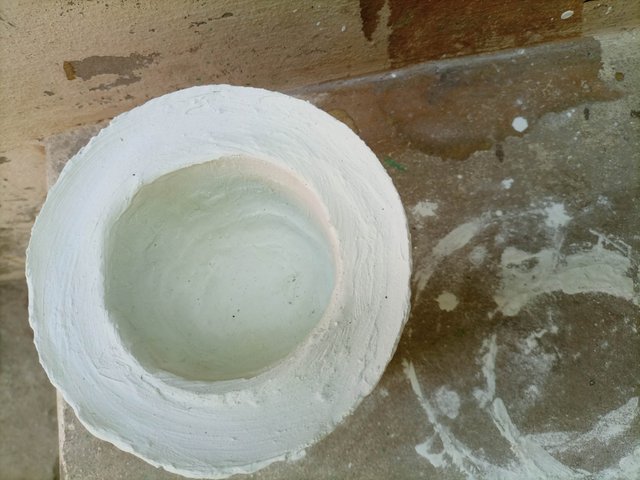
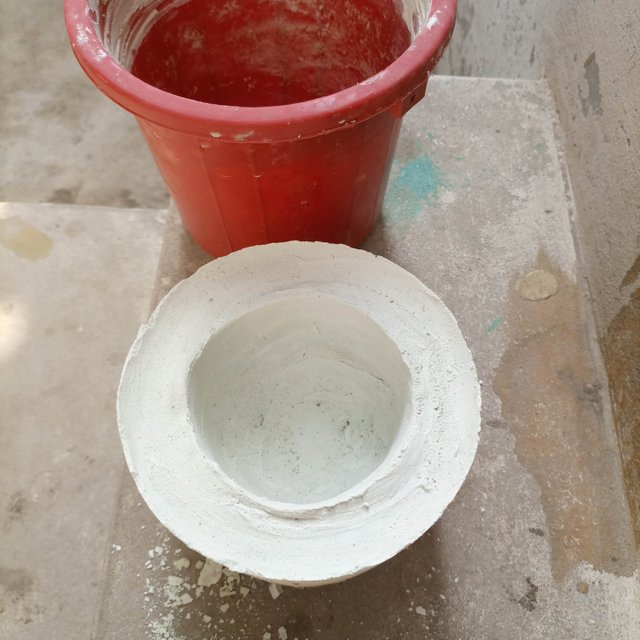
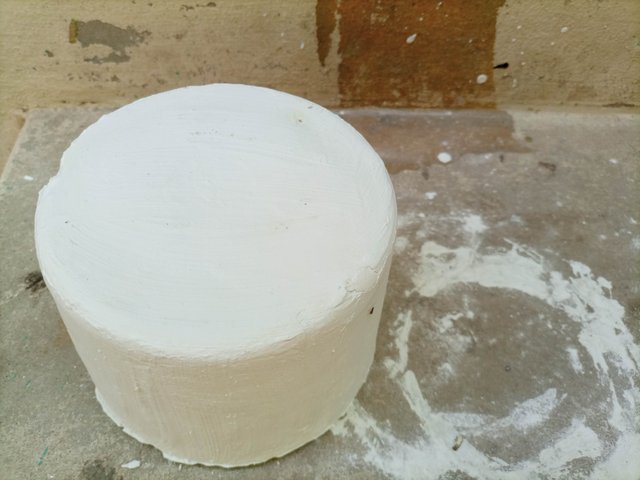
I kept this pot in the sun for about two hours. Now it had improved a little because the sun was out. I turned the bottle and slowly took it out of it. The edges were a little disturbed, so I fixed them again with the help of my hands and then put it in the sun. It took two days to make it. It dried for 12 hours and in the morning I took it out of the bucket. To take it out, I turned the pot upside down and left it. I knocked it on the ground a little, so it came out very easily. Now a very beautiful pot with white cement was ready. Where there was some surface, I dissolved the white cement again and applied it with the help of a brush to make it smooth.
 |  |  |
|---|
 |  |
|---|
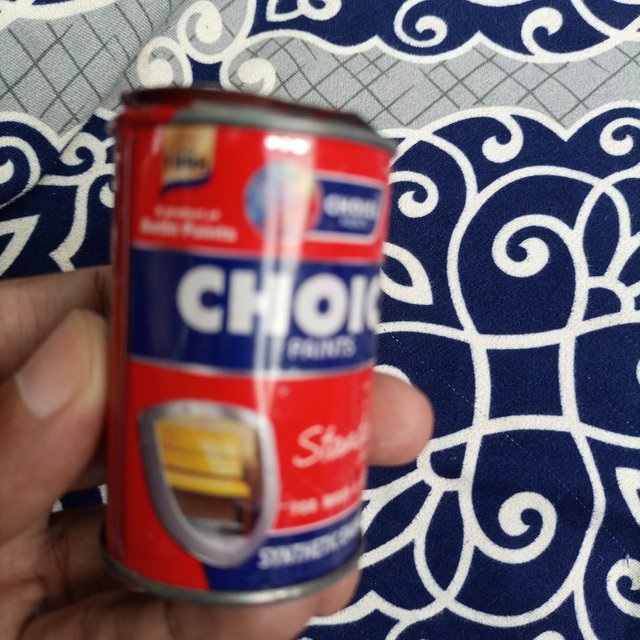
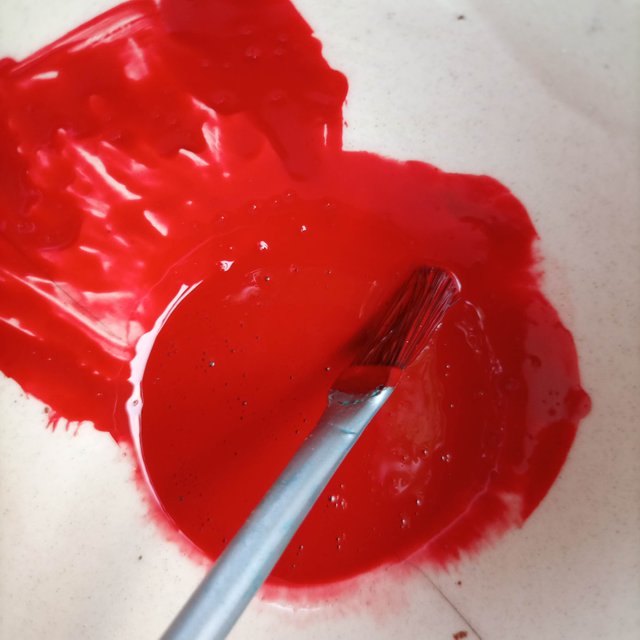
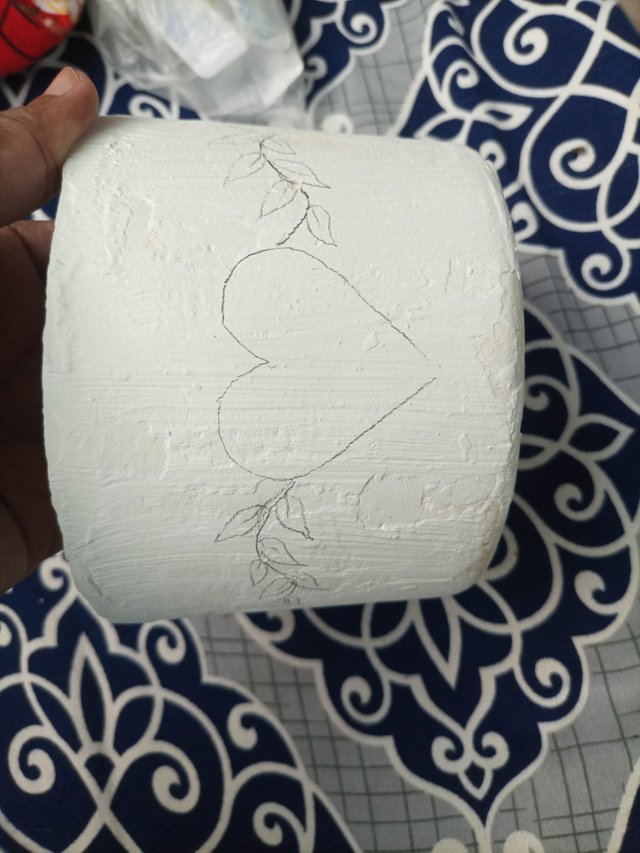
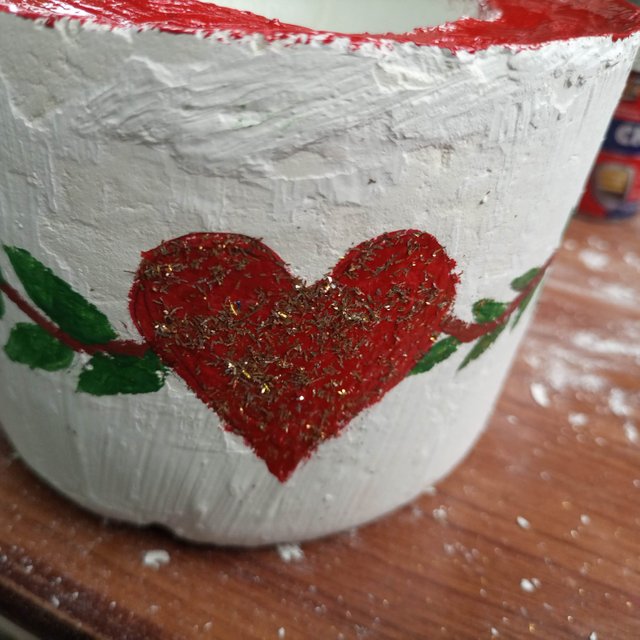
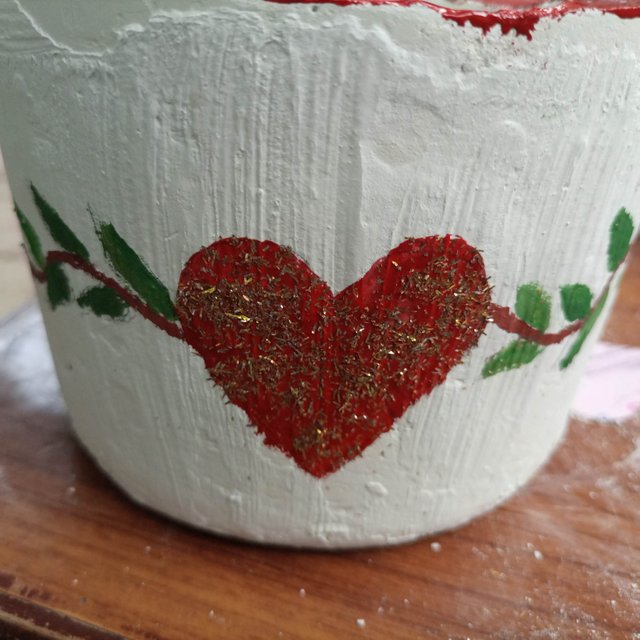
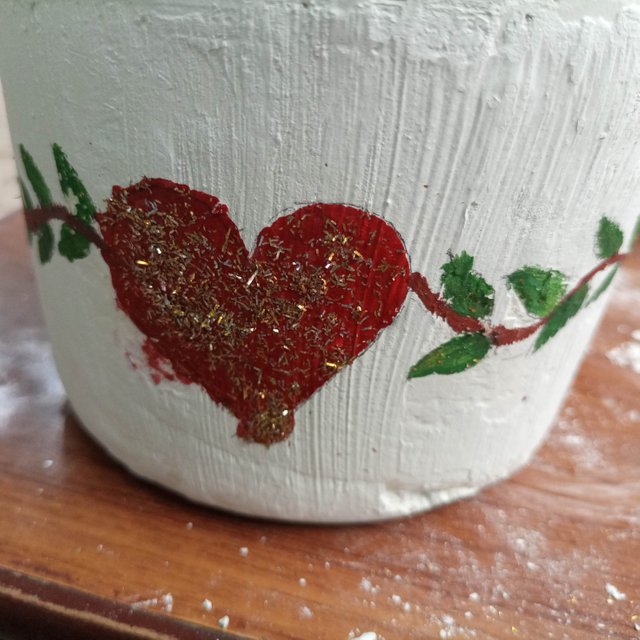
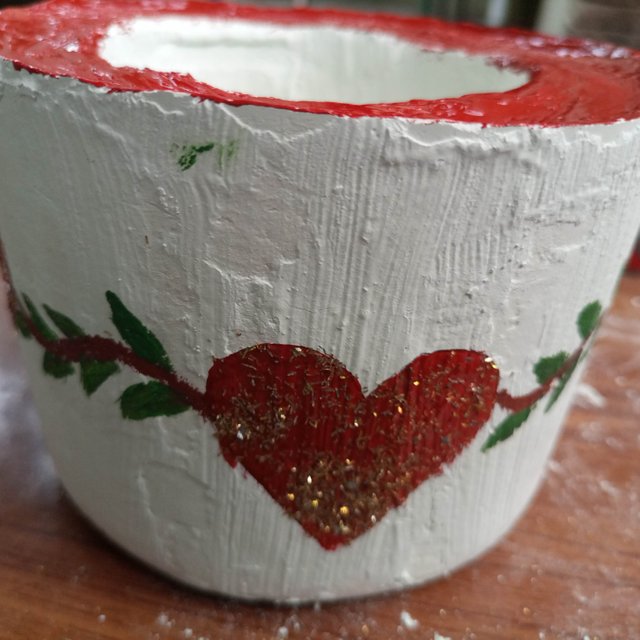
Now I ordered a box of red paint from the market, which is often used on doors. This paint is mixed with kerosene or petrol. I took it out in a separate bowl and mixed a little kerosene with it and mixed it with a paint brush. Then, with the help of a raw pencil, I made heart shapes on the pot and also made a vine along with them. Now, I painted the heart shapes red, and used green for the leaves and brown for the branches. Here, while I was applying the paint, I was also adding glitter there to enhance its beauty.
 |  |
|---|
 |  |
|---|
 |  |
|---|
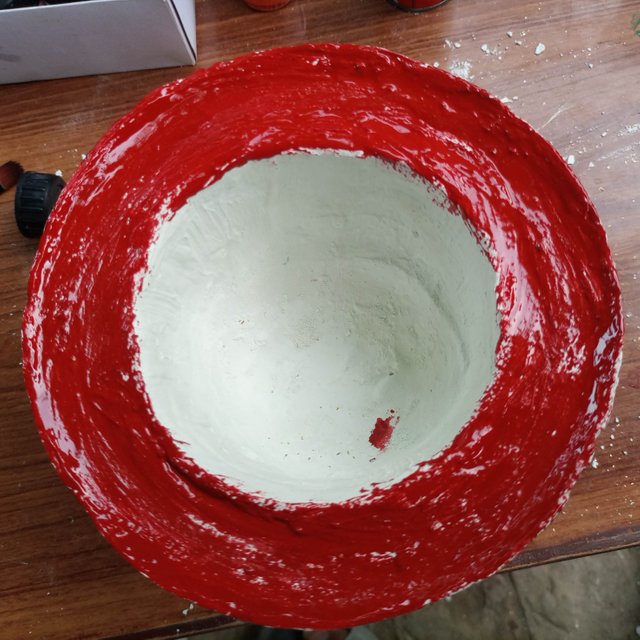
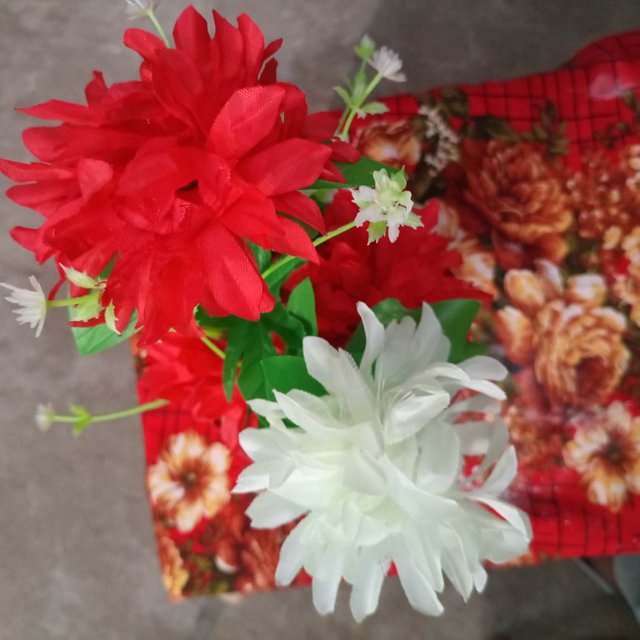
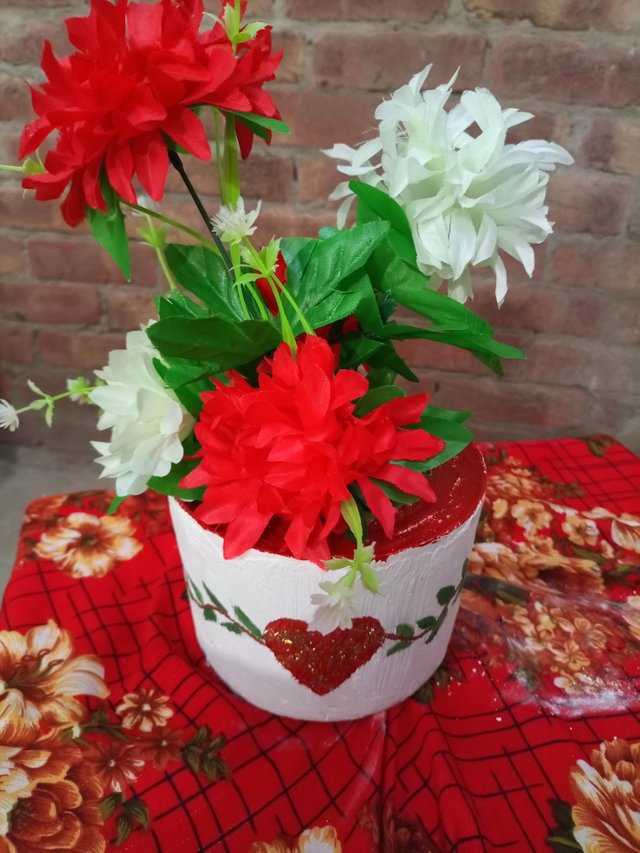
I also painted the top part red, which further enhanced its beauty. Now this very beautiful flower pot was ready. You can see it in the pictures. I have taken pictures of all four sides of it and shared them with you.
 |  |
|---|
 |  |
|---|
Now I took some colorful artificial flowers and gathered them in one place and tied them with a thread on the bottom side where their stems were made so that they could not move around. Then I took a piece of thermos and stuck these stems in it and I cut this piece according to the inner size of the pot.
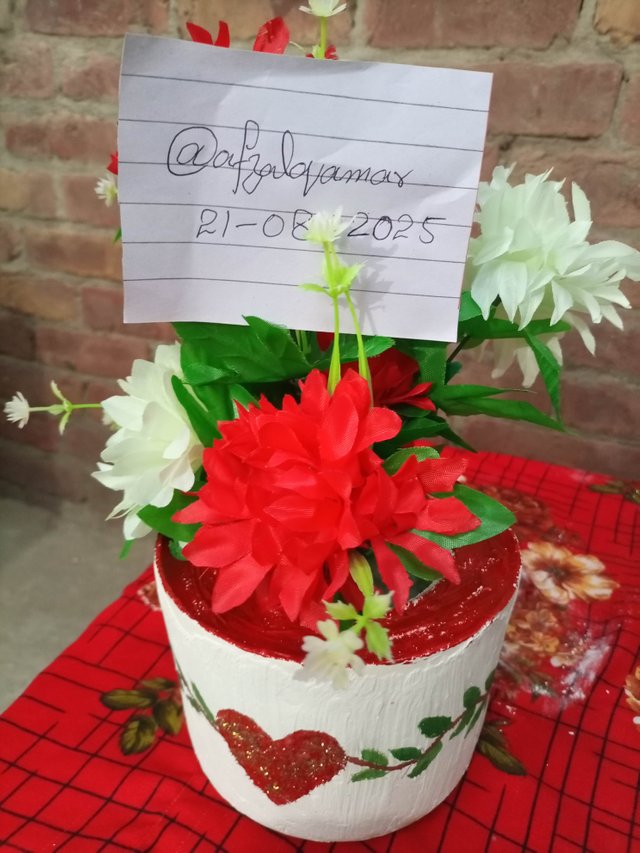
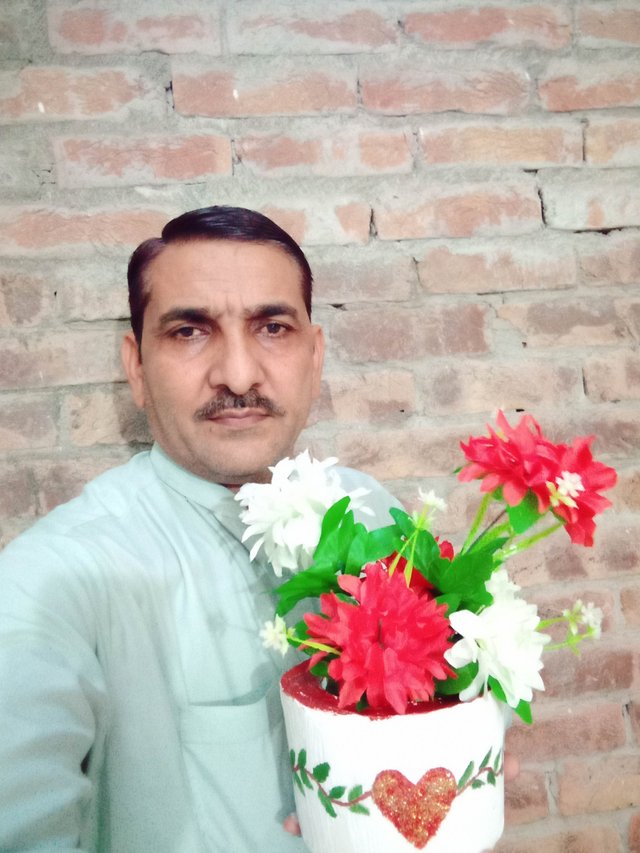
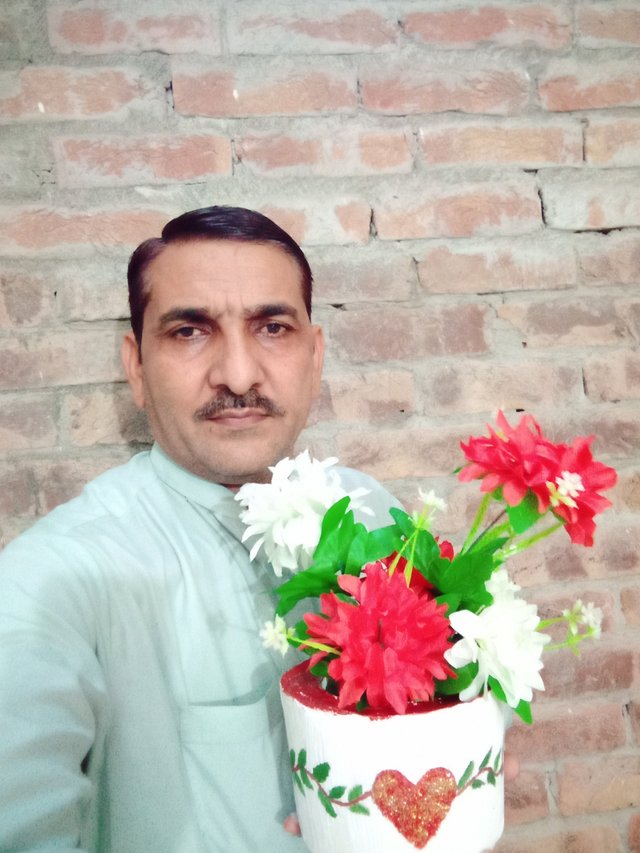
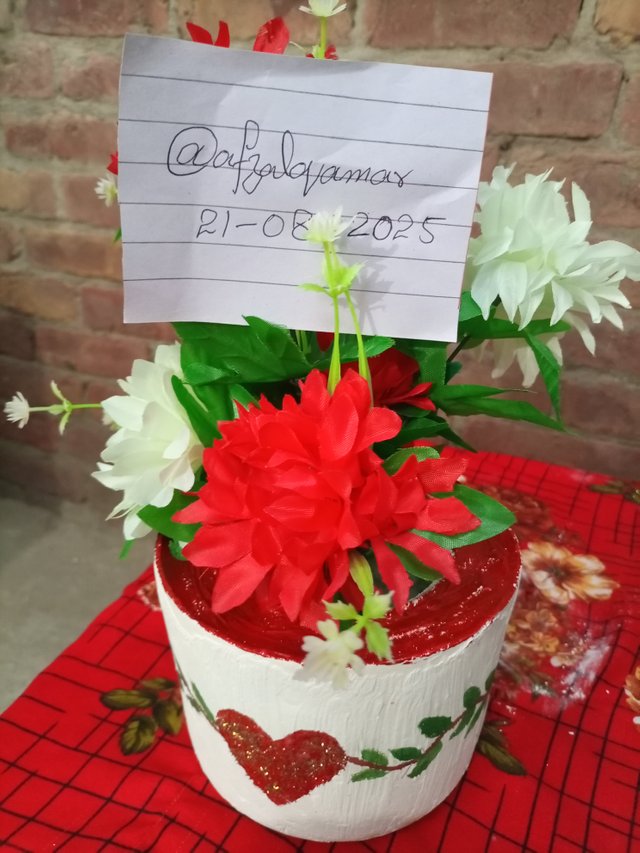
I placed the flowers inside the sentence and I also wrote my name and the date because this is a requirement from the professor of this post. Now this is a very beautiful flower pot and I took a selfie with it and now I have shared it with you and I found it very interesting. It takes time to make it but it is a very educational work and using these things, the house can be made beautiful.
2 . Share with us what was the difficult step during practical task???
This time I didn't face any particular difficulty in making this pot because I already have colored and glitter bottles of different colors because I have used them in the first week, so I have completed this task using them. I have only had difficulty with my back pain because I can't bend over much.
3 . Are you satisfied with your final results???
I am very satisfied after completing my work and I have learned a lot from it.
I will definitely invite some of my friends to participate in this interesting work.
@ayijufridar, @oneray, @jyoti-thelight
https://x.com/farazali054/status/1958879451132940537
🎉 Congratulations!
Your post has been manually upvoted by the SteemX Team! 🚀
SteemX is a modern, user-friendly and powerful platform built for the Steem ecosystem.
🔗 Visit us: www.steemx.org
✅ Support our work — Vote for our witness: bountyking5