SLC-S26/W2 | "pottery for your garden/White Cement pot"
Hello everyone!

Today I am here to participate in the contest of pottery challenge by @sualeha where we have to make a pottery to hold the plants. If you want to join then:
So let us start making the pot using white cement.

This is the raw material and helping instruments to make the pot. As the initial stage just to make the pot I have collected these things:
- White Cement
- A hollow bucket
- Grease
- Mustard Oil
- A container to mix white cement with water
- Water bottle
At the initial stage I will use these things to make the pot.
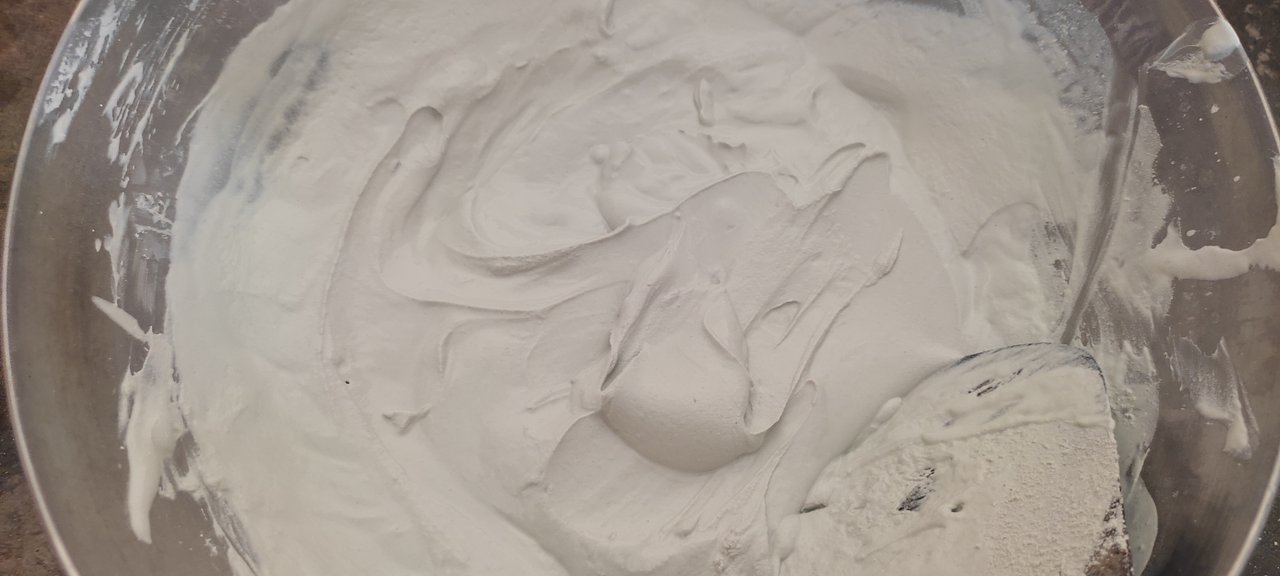
First of all I have taken white cement in the container. I have mixed required water in the cement so that it can become a smooth mixture to use easily.
 |  |
|---|
After making the mixture of cement I started making a mixture of grease and oil. As suggested by the professor it is useful to add some lubricant on the sides of the mold container and bottle. I have mixed some grease and oil well done that it can be applied easily.


Now I will be able to pull the bottle from the cement easily when the pot will become dry. If I do not use it then the bottle will be captured strongly in the cement. Similarly now the mold container will also be removed easily.

Before filling the mold container with cement mixture I have placed water bottle in it to see and observe the width of the pot which will be made. I wanted to notice whether the width of the pot will small or large. So I decided to place a bottle of 1 litre volume.

By following the guidelines, steps and method given by the professor I have put some white cement at the bottom before placing the bottle. Then I have placed the bottle and filled the container completely as you can see in the picture.
 |  |
|---|
I was afraid that when I will pull out the bottle the pot will be destroyed because it was my first experience. But I was happy that I was able to pull the water bottle out of the pot successfully without any damage to the pot. But it required a lot of force and care. Maybe I applied less grease and oil.
When I tried the pull the pot out of the container it did not work as expected. It did not come out of the container. Then I cut the container and separate it from the container. But it got a perfect shake of mold according to the container.

After pulling the pot out of the mold container it was in its rough condition. The surface was not smooth. I got a life and started smoothing the surface. I cut the surface from the upper part and from inside.

Here you can see the result of the smooth surface. Now the pot was looking more neat and clean and it was looking beautiful.

To make the outside surface more smooth and soft I used a sandpaper. I used it softly because white cement is soft and does not require hard pressure. After this it became more soft and smooth.
Now the pot was ready and it was the time to design the surface of the pot. Everyone is painting and making the design on the surface of the pot but I thought something different and more unique. I thought to make flowers with the clay on the pot and then colour them.

Luckily I found a hard clay piece nearby. It is the specific clay which is used to make bricks in the kilns.

I crushed the piece of clay into small pieces. Some clay was converted into fine powder and some remained in the form of granules.

After crushing the clay I added water into the clay to use it to make flowers. Then I mixed the water and the clay well so that it became a soft and homogenous mixture.

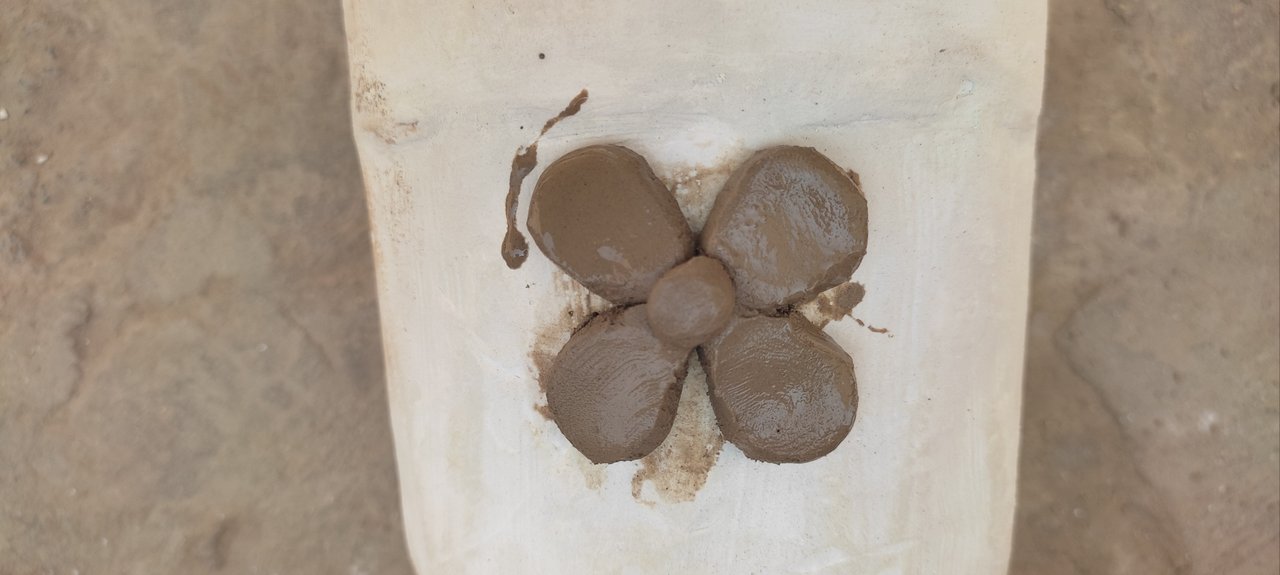
Before directly making flowers on the pot I started with a sample on the ground. I took some clay and made some petals and connected them each other with a point. It was looking beautiful and perfect.
After making a sample I started making the clay flowers on the pot. You can see the clay flower on the pot is looking very beautiful with it's own texture and structure.

I did something more creative. I made the flower and then I extended the branches of the flower on both sides. I made some leaves on the branches. In this way I made total three flowers on the pot.
 |  |
|---|
After making the clay flowers on the pot I kept it for sometime so that it could become dry and I could paint it. Meanwhile I collected the colours, paint, and glitters to apply on the pot and flowers.
 | Red flower |
|---|---|
 | Pink flower |
 | Yellow flower |
First of all when the clay flowers became dry I added a layer of white cement so that the flowers could become white and I could apply the colours easily.

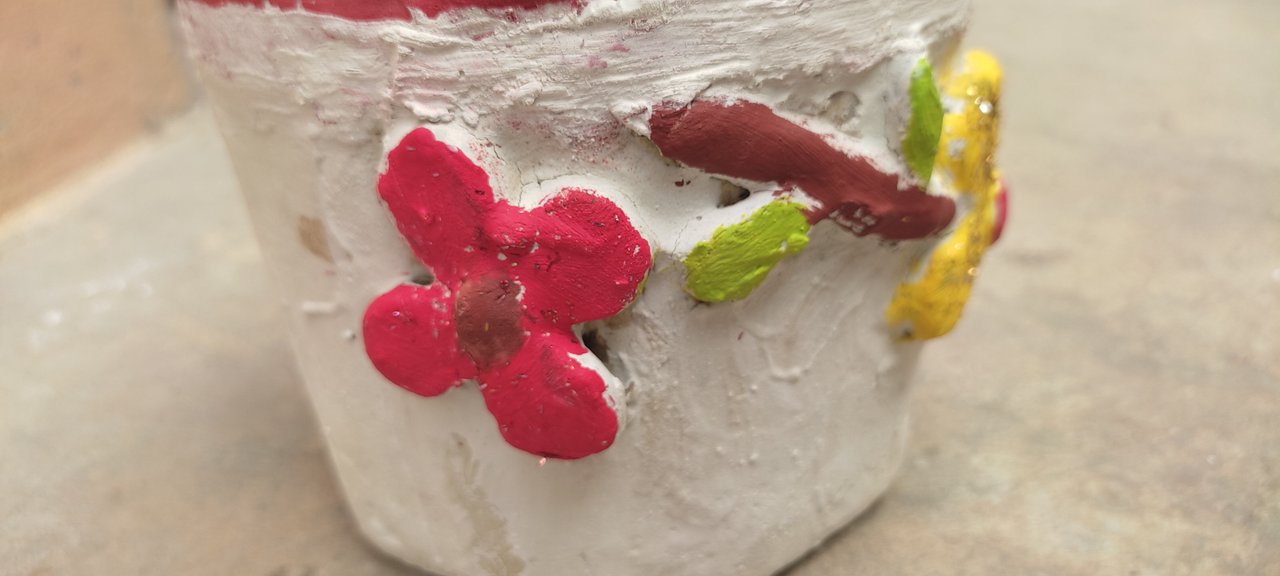
I applied 6 different colours on the pot. I coloured all the flowers into unique colours such as one flower with red, one with yellow, one with pink colour. I applied brown colour to the branches of the flowers. I applied green colour to the leaves of the branches.
Then on the top circular part of the pot I applied red and brown colour. The red colour was actually the red paint. I applied It using the foam. Then on the edge I applied brown colour.

I kept the pot some time so that the colours could become dry. In the meantime I got sine flowers. I got a piece of foam to pierce the flowers in it and out it into the pot.

I put the flowers into the pot with the help of the foam. Here I here presented my name and then date. The pot is looking very beautiful because of it's unique design of flowers.

It is looking beautiful. It is holding the flowers easily. We can use this to keep flowers or to grow small plants inside it.
Difficult Step
It was not an easy task as it looking. Each step was tricky. Each step required care and full attention.

The most difficult step for me was pulling out the pot from the mould container of the pot. I thought the pot will come out easily but it was not like my expectations. I tried my best to pull it out. Then I was afraid I pull it with force it will be broken. So an idea came to my mind and I cut the mould container from outside. In this way I became able to get the pot out of the mould container. So it was the most difficult step me while making this pot.
My Satisfaction Level
I have put a lot of efforts in making this pot from start to its final look. I am very satisfied with the product. I am feeling happy that finally after a lot of efforts I was able to make this pot using white cement without breaking it or any other failure. But something comes to my mind is the pot from the black cement can be more powerful and strong as compared to white cement.
I enjoyed making this pot at home and I am now more confident to make pot similar. I have learnt a new thing and I am ready to apply it in my real life whenever I have need this.
Video Highlights
I would like to invite @sergeyk, @crismenia, and @mvchacin to join this pot making challenge.
🎉 Congratulations!
Your post has been manually upvoted by the SteemX Team! 🚀
SteemX is a modern, user-friendly and powerful platform built for the Steem ecosystem.
🔗 Visit us: www.steemx.org
✅ Support our work — Vote for our witness: bountyking5