Recipe and a review: Cinnamon buns
This is a bit different of a recipe for me
Usually, I want to make something I see come up on tiktok, or something I would usually buy, but I find that recipe online. This time was a bit different, I managed to get my hands on a free box from the subscription company, BakerBoxx.
I had never seen this before, but basically you pay monthly (£12.95, so I think 129 STEEM?) which is a bit expensive. Although, I think this is quite unique as each month you get all the ingredients you need for either a sweet treat or bread recipe. This can be quite good, as sometimes I haven't tried certain recipes as I'm not sure if I would ever make it again, but I would have to buy a whole bag of ingredients for just one time, which feels wasteful (so I usually avoid it).
This time, it was a "Sticky cinnamon buns" box, and I do love cinnamon buns so I was really excited to give it a go.
what's inside
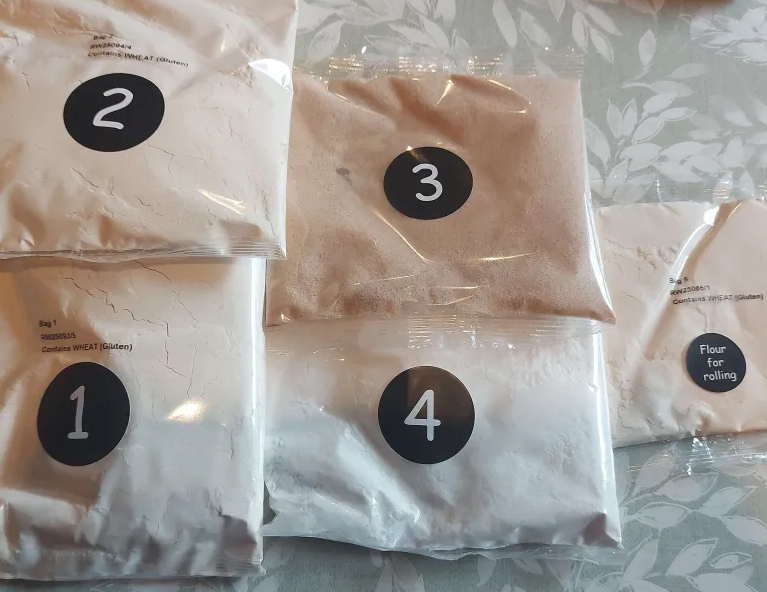
So what do you actually get in the box? Well not only do they give you an icing bag and baking paper, you also get numbered packets of the ingredients, all dry ones. It looks a bit weird as just labelled bags, but definitely way more convenient.
I noticed on their website that they guarantee at least 6 months expiration date, but I could have waited a year for mine, so it must vary depending on the recipe.
The box also comes with a recipe card, with the list of ingredients clearly as well.
Ingredients
The dough
- 400 grams strong white bread flour (the box was also organic!)
- 6 grams salt
- 7 grams dried yeast
- 30 grams caster sugar
- 240 grams water (bit weird it was measured in grams, think they meant millilitres
Filling
- 10 millilitres water
- 100 grams caster sugar
- 2 grams ground cinnamon
Topping
- 100 grams icing sugar
- 10 to 15 millilitres water
The steps

bags 1 and 2 with water
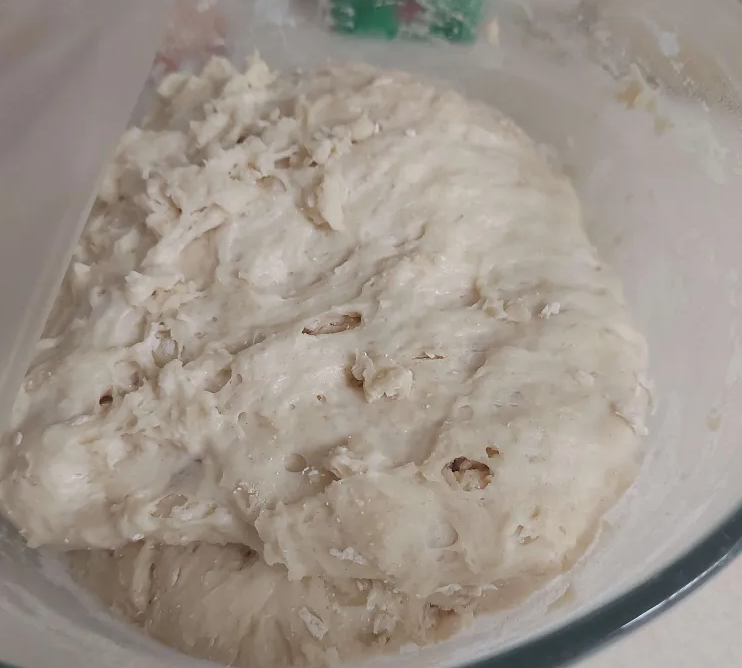
So first off, very simple, pour the contents of bags 1 and 2 into a medium bowl, and add water, using your hands to mix it together until just combined.

not very photogenic
Next, I needed to knead the dough a bit for 5 minutes. After doing this, I put it in the bowl covered in clingfilm, to allow it to proof (allows the yeast to ferment).

proofing
After this (90 minutes), the bowl had a lot of condensation, and it definitely did get bigger a bit!
bigger!
Now it was time to "beat" (as the recipe put it) the air out of the dough, and shape it into a ball.

beat it with my knuckles
At this point, I also shaped it into a rectangle using a rolling pin, I tried to get it as thin as the recommended 0.5 centimetres.
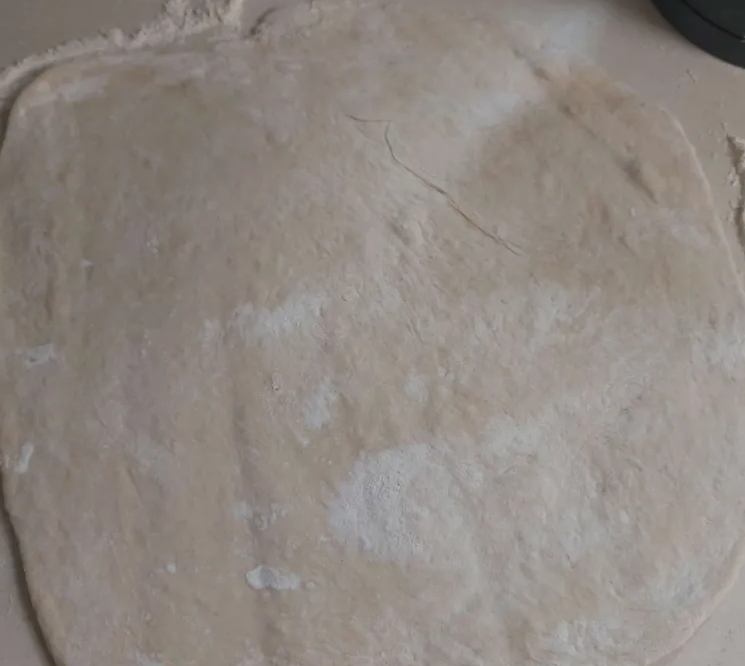
rectangle
Following this, I needed to brush water onto the surface, and pour out the contents of bag 3 all over, making sure it was evenly spread.

water and sugar?
I think I did too much water here, as you will see when I roll it later that it started seeping out some of the filling haha. After this, I needed to roll the pastry into a long cylinder, so that the signature layers of the cinnamon roll were formed.

pastry roll
After this, I cut it into 8 equal pieces, the buns!
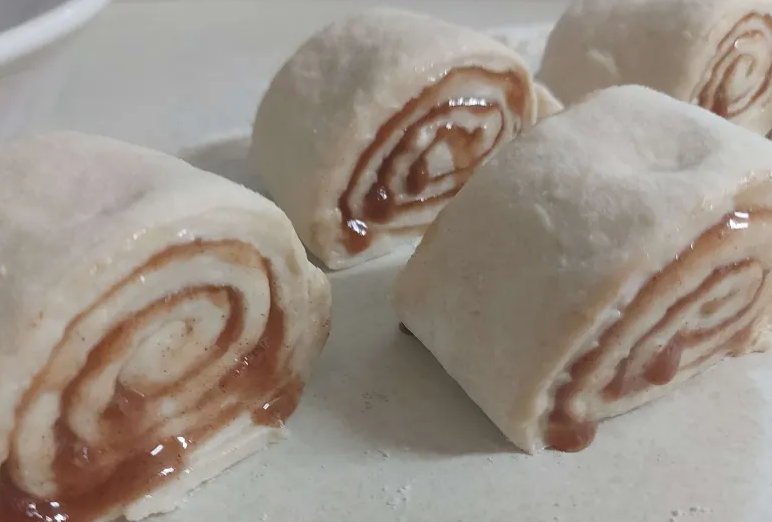
the buns in progress
And then I needed to put them on the baking tray, and flatten them down a bit. I did this with a wide spatula, as I didn't want to have to wash my hands again (the batter kept sticking to my hands, making it hard to take pictures for the post!).

flattened
There were 8 in total, but my tray was too small! So the other two I put on a different tray.
Now this step caught me off guard, I had to cover the trays with clingfilm and leave them to proof again! This time for 30 minutes.
When there was only 10 minutes left, I preheat my oven to the recommended 200 degrees Celsius.

after the 30 minutes
The above picture is after their proving time, they look a bit more golden because I ran out of space, and the room I took the picture in has warm bulbs, not white haha.
Then, it was time to bake! It took me roughly 12 to 15 minutes? I kept having to check the base as the top seemed fine sometimes, but the base was ever so slightly still raw.

done!
Next, it was time for their signature icing. Again, the box provided the icing sugar and the icing bag! Usually I would have just used a spoon, but this made me feel professional.

the icing bag
And done! I was really happy with how they came out, the pastry was more cakey than flaky like I thought it would be. Really delicious though.

done!
Review
I think this type of subscription box is a really good idea, and quite unique as far as I know. I like that I wouldn't have to commit to bags of ingredients I might only make once, but the issue is the price.
I'm glad I got this for free, as the price does make me hesitate. I think if I didn't bake so much, I would buy this, but I will see if I ever do another box again.
I love cinnamon rolls @jen0revision. I've never made them properly though; I just tend to either buy them ready-made or buy puff pastry sheets and then just add the filling.
The recipe looks good and achievable; pity about the price of the subscription, but it's a good recipe to keep !
Hello @jen0revision, thank you for your contribution to our account.