SC-S26W3/Video Editing; Introduction to Audio in CapCut
Hello everyone!

Today I am here to participate in the Steemit challenge by @anailuj1992 which is about video editing through capcut. If you want to join it then:

First of all I have imported two small video clips in the project and 4 images. I did not disrupt the video's length at the time of importing but I will manage the length in the project while using tools available in the menu bar.

Videos have their own sound. But I want to mute the sound of the videos. So I have used mute clip feature to mute the sound of the videos. I will use any other sound for the video.

After muting the clips I have hold on the images and I have tried to adjust them initially to mix up the clips and videos.

I have used split tool learnt in the previous class to divide the clips and adjust them as needed. Actually I want to apply speed to some parts of the video so this is the reason I am splitting it.

I have utilized previously learnt speed feature to adjust the speed. I have decreased the speed where she is laughing and running towards me to make the clip more fascinating by slowly showing her smiles and happiness with me.

I have decided to use music sound from pixabay as it offers free resources to use anywhere. I have searched the music with keyword "success awaits you". I have selected third one to download and use as a music sound for the video.

Now it is the time to set sound for the video. As I have already downloaded a sound from pixabay so in order to add I have selected sounds option from the below menu as indicated.
 |  |
|---|
When I clicked on sounds it opened a complete new interface with a number of options such as recommended, your audio, and tiktok sounds. I have chosen second option of your audio. I have indicated this option.

On the right side there is an option with the name device to get all the audio files available in the file. It takes some time to scan and load all the audio files.
 |  |
|---|---|
| All available audios in device | My downloaded audio |
I have searched my downloaded audio file from all the available files. It was fast and my audio file appeared at top with searched keyword.

Before adding the audio I tried to play it to listen to it to confirm whether it is the correct file or not. It was the correct one and I clicked on plus + to add the audio.

Here you can see the audio file from the device has been added successfully. I have minimised the audio file fit to the length of the video because the audio file was longer than the video.
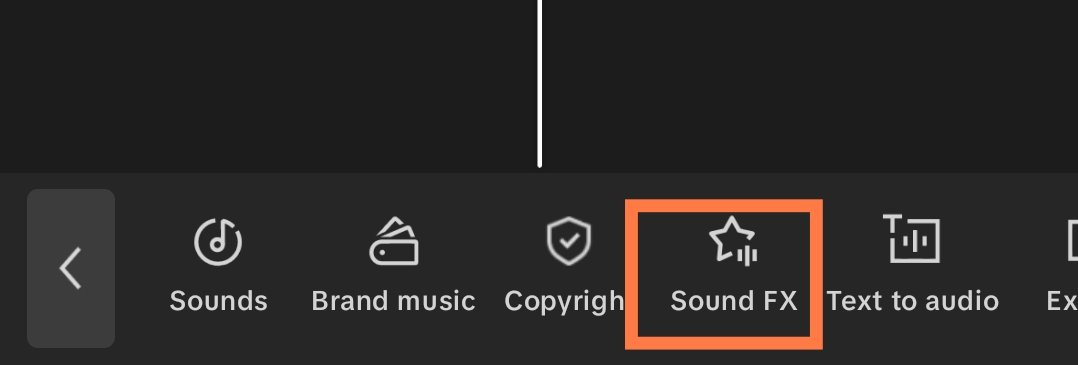
Now it is the time to add some sound effects according to the video nature and sound used for the video. I have selected sounds FX button to use sound effects.

In my sound of the video the music changes from slow to sharp so I wanted to add a transition effect there. I have searched transition effect and I checked several before choosing one. Finally I chose one trailer impact sound..... I added it by clicking on the + button. It was applied to the video.

I hold the sound effects and dragged it where it was needed in the video. Now the effect is called when the added sound changes from slow to sharp beat.
Then by following the same process I have applied more sound effects such as smiling and slow walking effects.
I have also raised the volume of the sound effects from the volume of the audio so that they can be felt prominent.

Now in order to add my own voiceover to the video I have opened audio menu. At the last I have seen record option. I have selected it to open next functionality to record voice.

The blue button is used to start recording the voice. But first of all I have allowed the application access to my microphone so that it can listen to me and record my voice. I have recorded total three voiceovers. I have placed them creatively in the video to avoid conflict.

Here you can see the hierarchy of my project where I have added some video clips, images, a sound from device, three voiceovers and four sound effects.

For the audio file which I have added to the video I gave used fade in and fade out feature so that the audio does not start or end abruptly but with fade in start and fade out end. I also applied fade out to my own voiceover.

By using my knowledge I have started adding overlay. I am going to add overlay of Steemit logo. That is transparent.

Here you can see I have successfully added the overlay to the video. I have placed it on the top right corner. I have dragged it for the complete length of the video.

This is an important point to set aspect ratio of the video. It is very easy to set aspect ratio. In the menu 1 aspect ratio option is available from where we can set aspect ratio for the video.
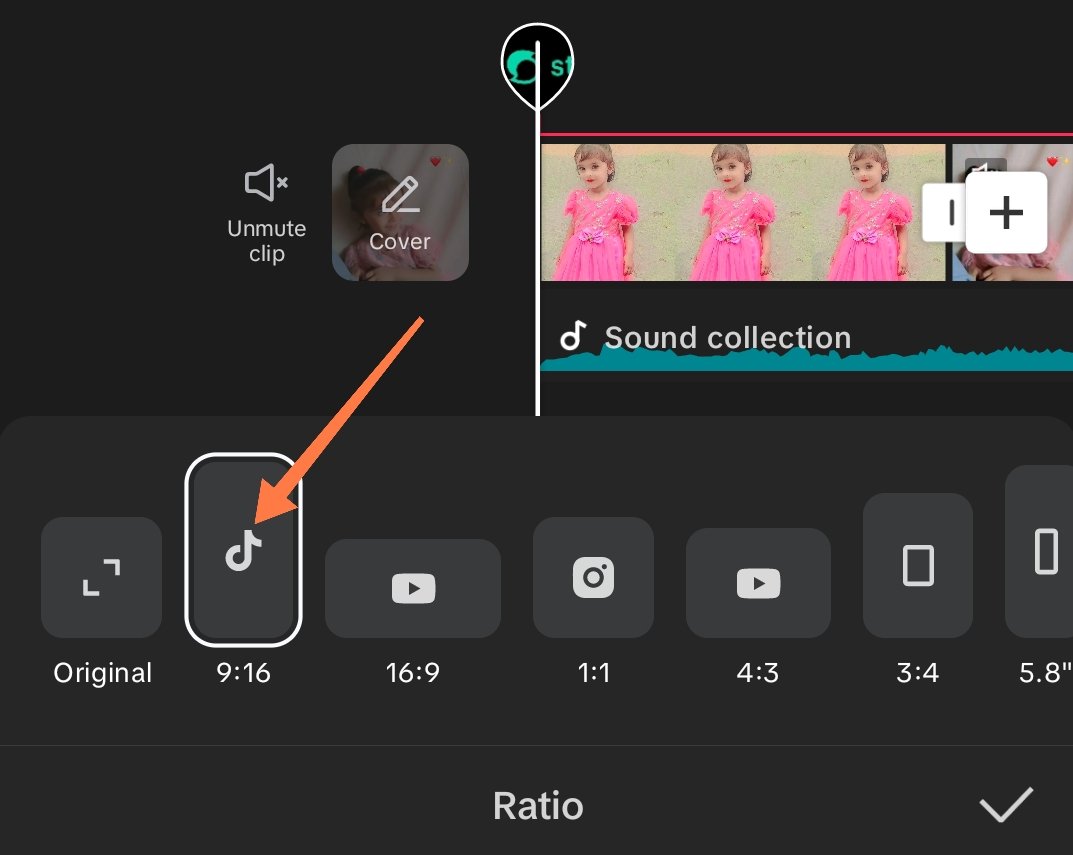
I have selected a vertical aspect ratio for the video which is specific for the reels. It is denoted by the tiktok sign because in tiktok generally we see similar videos with similar aspect ratio.
Finally after setting aspect ratio I have exported my video to my mobile phone to upload it to YouTube.
Here you can see my final video. It took a lot of time while choosing the audio track and sound effects.
What I Wanted to Convey
In this video I want to convey my heartiest gratitude and success to my little princess and nephew. I have wished her success and fortune in her life. I am also wishing her to become an influential personality in the field if computer science. Actually I am also a software engineer and I want to bring her in this field from her early stages of life so that she can become more confident and reliable in this field.
I have captured her in two clips and some images. I made these two clips using my mobile phone and using Snapchat. One video was recorded inside the room and one was recorded outside.
I would like to invite @suboohi, @sualeha, @dasudi to join this contest and to show their creativity in video by learning from the class.
https://x.com/stylishtiger3/status/1962212951496052836
Hello friend, your video editing is up-to-date with what our teacher taught in the class. Your final video is beautiful and exactly the aspect ratio that was required.
Best wishes to you!
Saludos amigo.
Has realizado un extraordinario trabajo, todo perfectamente explicado y muy detallado, eso ayudará a otros a seguir tus pasos y lograr la edición perfecta.
Amé la sonrisa de esta pequeña, es una niña muy hermosa, muchas bendiciones para ella y que logres enseñarla muy bien para que en el futuro siga tus pasos y se convierta en una ingeniera.
Éxitos.
Thank you so much @oswaldocuarta for this valuable feedback and best wishes.
💦💥2️⃣0️⃣2️⃣5️⃣ This is a manual curation from the @tipu Curation Project
@tipu curate
Greetings sir, your little princess is pretty, she will achieve that dream as a software engineer. You have made a good video following the rules given .
Wishing you success in your entry
Here is your content summary:
By improving the marked items you could get Higher Votes!
Curated by @alejos7ven
Thank you @alejos7ven for the support. I have used a vertical alignment for the 1 minute reel style video. I hope I can improve more with your guidance.
Muy tierno tu video y me gustó mucho la explicación del paso a paso para armar el vídeo.
Thank you so much.
Congratulations, your post has been manually
upvoted by @steem-bingo trail
Thank you for joining us to play bingo.
STEEM-BINGO, a new game on Steem that rewards the player! 💰
How to join, read here
DEVELOPED BY XPILAR TEAM - @xpilar.witness