SLC27-W1: The Beginning of Becoming a Youtuber by @adese
There is always excitement and curiosity in the beginning of something new. Today, I am glad to tell you about my initial steps on the way of becoming a YouTuber. I have chosen to establish my own channel named Adede Steemit where I will post educative content and interact with individuals who love learning. In this post, I describe the process of creating the channel step-by-step, and the way forward.
Create a new YouTube channel (if you don't already have one), explaining the steps clearly. (Score: 3)
The opening action I did in my creation of YouTube channel was to log in to YouTube. I accessed the webpage of YouTube through Chromium browser, and since the You Tube website belongs to Google, I had to use my Google account. I was already signed in with a Gmail account.


To a person with no Gmail, he/she would be required to create an account with Google and then proceed. This is a very essential step since you cannot have your own YouTube channel without signing in.
The second process was to actually design the channel. Once I had signed in, I chose my profile picture on the upper right hand side of the page. A drop-down menu was visible and in it I have chosen creating a channel.


YouTube then offered me two options of either using my own name directly or I could opt to use a custom name on the channel. I chose the name that I liked and that is adede steemit as the name and the handle name and after confirming it, YouTube gave me my own channel. I felt excited at the fact that my channel space was available at present.
Add a simple profile photo and banner (provide a clear explanation).(Score: 2)
The next thing that I needed to do after the creation of my YouTube channel was to add a profile picture and a banner to make the channel more appealing and personal. The small picture appears next to the channel name and on every one of my videos, which is the profile picture.


In order to add it, I had to go to my channel settings, and to the profile picture icon, I uploaded a simple image using my phone. I have selected a photo that describes me well such that anyone who pays a visit to my channel can easily identify it.


Then I added a banner image, otherwise known as channel art. The banner is the global view which is positioned on the top left of the channel page. Flipping to upload it, I visited YouTube Studio and then Customization Branding and then selected the option to upload a banner.

I have chosen a straightforward yet concise image, which demonstrates the concept of what my channel is all about. This step is quite crucial since the banner will make the channel look professional and will attract attention to the viewers.
Write a channel description of at least 50 words (explain what your channel is about).(Score: 1)
In order to add a description to my channel on YouTube, I have to visit YouTube Studio. After visiting YouTube, I have just clicked on the picture of my profile on the right of the top of the page and chose to go to the YouTube Studio.
I started by going to YouTube Studio on the left-hand menu, and clicking customization. At that point, I have chosen the Basic Info tab. This section had a box where I could write my channel description.
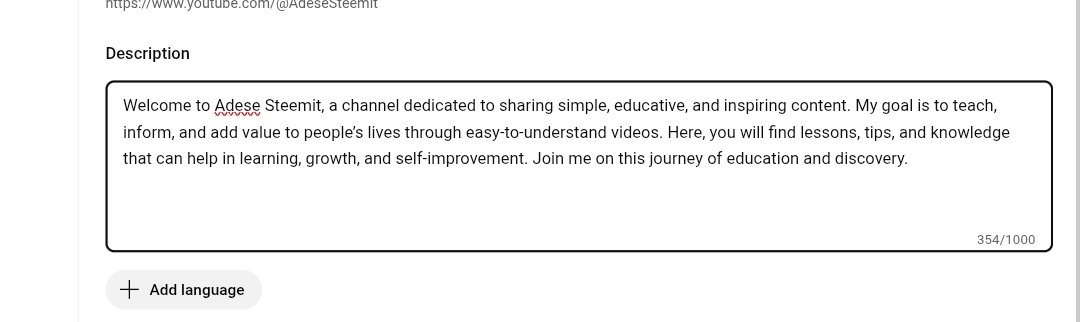

I next wrote a brief summary on what my channel is about (at least 50 words). Once complete, I had to save the changes by clicking Publish at the upper right.
Using these few steps, I was able to add the description of my channel.
Upload a short introductory video (1 minute long, explaining who you are, why you want to be a YouTuber, and what content you want to discuss, along with your reasons).(Score: 4)
This is the video I uploaded below and I was discussing the reasons also and the type of videos I will be uploading.
I invite @josepha, @stef1 and @mikitaly to drop a very constructive comments on this post and also to participate in this contest.
Nice one from you sir. Indeed, with how you have planned to advertise Steemit via your YouTube channel, I am sure that a lot of people will get to know about the Steemit platform. Good luck to you